When you first lace up a pair of acrylics, the promise of a flawless, long‑lasting look is tempting. Yet, the moment you feel the weight of that hard shell, you’re also placing a silent strain on the living nail beneath. The difference between a return to healthy, resilient plates and a patchwork of thin, peeling nails lies in the small, deliberate steps you take every day. Below is a practical, science‑backed roadmap for mastering how to keep nails healthy under acrylics—from the initial prep to the final removal.
1. Start with a Strong Foundation
The natural nail plate is a layered, keratin‑rich structure that serves as the canvas for acrylics. If that canvas is already compromised—by fungal infection, split tips, or over‑exposure to harsh chemicals—adding a hard polymer on top can lock in those weaknesses. Your first task is a thorough “prep phase.”
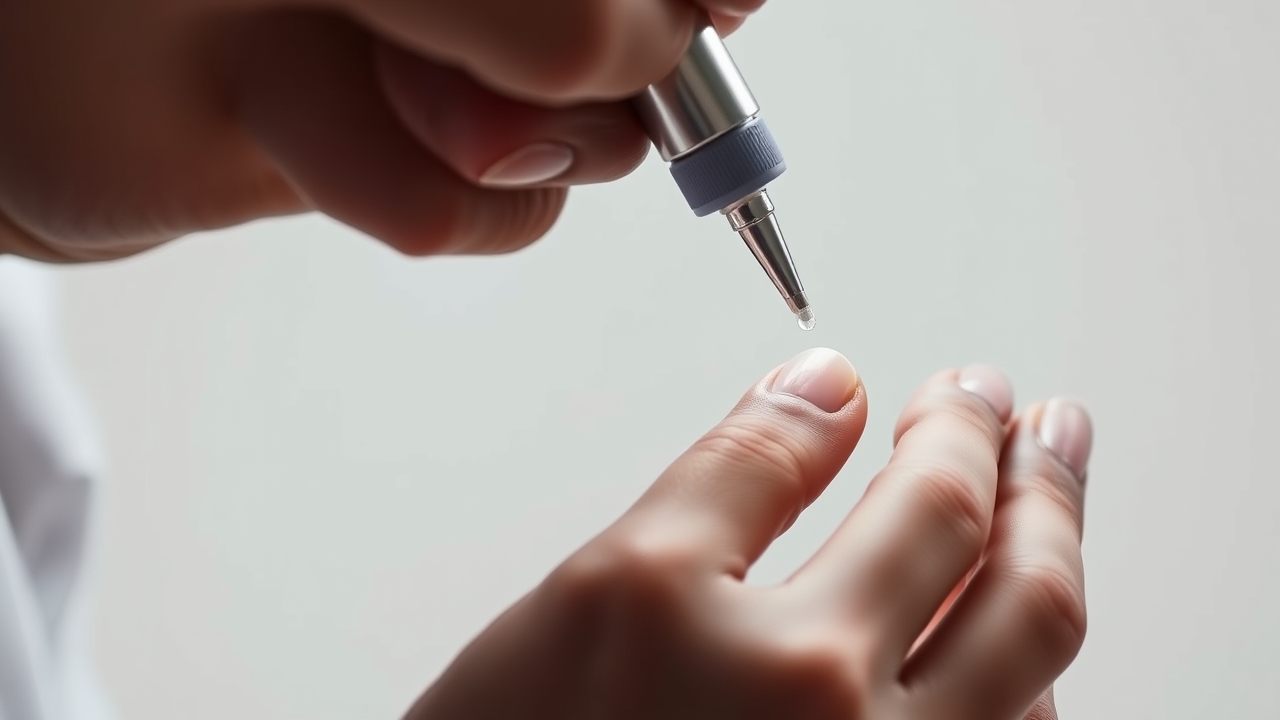
- Hydrate the cuticles: A gentle soak in warm, unscented water for 5 minutes, followed by a light massage with a cuticle oil that contains jojoba or almond oil, restores moisture and softens the skin.
- Inspect for damage: Look for ridges, discoloration, or any signs of fungal activity. If you spot anything, treat it before you proceed.
- Trim and file lightly: Use a fine‑grit file to remove only the glossy shine, never to the depth of the natural nail plate. Over‑filing strips away the protective keratin layer and accelerates thinning.
- Apply a primer: A high‑quality, acid‑free nail primer primes the surface without aggressive roughening, allowing the acrylic to bond smoothly.
Why a Primer Matters
Think of the primer as a micro‑roughened surface that gives the acrylic a foothold. It eliminates the need for heavy buffing, which is the leading cause of nail loss. A well‑primed nail stays intact even after months of acrylic wear.



2. Protect During Wear
Acrylics are impermeable. They act like a sealed lid, preventing the nail from receiving the moisture and nutrients it needs. Over time, this can lead to brittleness and a “stiff” feeling under the extension.
- Daily cuticle oil routine: Twice a day, apply a drop of jojoba oil to the cuticle and the underside of the free edge. Massage gently; the oil’s small molecules seep through the acrylic to newsroom the nail plate.
- Avoid harsh detergents: When washing dishes or cleaning, wear nitrile gloves. Household cleaners can strip away the natural oils and accelerate dryness.
- Use a “soft” base coat: If you’re applying a new set, opt for a base coat that contains nourishing ingredients like vitamin E or shea butter. This layer adds a subtle shield of hydration beneath the acrylic.
Dealing with Lifts
One of the most common pitfalls is the temptation to peel back a lifted corner. This action tears off the topmost layer of the natural nail, leaving a raw, vulnerable spot that can take months to heal. Instead, if a lift occurs, visit a trusted technician for a repair. If that’s not possible, file the edge gently to smooth it out—never pull or pry.
3. Master the Removal Process
The removal stage is where most damage is inflicted. Whether you choose an acetone soak or an electric file, technique is everything.
Acetone Soak
Acetone dissolves acrylic but also dries the nail. Apply a generous layer of petroleum jelly around the skin to create a barrier against chemical burn. Soak for no longer than 10 minutes; once the acrylic turns to a soft, gooey consistency, use a wooden stick to lift it gently. If it resists, add a few more minutes—do not force it.
Electric Filing (E‑File)
When done by a certified professional, an e‑file can remove the bulk of acrylic quickly while preserving the natural nail. The key is a light touch: file only enough to remove the bulk, then finish with a soak to dissolve the remaining layer. Over‑filing can create “rings of fire”—deep indentations that weaken the nail.
4. Inside Out: Nutrition for Nail Health
The nail matrix—where new nail tissue is produced—is nourished from the inside. A diet rich in specific nutrients can dramatically improve nail resilience.
- Biotin: Found in egg yolks, almonds, and whole grains, biotin promotes keratin production.
- Iron: Spinach, lentils, and lean meats supply iron, preventing concave or brittle nails.
- Omega‑3s: Salmon, walnuts, and flaxseed oil lubricate the nail and cuticle from within.
- Hydration: Aim for 2–3 liters of water daily; dehydration reflects in nail brittleness.
For a deeper dive into nail biology, see the Wikipedia overview of nails.
5. The Power of a Nail Vacation
Even the most meticulous routine can’t fully counter the cumulative stress of acrylic wear. A 2‑ to 4‑week break every six months gives the nail plate a chance to recover.
- Apply a keratin‑based hardener to reinforce the plate.
- Use a gentle buffer to smooth ridges.
- Finish with a clear, nourishing base coat.
Transitioning Back to Natural Nails
Removing long acrylics can feel like snagging a fragile bridge. Ease the transition by:
- Gradually filing the acrylics down a week before removal.
- Doubling the cuticle oil application during the first week of the break.
- Applying a clear base coat to protect the newly exposed nail.
6. Common Mistakes to Avoid
These pitfalls can silently sabotage your nail health:
Using Nails as Tools
Opening cans or peeling stickers with acrylics transfers force directly to the natural nail, causing onycholysis—where the nail lifts from the bed.
Neglecting the Cuticle
Cutting cuticles aggressively exposes the matrix to infection. Instead, use a cuticle remover liquid and gently push the skin back with a rubber or wooden tool.
Over‑use of Hardeners
Some hardeners make the nail too rigid, turning it into a brittle shell that snaps under the acrylic’s weight. Hydrating oils are a safer choice.
7. A Practical Maintenance Schedule
- Daily: Apply cuticle oil in the morning and before bed.
- Weekly: Exfoliate the skin around the nails and check for lifts.
- Every 2–3 weeks: Get a professional fill to keep the apex balanced.
- Every 6 months: Take a 2‑week break from all enhancements.
8. Bottom Line
Keeping nails healthy under acrylics is a partnership between the enhancement and your biology. Hydration, gentle care, and professional maintenance are the pillars that keep your natural plates strong even after months of acrylic wear.
Pro Tip
Communicate openly with your technician. If you feel heat during filing or soreness during application, pause. A skilled professional prioritizes nail health over speed.
Frequently Asked Questions
How do I keep nails healthy under acrylics?
Consistent hydration with jojoba‑based cuticle oils, avoiding DIY lifting, and ensuring gentle removal—whether through a controlled acetone soak or a professional e‑file—are the cornerstone practices.
Can acrylics permanently damage my natural nails?
When applied and removed correctly, acrylics don’t cause permanent damage. However, aggressive buffing or harsh removal can thin the nail plate, requiring months for full recovery.
How often should I get a fill to protect my nails?
A fill every 2 to 3 weeks keeps the apex balanced and reduces the risk of lifting or snapping.
Is it better to soak off or file off acrylics?
Both methods can be safe if performed correctly. Soaking is gentler for DIY users but requires a skin barrier; filing is faster but demands a skilled technician to avoid over‑filing.
What should I do if my nails feel thin after removal?
Give your nails a break, focus on intensive hydration, and use a breathable strengthening treatment. Avoid harsh detergents and wear gloves during cleaning.
For more comprehensive nail care insights, visit our Nail Care Basics page.
Leave a Reply