
How to remove acrylic nails safely is a common question among nail enthusiasts who want to preserve their natural nail health while enjoying the look of acrylics. This guide walks you through every step, from preparation to post‑care, ensuring a gentle process that reduces the risk of damage.
Why Removing Acrylic Nails Safely Matters
Acrylic nails are popular because they offer durability, shape versatility, and a glossy finish that lasts weeks. However, if removed improperly, they can leave your natural nails thin, cracked, or even infected. A careful, step‑by‑step approach protects the nail bed, prevents fungal growth, and keeps your hands looking polished.
Potential Risks of Improper Removal
- Gouging or cutting the nail bed: Excessive force can create micro‑tears that are a breeding ground for bacteria.
- Chemical exposure: Using harsh solvents or metal tools can strip natural oils and cause dryness.
- Infection: Rough, uneven removal can lead to redness, swelling, or pus if the nail plate is compromised.
- Long‑term weakness: Repeated harsh removal can thin the nail plate, making it more susceptible to breakage.
Understanding Acrylic Nail Composition
Before you start, it’s useful to know what you’re dealing with. Acrylic nails are a polymer blend of a liquid monomer and a powder catalyst. When mixed, they form a hard, opaque shell that adheres to the natural nail.



Types of Acrylic
- Standard acrylic: The most common type, which offers a solid, matte finish.
- Clear acrylic: Gives a more natural look but is slightly more fragile.
- Gel acrylic hybrids: Combines the durability of acrylic with a gel top coat for added shine.
How Acrylic Bonds to Your Nail
The polymer’s adhesive properties create a strong bond that can be difficult to break. That’s why soaking in warm water is essential—it softens the polymer, allowing it to lift without force.
Choosing the Right Tools and Supplies
Having the correct equipment on hand saves time and reduces risk. Below is a checklist that covers everything you’ll need for a safe at‑home removal.
Essential Items
- Warm, soapy water (about 10–12 °C above room temperature)
- Soft, non‑abrasive sponge or cotton pads
- Wooden or plastic cuticle pusher (avoid metal)
- Coarse nail file or buffer (non‑metallic)
- Cuticle oil (almond, jojoba, or a commercial blend)
- Rich hand cream or cuticle balm
- Towel or paper towel for drying
Optional Extras
- A small bowl for soaking (deep dish or shallow pan)
- Acetone‑free nail polish remover (for stubborn residue)
- Moisturizing spray or hydrating mist for the hands
- Vitamin E oil or a strengthening serum for post‑care
Safety Precautions Before You Begin
Check Your Nail Health
Inspect each nail for:
- Cracks or splits in the nail bed
- Signs of infection (redness, swelling, pus)
- Any previous damage from over‑filing or harsh chemicals
If you notice any of these issues, pause the removal and consider professional help.
Create a Clean Work Environment
Use a clean towel, a disposable paper towel, or a dedicated nail mat to avoid cross‑contamination. Keep your workspace well lit so you can see every detail.
Step‑by‑Step Removal Process
Step 1: Preparation
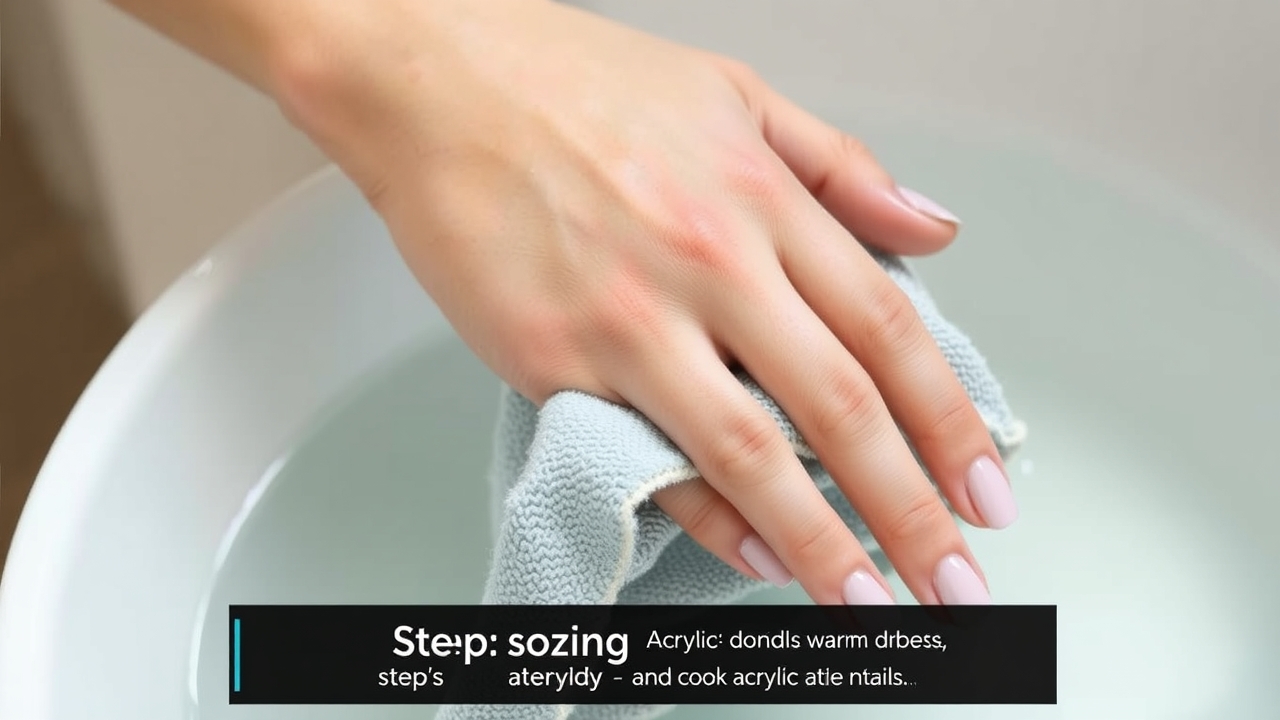
Gather all supplies and place them within arm’s reach. Fill your shallow dish with warm, soapy water—about 10–15 °C warmer than room temperature. Add a tablespoon of gentle dish soap to help break down the acrylic’s surface tension.
Step 2: Soaking
Submerge your fingertips fully in the water. If you’re using lemon juice or vinegar, add a splash (1–2 Tbsp) to the soak. Let your nails soak for 10–15 minutes. The goal is to soften the acrylic without over‑exposing the natural nail to moisture. Check the nails after 10 minutes; if the acrylic feels slightly pliable, you can continue soaking.
Step 3: Gentle Lifting
Remove your hand and pat it dry with a towel. Gently slide the wooden or plastic cuticle pusher under the acrylic edge. Work slowly, applying minimal pressure. If you feel resistance, re‑soak for a few more minutes. Avoid using metal tools, which can nick the nail bed.
Step 4: Removing Residue
Once the acrylic lifts, use a soft sponge or cotton pad to rub away any remaining polymer. If a stubborn patch remains, dab a small amount of acetone‑free remover onto a cotton ball and gently wipe the area. Do not apply the remover directly to the natural nail; instead, focus on the acrylic residue.
Step 5: Filing and Buffing
After all acrylic is removed, lightly file the nail surface to smooth out irregularities. Use a coarse file first, then switch to a finer grit to finish. Buffing helps restore the natural shine and prepares the nail for moisturizing.
Post‑Removal Care Routine
Moisturizing
Apply a generous amount of cuticle oil to each nail bed and massage it in. Follow with a thick hand cream, focusing on the fingertips and cuticles. Repeat this routine 2–3 times daily for the first week to re‑hydrate the nail plate.
Strengthening Treatments
Consider using a protein‑based nail strengthener or a vitamin‑E‑rich serum. Apply a thin coat once a day, allowing it to absorb fully before wearing gloves or handling water.
When to Reapply Acrylic
If you plan to wear acrylics again, give your nails a 2–3 week break. This pause lets the nail bed recover, reducing the risk of thinning or breakage.
Common Mistakes and How to Avoid Them
Metal Tools
Metal pushers or nail clippers can easily nick the nail bed. Stick to wooden or plastic implements.
Forcing the Acrylic
Applying too much pressure can gouge the natural nail. Patience is key—lift gradually, re‑soak if needed.
Skipping Soak
A rushed process often leads to uneven removal and potential injury. Always allow the acrylic to soften fully.
Neglecting Aftercare
Without proper moisturization, nails can become brittle and prone to splitting. Make aftercare a non‑negotiable part of the routine.
Debunking Myths
Do Acrylics Always Damage Nails?
When removed properly, acrylics leave minimal impact. The key is gentle soaking and careful lifting.
Is Vinegar Safe for Soaking?
Acidic solutions like vinegar can help dissolve acrylic, but use sparingly. Over‑exposure can dry out the natural nail.
FAQ
How long should I soak my nails?
Most nails respond well to 10–15 minutes of soaking. If the acrylic remains stubborn, extend the soak by 5 minutes at a time.
Can I use a nail clipper during removal?
No. Nail clippers are designed to cut the nail plate, not to lift acrylic. Use a cuticle pusher instead.
What if the acrylic is stuck?
Re‑soak for an additional 5–10 minutes. If it still won’t lift, gently tap the nail surface with a wooden stick to create micro‑cracks that allow the acrylic to separate.
Do I need to file my nails after removal?
Yes. Light filing smooths the nail bed and removes any uneven edges, preventing snagging when you apply new polish or acrylic.
When should I see a professional?
If you notice significant damage, infection signs, or if the acrylic is deeply fused, consult a licensed nail technician for safe removal.
Conclusion
Removing acrylic nails at home is entirely doable with the right tools, patience, and a gentle approach. By following this detailed guide, you’ll protect your natural nails and keep them healthy for future manicures. For more nail care insights and trend updates, visit our Nails Palist website. And for a deeper dive into acrylic nail composition and safety guidelines, you can read more on Wikipedia’s acrylic nail page.
Leave a Reply