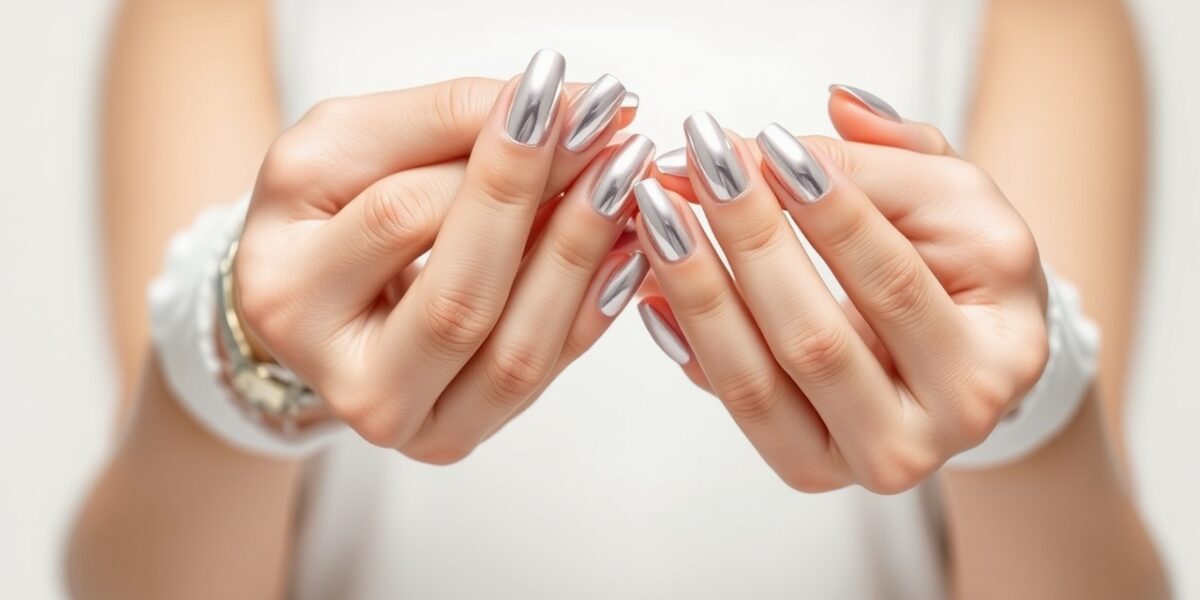
Chrome nail ideas have surged from niche, high‑end looks to mainstream, everyday glam. The爆炸 of reflective, mirror‑like finishes on fingertips turns an ordinary manicure into a statement of modernity and confidence. Whether you’re a seasoned nail aficionado or a first‑time experimenter, this guide will walk you through the history, techniques, tools, and creative possibilities that make chrome nails a must‑try trend for spring, summer, and beyond.
1. The Rise of Chrome Nails: A Quick History
Chrome, as a material, has long been associated with sleek automotive finishes and polished machinery. In the beauty world, the concept first appeared in the 1970s with metallic nail polishes that reflected light in a subtle sheen. The 1990s brought the first “mirror” nail polishes, but it wasn’t until the 2010s—when social media influencers began posting high‑definition images—that chrome truly exploded into popularity. Today, the term “chrome” encompasses a range of finishes: from the subtle silver mirror to bold, glitter‑laden powders that catch the eye in any lighting.
2. Why Chrome Nails Are Trending Right Now
- Versatility: Chrome works with almost any outfit—from a roller‑skate‑ready neon dress to a tailored business suit.
- Light‑Reflecting: The high‑gloss surface amplifies natural light, making fingers appear longer and nails look more polished.
- Future‑Forward Aesthetic: The metallic sheen evokes a cyberpunk vibe, appealing to Gen Z and millennial audiences craving unique style.
- Seasonal Adaptability: Chrome can be paired with pastels for spring, neutrals for fall, or deep jewel tones for winter.
- Low Maintenance: Once cured, chrome finishes resist chipping better than many matte polishes, keeping your manicure pristine longer.
3. Essential Tools & Materials for Chrome Nail Ideas
While you can find many chrome products at drugstores, achieving a flawless, salon‑grade finish often requires a few specialized items. Below is a comprehensive list of everything you’ll need.



- High‑Gloss Base Coat: Look for a clear, UV‑cured base that provides a smooth, reflective surface.
- Chrome Powder (or Gel): Available in silver, rose gold, bronze, and even neon shades. Powder is lighter and easier for beginners; gel offers a thicker, more durable finish.
- Fine‑Tip Brush or Sponge: For precise application of powder or gel, especially in geometric patterns.
- Top Coat with UV Protection: A high‑gloss top coat that seals the design and extends wear.
- Lint‑Free Wipes & Micro‑Brush: For touch‑ups and correcting mistakes.
- Cuticle Oil & Nail Strengthener: To keep nails healthy beneath the chrome.
- UV/LED Lamp: If you’re using gel or a UV‑cured base.
- Polish Remover & Cotton Pads: For safe removal after the manicure is done.
- Optional: Glitter, Rhinestones, or Pearl Accents: For adding extra flair to chrome designs.
4. Step‑by‑Step Guide to Achieving Chrome Nail Ideas
4.1 Prep Your Nails (5–7 Minutes)
1. Remove Old Polish: Use a gentle remover that won’t strip cuticle oils. Patience here prevents a weak base for your chrome layers.
2. Shape & Buff: File nails into your preferred shape (square, almond, stiletto). Buff lightly to remove shine, creating a textured surface for better adhesion.
3. Clean & Moisturize: Wipe nails with a lint‑free wipe and apply cuticle oil. A hydrated nail bed ensures the base coat adheres evenly.
4.2 Apply the High‑Gloss Base (2–3 Minutes)
1. Coat: Apply a thin layer of high‑gloss base coat. If using UV/LED cured base, cure for 30–60 seconds.
2. Second Coat: For extra shine, apply a second layer and cure again.
4.3 Chrome Powder or Gel Application (10–15 Minutes)
Depending on the style you choose—mirror nails, chrome powder, or chrome accents—the technique varies slightly.
Mirror Nails (Pure Chrome)
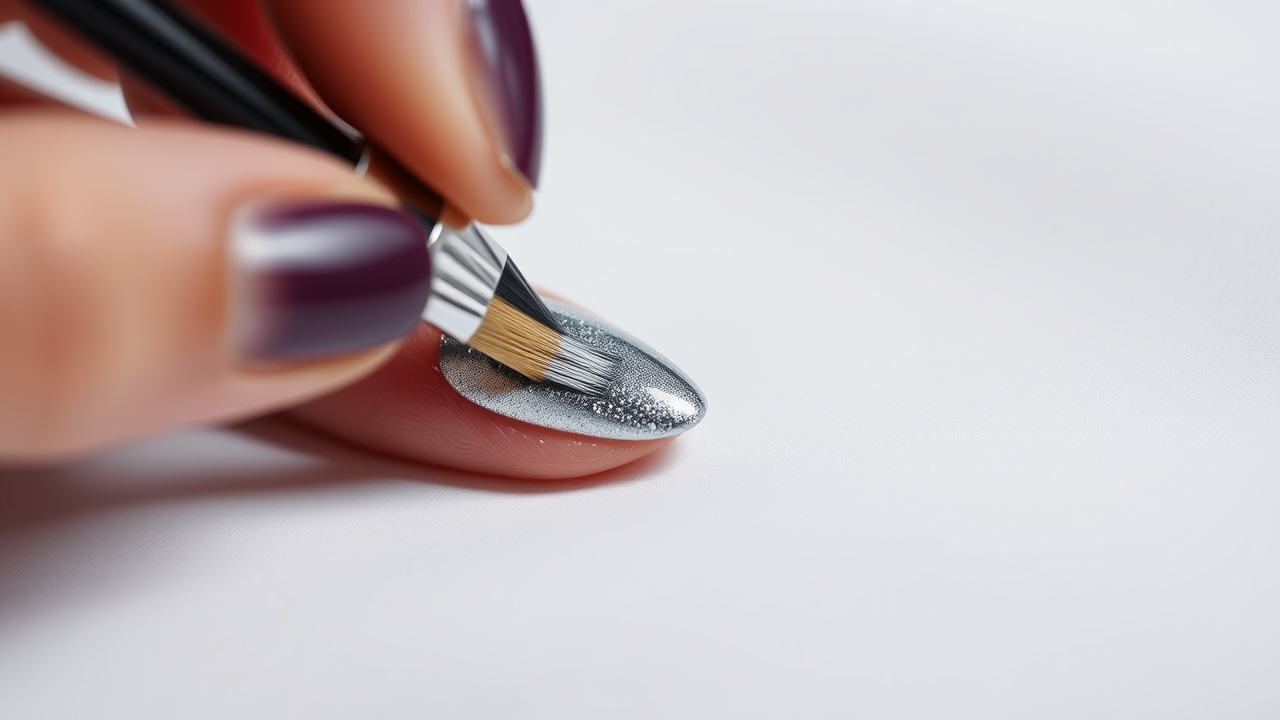
1. Dust Powder: Lightly dust chrome powder over the damp base, ensuring even coverage. Let it dry for 30 seconds.
2. Seal: Apply a thin top coat and cure if gel‑based.
Chrome Powder Ombre
1. Bottom Layer: Start with the darkest shade at the cuticle. Apply a thin layer and let it set.
2. Gradient: Gradually add lighter shades toward the tip, blending each color with a clean brush or sponge.
3. Final Seal: Finish with a top coat.
Chrome Accents
1. Design: Paint your chosen accent (line, star, or tiny pearl) with a fine brush.
2. Chrome Layer: Lightly dust a thin layer of chrome powder over the accent, allowing it to reflect.
3. Seal: Apply top coat.
4.4 Seal the Design (2–3 Minutes)
Finish with a high‑gloss top coat. For maximum shine, apply a second top coat and cure under UV/LED lamp. This step locks in the chrome finish and protects against everyday wear.
5. Creative Chrome Nail Ideas & Design Variations
Chrome isn’t just a single shade; it’s a canvas for creativity. Below are five design ideas that cater to different tastes.
5.1 Classic Mirror Nails
All‑over sewn‑in chrome powder gives a subtle, reflective look. Pair with a neutral dress for a timeless look.
5.2 Metallic Gradient Ombre
Blend rose gold at the base with silver at the tip. This gradient offers depth while maintaining a high‑shine finish.
5.3 Chrome with Geometric Patterns
Use a thin brush to paint a black line or diamond shape on a chrome background. The contrast highlights the reflective surface.
5.4 Chrome Accents with Glitter
Apply a single line of glitter along the cuticle on a chrome base. The glitter catches light, creating a sparkling highlight.
5.5 Chrome with Pearl or Rhinestone Embellishments
Place a single pearl or rhinestone on a chrome background. The reflective surface makes the accent pop like a tiny star.
6. Color Pairings & Seasonal Ideas for Chrome Nail Ideas
Chrome’s versatility shines when paired with complementary colors. Below are seasonal suggestions.
- Spring: Pair chrome with pastel pink or mint green for a fresh, airy vibe.
- Summer: Combine chrome with neon hues (electric blue, hot pink) for a beach‑ready look.
- Fall: Match chrome with deep burgundy or forest green for a sophisticated fall palette.
- Winter: Pair chrome with metallic gold or silver for a holiday‑ready sparkle.
7. Maintenance Tips for Long‑Lasting Chrome Nails
- Daily Cuticle Care: Apply cuticle oil twice a day to keep nails moisturized.
- Avoid Harsh Chemicals: Wear gloves when using detergents or cleaning solutions.
- Touch‑Up Top Coat: Reapply a thin top coat every 4–5 days to maintain shine.
- Gentle Removal: Use a non‑acetone remover to prevent lifting the chrome layer.
- Store Properly: Keep nails in a cool, dry place to prevent warping.
8. Common Mistakes & How to Fix Them
- Too Much Powder: If clumps form, lightly buff the surface and reapply a thin layer.
- Uneven Gloss: A dull spot indicates a missed top coat. Reapply a thin layer where needed.
- Fading Color: Often caused by an under‑cured base coat. Ensure proper curing before adding chrome layers.
- Peeling: Usually due to a weak base. Apply a second base coat and cure fully before powder application.
- Cracking: Happens when the nail dries too quickly. Keep the top coat thin and allow it to dry naturally.
9. DIY vs. Salon: Which Option Works Best?
For those new to chrome, a salon visit guarantees a flawless finish, especially for intricate powder designs. However, with practice, DIY enthusiasts can master the technique at home. Seek out tutorial videos on chrome (metal) to understand the reflective properties and achieve a professional look at home.
10. Frequently Asked Questions (FAQ)
10.1 How long does a chrome manicure last?
With proper care, a chrome manicure can last 2–3 weeks. The high‑gloss top coat protects against everyday wear, but regular touch‑ups help maintain shine.
10.2 Can I use regular nail polish for chrome?
Regular polish won’t achieve the same reflective quality. Chrome requires a high‑gloss base or a dedicated chrome powder/gel for the best results.
10.3 Is chrome safe for natural nails?
Yes, as long as you use a quality base coat and avoid over‑thick layers. Keeping nails moisturized and not over‑exposing them to harsh chemicals keeps them healthy.
10.4 What’s the difference between chrome powder and chrome gel?
Chrome powder is lightweight and dries quickly, making it ideal for beginners. Chrome gel offers a thicker, more durable finish that requires UV/LED curing but lasts longer.
10.5 Can I combine chrome with other nail art styles?
Absolutely! Chrome can serve as a backdrop for minimalist designs, geometric patterns, or even watercolor accents. The reflective surface amplifies any added detail.
With these insights, you’re ready to experiment, create, and maintain stunning chrome nails that turn heads and reflect your personal style. Happy painting!
Leave a Reply