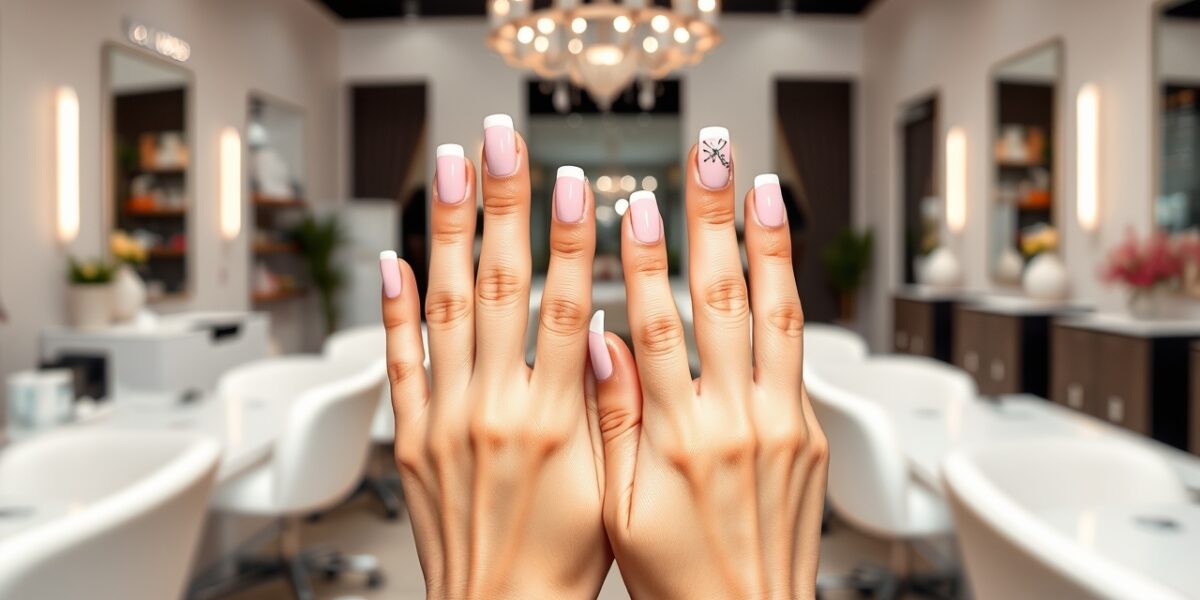
Acrylic nail designs can transform your fingertips into a canvas of creativity, offering endless possibilities from understated chic to daring drama.
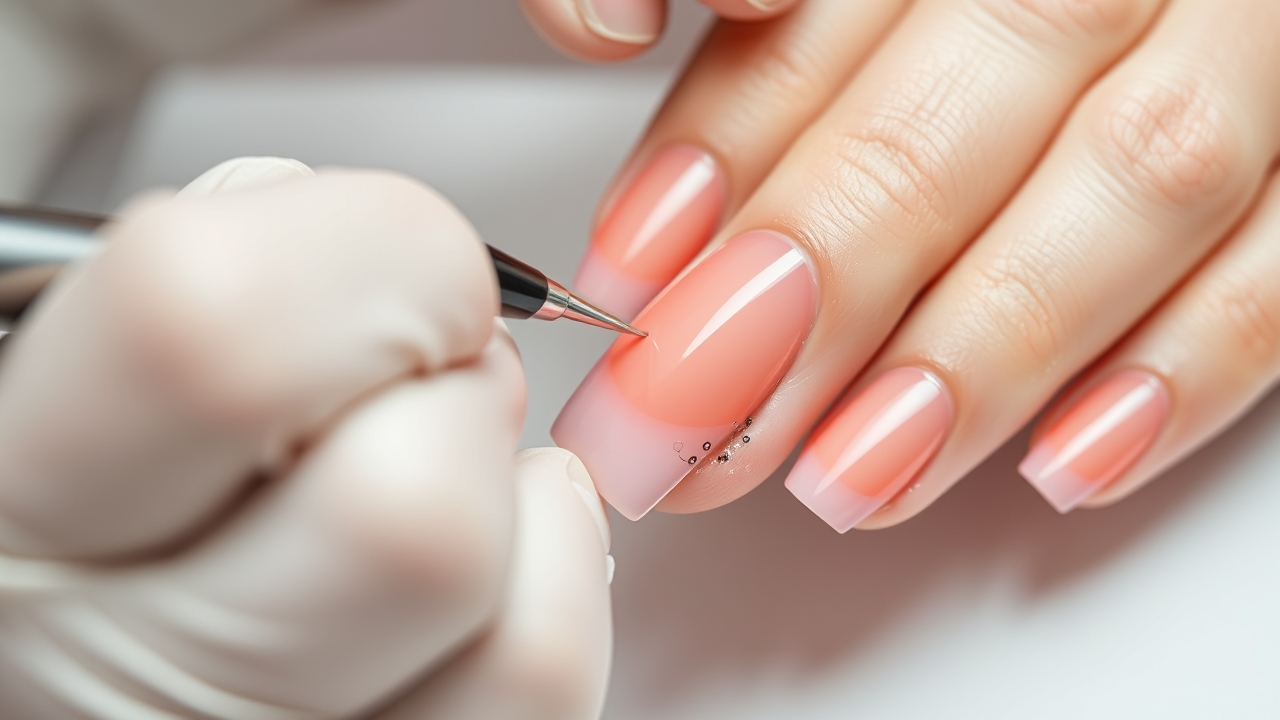
Whether you’re a seasoned nail enthusiast or just experimenting, understanding the fundamentals of acrylic nail designs is essential to achieve a flawless look. Acrylics are polymer-based products that harden into a durable shell, giving you the flexibility to create intricate patterns and robust finishes without compromising nail health.
Before diving into the 12 design ideas, it’s helpful to walk through the basic steps that every acrylic application shares. A solid foundation sets the stage for brilliance.



Acrylic Nail Designs: From Subtle to Bold
Below we break down each style, offering concrete examples, color palettes, and finishing techniques that elevate the look from everyday to unforgettable.
Acrylic Nails Ideas for a Classic French Look
This timeless style never goes out of fashion. Start with a neutral base coat and paint the tips a soft pink or ivory. Finish with a glossy top coat. The simplicity of the classic French accent highlights the natural nail shape while adding a touch of elegance.
Long Acrylic Designs with Soft Pastel Ombre
Ombre is a favorite for those who want depth without drama. Apply a light base color and blend a slightly darker shade toward the cuticle. The gradient effect is subtle yet eye‑catching, perfect for office or casual outings.
Acrylic Nail Art Featuring Bold Black and Gold
For a striking contrast, pair matte black with shimmering gold accents. Paint the entire nail black, then use a fine brush to create thin gold stripes or geometric shapes. The combination delivers a glamorous look that’s ideal for evenings.
Glittered Neon Tips for a Sparkling Edge
Neon tips add a pop of color and sparkle. Paint the nail in a neutral tone, then apply neon gel or acrylic paint to the tips. Sprinkle a touch of glitter over the neon for a festive, high‑energy finish.
Floral Embellishment on Acrylic Nails
Delicate flowers bring a feminine touch. Use a thin brush to outline small blooms on a pale background. Accent with a glossy top coat to preserve the delicate detail. This design is perfect for spring or bridal events.
Marble Pattern Acrylic Nail Designs
Marble looks sophisticated and effortless. Start with a white or cream base, then swirl in black or navy pigment with a marbling tool. The random pattern mimics real marble, giving a luxe feel.
Geometric Shapes for a Modern Twist
Clean lines and sharp angles create a modern aesthetic. Paint the nail in a solid color, then use a stencil or freehand technique to add triangles, squares, or zig‑zag patterns. Finish with a matte top coat for a contemporary vibe.
Metallic Chrome Finish for a Futuristic Look
Chrome acrylics reflect light and give an ultra‑modern edge. Apply a silver or holographic base, then seal with a high‑gloss clear coat. The result is a mirror‑like finish that catches every eye.
3D Rhinestone Accents on Acrylic Nails
Adding rhinestones elevates any design. Use a nail adhesive to place small rhinestones along a line or in a cluster. Surround them with a contrasting color or keep the rest of the nail plain to let the stones shine.
Animal Print Detail for a Wild Vibe
Animal prints are bold and playful. Paint a neutral base, then outline a leopard or zebra pattern with a thin brush. Add a glossy top coat to make the print pop.
Acrylic Set Ideas for a Seasonal Holiday Theme
Holiday themes can be festive and fun. For Christmas, use red and green with a touch of glitter. For Halloween, incorporate orange and black with spooky shapes. Seasonal accents keep your nails relevant all year long.
Minimalist Matte Acrylic Nail Designs
Matte finishes are trending for their understated sophistication. Paint the nail in a single color and apply a matte top coat. The lack of shine gives a subtle, modern look that’s surprisingly striking.
Choosing the Right Acrylic Shade
Color selection is the first step toward a stunning set. Consider your skin tone, outfit, and occasion. Warm undertones look great with earthy browns, terracotta, and mustard; cool undertones shine in sapphire, lavender, and blush. For a bold statement, contrast the base with a bright accent—think cobalt on a nude base or neon on a matte black.
Essential Tools and Materials
- Base and top coats: Protect the nail and seal the design.
- Acrylic powder and liquid monomer: Mix to create the polymer.
- Brushes: A flat Easy Brush for the base coat and a fine tip brush for detailing.
- Marbling tool or sponge: For ombre and marble effects.
- Stencil kit: For geometric or intricate patterns.
- Cuticle pusher and nail file: For shaping and smoothing.
- Glitter, rhinestones, or decals: For embellishments.
- Gloves: Protect nails during household chores.
Step‑by‑Step Acrylic Nail Application
1. Prep the Natural Nail
Trim and file to a uniform shape. Push back cuticles gently with a cuticle pusher. Clean the nail surface with rubbing alcohol to remove oils, ensuring a strong bond.
2. Apply the Base Coat
Use a thin layer of base coat to create a smooth canvas. Let it dry for 30–60 seconds before moving to the acrylic.
3. Mix the Acrylic
Pour a small amount of liquid monomer into the mixing cup. Add a single bead of powder, swirl, and mix until a smooth, pliable consistency forms. Avoid over‑mixing, which can cause the acrylic to harden too quickly.
4. Apply the Acrylic to the Nail
Using the flat brush, lift the acrylic onto the nail, starting at the cuticle and moving toward the tip. Build thickness gradually—two to three layers are typical for a long set. Allow each layer to set for 30–45 seconds before adding the next.
5. Shape and File
Once the acrylic has hardened, file the edges to your desired shape—square, almond, or stiletto. Use a gentle, circular motion to avoid splitting.
6. Finish with Top Coat
Apply a clear top coat to seal the design. For a glossy finish, use a high‑gloss top coat; for a matte look, use a matte top coat. Let each coat dry for 30 seconds before applying the next.
7. Add Design Elements
Now is the time to incorporate the creative aspects: paint French tips, swirl in ombre, or place rhinestones. Use a fine brush for precision. Allow each detail to dry before applying a final top coat.
Maintenance & Longevity
With proper care, acrylics can last 2–3 weeks. Here’s how to keep them looking fresh:
- Keep nails trimmed: Shorter nails hold acrylics better and reduce the risk of lifting.
- Use a base coat: A protective layer prevents staining and provides a smooth surface.
- Apply a top coat: A sealant protects the design and extends wear.
- Avoid harsh chemicals: Gloves protect acrylics during dishwashing or cleaning.
- Schedule regular touch‑ups: A quick buff and top coat can keep the look fresh for weeks.
Common Mistakes to Avoid
- Over‑thick application: Too much acrylic can crack or lift. Aim for a thin, even layer.
- Skipping the buff: A smooth surface is crucial for a flawless finish.
- Neglecting nail health: Ensure the natural nail is healthy before applying acrylics.
- Using expired acrylic: Old polymer can lead to weak or discolored nails.
DIY vs Salon: Choosing the Right Path
If you prefer a hands‑on approach, a DIY kit can be a fun project. However, a professional salon guarantees precision and reduces the risk of nail damage. For more inspiration and tips, check out our nail trend guide.
Scientific Insight on Acrylics
According to the Wikipedia entry on acrylic nails (https://en.wikipedia.org/wiki/Acrylic_nail), acrylics are a polymer-based product that hardens when exposed to air. While they offer durability, it’s important to practice proper hygiene to avoid infections.
Frequently Asked Questions
- Acrylic nail designs: how long do they last? A well‑applied acrylic set can last 2–3 weeks with proper care. Touch‑ups can extend this period.
- Can I use acrylic nail designs on natural nails? Yes, but ensure your nails are clean, trimmed, and free of cuts to prevent lifting.
- What maintenance is required for acrylic nail designs? Regular top‑coat refills, gentle buffing, and protective gloves during chores keep them pristine.
- Are acrylic nail designs safe for sensitive skin? While generally safe, some people may react to the chemicals. Test a small patch first.
- How to remove acrylic nail designs without damage? Soak nails in acetone for 10–15 minutes, then gently lift with a cuticle pusher. Avoid forceful removal.
Leave a Reply