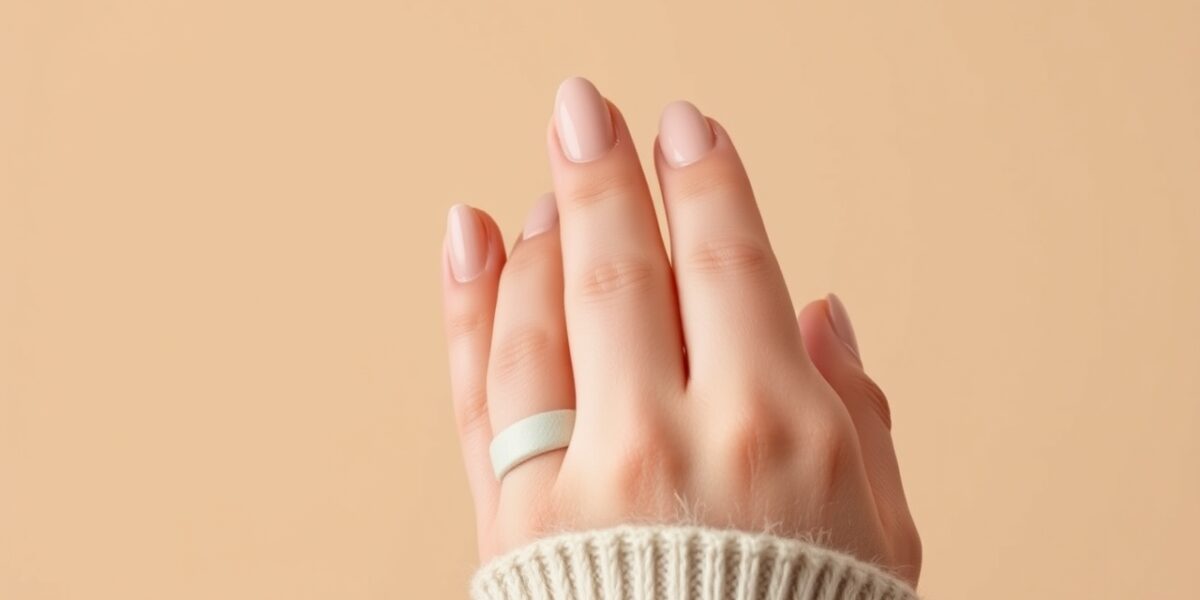
Almond nail designs have earned their reputation as the go-to silhouette for anyone who wants a manicure that balances femininity with structural integrity. After years of observing how nail shapes interact with hand anatomy, I’ve found that the almond shape consistently outperforms its rivals by mirroring the natural curve of the cuticle while extending the visual length of the finger.
Why Almond Shaped Nails Work for Everyone
The secret lies in geometry. Unlike square nails, which can make short fingers look blunt, or stiletto nails, which feel aggressive in a professional setting, the almond shape tapers gently to a rounded point. This subtle narrowing creates an optical illusion of elongation, making even the widest nail beds appear sleek and proportionate.
Clients with broader nail beds often ask how to make their nails look slimmer. By narrowing the tip, we shift focus from width to length, offering a silhouette that works on natural nails, gel overlays, and full extensions alike.



The Difference Between Almond and Oval
Many people conflate almond and oval shapes. While both are rounded, the oval is wider at the tip, whereas the almond tapers more sharply, resembling the actual nut it’s named after. That slight variation in taper is what gives the almond its signature “lifted” look.
Choosing Your Base: Natural vs. Almond Acrylics
Your nail health and lifestyle dictate the best base. Strong natural nails can thrive with a simple manicure, but if you’re prone to breakage or crave extreme length, almond acrylics are the safest bet.
- Natural Nails: Require consistent filing and a high‑quality strengthener. They’re breathable but offer minimal structural support.
- Gel‑X or Soft Gel: A light‑weight middle ground. They provide extension length while feeling closer to natural nails.
- Almond Acrylics: The most durable option. Acrylic allows the technician to build a precise apex—the highest point of the nail—preventing snaps at the stress point.
Elegant Almond Nails for a Professional Setting
When designing for corporate environments, the mantra is “quiet luxury.” Elegant almond nails achieve this with precision and a polished finish, rather than loud colors.
The Modern French Tip
The classic white tip can feel dated. For an almond shape, I recommend a micro‑French: a line so thin it almost disappears, tracing only the very edge of the nail. Pair this with a soft cream or sheer peach instead of stark white for an organic, high‑end vibe.
Milky Neutrals and Glazed Finishes
Milky white, sheer blush, and soft taupe are the pillars of refined design. A sheer base lets the natural nail line peek through, preventing the hand from looking “heavy.” Adding a chrome powder over a milky base creates a pearlescent glow that has become a staple in modern salons.
Creative Almond Nail Art Trends
Once the shape is mastered, the surface becomes a canvas. The almond’s balanced vertical space is perfect for detailed art.
Abstract Swirls and Negative Space
Negative space designs extend the manicure’s lifespan. By leaving parts of the natural nail exposed, the regrowth at the cuticle is less noticeable. I love pairing a nude base with thin, organic swirls in contrasting colors like deep emerald or terracotta.
Botanical and Floral Accents
The tapered tip of the almond shape is ideal for cascading floral designs. Instead of centering a flower, try placing a small vine or a single leaf that follows the curve of the side wall. This emphasizes the shape rather than distracting from it.
Geometric Precision
Sharp geometric lines contrast beautifully with the kugle shape. A single vertical line from cuticle to tip can elongate the finger, while a small dot at the base adds a minimalist, modern touch.
How to Shape Almond Nails at Home
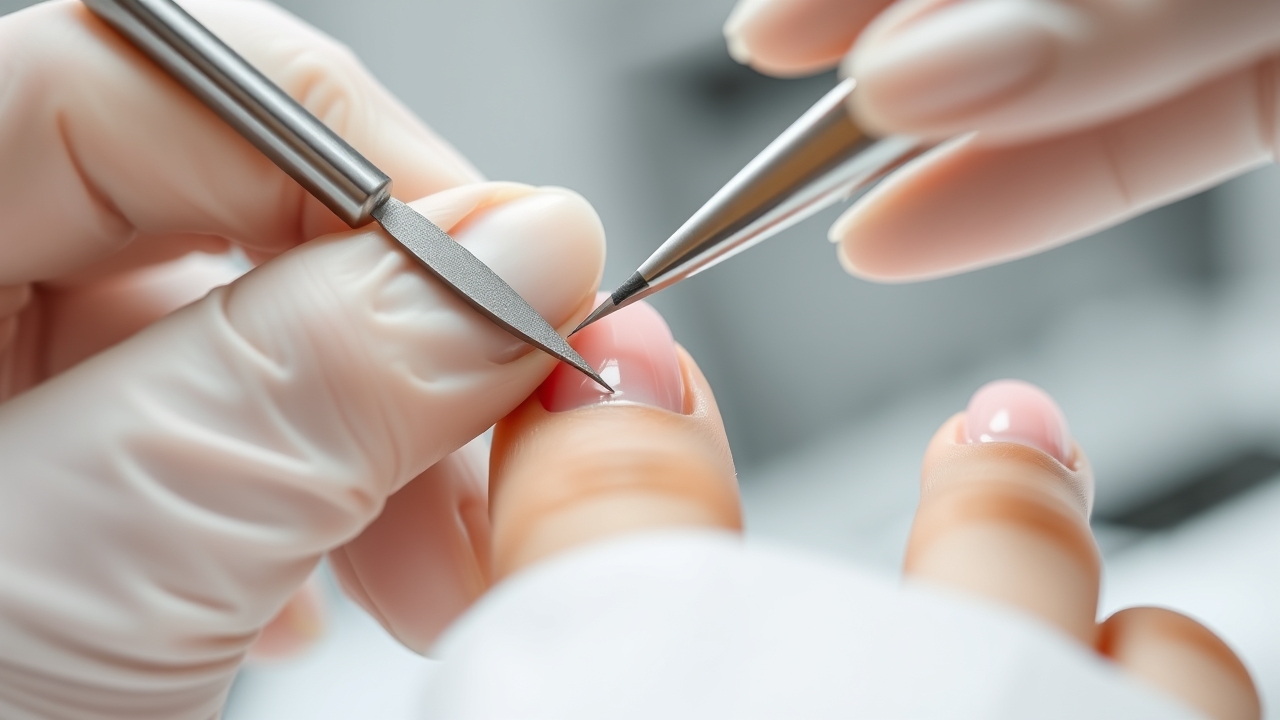
Achieving the perfect taper takes practice. If you’re doing this yourself, the most important tool is a high‑grit glass file, which prevents the nail layers from peeling.
- Find Your Center: Locate the exact center of your nail tip. This is your guide point.
- Straighten the Sides: File the side walls straight up from the nail bed for a few millimeters before you start tapering. This ensures the nail remains strong.
- The Angled Curve: File from the side wall toward the center point in a long, sweeping motion. Avoid “chewing” at the nail with short strokes.
- Round the Tip: Once you have a point, gently round off the very top so it isn’t sharp.
- Symmetry Check: Look at your nail from the front (looking down your finger) to ensure both sides are even.
Maintaining Your Manicure
Almond nails, especially extensions, require specific care to avoid lifting or breaking. Because the tip is narrower than the base, the stress is concentrated in the middle of the nail.
I always tell clients to stop using their nails as tools. Opening soda cans or peeling off stickers puts immense pressure on the apex of the nail, which can lead to cracks. Using a cuticle oil daily is non‑negotiable; it keeps the surrounding skin supple and prevents the acrylic from lifting at the edges.
For more professional tips on maintaining your look, check out our comprehensive nail care guides to keep your manicure fresh between salon visits.
Color Palettes That Enhance the Shape
Certain colors interact differently with the almond silhouette. While any color works, some specifically highlight the elegance of the shape.
Deep Jewel Tones
Burgundy, navy, and forest green look stunning on almond nails. The richness of these colors combined with the sophisticated shape creates a look of authority and grace. These are particularly effective for autumn and winter seasons.
Pastels and Neons
In the summer, a bright neon or a soft pastel can make the almond shape feel playful. Lavender, mint, and pale lemon are great choices. To keep neons from looking too “loud,” I recommend a matte top coat, which softens the intensity of the pigment.
The Power of Nudes
Nude shades that match your skin tone create a seamless transition from the finger to the nail. This is the ultimate trick for maximizing length. Whether you choose a cool‑toned beige or a warm caramel, a nude almond nail is the most timeless choice possible.
Technical Considerations for Nail Pros
For the professionals reading this, the key to a long‑lasting almond set is the placement of the apex. If the apex is too low, the nail will break. If it is too high, it looks bulky and unnatural.
When applying almond acrylics, I focus on a gradual build‑up. The C‑curve must be consistent across all ten fingers to ensure a uniform look. Using a medium‑sized brush allows for a smoother application of the bead, reducing the amount of filing required at the end. You can learn more about the chemical composition of nail enhancers on Wikipedia to better understand how different polymers bond to the natural nail.
Common Mistakes to Avoid
Even experienced DIYers make a few common errors when attempting almond nail designs.
- Over‑filing the Side Walls: Filing too deep into the corners can weaken the nail and lead to painful breaks. Always leave a small amount of support at the stress area.
- Making the Tip Too Sharp: If the tip is too pointy, you’ve moved into “stiletto” territory. This makes the nail more prone to snagging and breaking.
- Ignoring the Cuticle: A great shape is wasted if the cuticle area is messy. Always ensure the polish is clean and the skin is hydrated.
- Using the Wrong File Grit: Using a coarse file on natural nails can cause splitting. Stick to 180/240 grit for shaping and finishing.
Summary of Almond Style Options
To help you decide on your next look, here is a quick breakdown of the styles we’ve discussed:
| Vibe | Recommended Design | Best Base |
|---|---|---|
| Professional | Micro‑French or Milky White | Gel Overlay |
| Artistic | Abstract Swirls / Negative Space | Almond Acrylics |
| Romantic | Botanical Accents / Soft Pinks | Natural / Gel‑X |
| Bold | Jewel Tones / Matte Neons | Almond Acrylics |
Eco‑Friendly Almond Nail Practices
For the environmentally conscious, choosing sustainable polish and refillable acrylic kits can reduce waste without compromising style. Look for brands that use low‑VOC formulas and offer refill programs. When you’re ready to replace your almond acrylics, many salons now accept returns for refill kits, allowing you to keep the same base while swapping out the top coat. This simple switch can cut down on plastic waste and keep your nails looking fresh.
Final Thoughts on the Almond Silhouette
The enduring popularity of the almond shape is no accident. It respects the natural anatomy of the hand while providing enough length for artistic expression. Whether you prefer the understated beauty of a nude polish or the dramatic flair of detailed art, this shape offers a solid foundation.
The most important thing is to choose a version that fits your lifestyle. If you work with your hands constantly, a shorter almond with a gel overlay is practical. If you want a high‑fashion statement, long acrylics with a glazed finish will serve you well. Regardless of the choice, the almond shape remains a timeless investment in your personal style.
Frequently Asked Questions
What are the best almond nail designs for short fingers?
For shorter fingers, I recommend sticking to monochromatic looks or nude shades that blend with your skin tone. Avoid horizontal lines or chunky art, as these can “cut” the length of the finger. A sheer, milky white or a soft peach in an almond shape will provide the maximum elongating effect.
Are almond shaped nails stronger than square nails?
Generally, yes. Square nails have sharp corners that are prone to snagging and chipping. The rounded edges of the almond shape reduce the likelihood of the nail catching on clothing or surfaces, which in turn reduces the risk of breaks. However, the strength also depends on the product used (e.g., acrylic vs. natural).
How often should I refill almond acrylics?
Typically, a refill is needed every 2 to 3 weeks. Because the almond shape relies on a precise apex for strength, allowing the growth gap to become too large can shift the balance of the nail, making it more likely to snap at the stress point.
Can I get almond nail art on very short natural nails?
While you can’t get a full almond taper on very short nails, you can achieve a “soft almond” or “oval‑almond” hybrid. As your nails grow, you can gradually file them into the almond shape. In the meantime, using vertical art designs can help mimic the look of length.
Which polish type is best for elegant almond nails?
For a truly high‑end, elegant look, I suggest a high‑gloss gel polish. Gel provides a plump, smooth surface that reflects light beautifully, which enhances the curvature of the almond shape. A top coat with a high‑shine finish is essential for that professional salon glow.
Leave a Reply