When a long acrylic extension snaps, the instinct is to panic. You’re left with a jagged edge that can snag on clothing, feel painful, and even invite infection if the natural nail is exposed. The good news? Most breaks can be repaired at home with a few simple tools and a clear plan.
1. Determine the Severity of the Break
Not every broken acrylic can be salvaged. Take a close look at the nail:
- Hairline crack – a thin split that hasn’t separated the acrylic from the natural nail. These are the easiest to mend.
- Partial snap – the acrylic is broken but still attached to the nail bed. A structural repair is needed.
- Full break – both the acrylic and the natural nail have fractured, often leaving a raw, sensitive surface.
Skip the DIY fix if you see bleeding, deep cuts, or a swollen nail bed. In those cases, hygiene and healing take priority over aesthetics.



2. Gather the Right Supplies
Professional results come from the right materials, not just a bottle of super glue. Assemble these items before you start:
- Cyanoacrylate nail glue (specifically formulated for acrylic work)
- 180‑grit nail file for shaping and smoothing
- Buffing block or fine‑grit sandpaper for a polished finish
- Acetone‑soaked lint‑free wipes to clean the surface
- Tea bag or silk wrap for reinforcement (tiny, clean pieces only)
- Clear top coat or a fresh acrylic powder‑monomer mix for sealing
- Optional: a small brush for precise glue application
3. Step‑by‑Step Repair Process
Step 1 – Clean the Surface
Remove any old polish or oil with acetone. A clean, dry surface is essential for a strong bond. File away any sharp edges so the nail is smooth to touch.
Step 2 – Reinforce the Crack
For a hairline crack or a partial snap, use a tea‑bag or silk strip as a bridge:
- Cut a small piece of the material – just enough to cover the crack plus a 2‑mm margin.
- Apply a thin line of nail glue over the crack.
- Press the strip onto the wet glue, using a toothpick or a short wooden stick to eliminate air pockets.
- Hold for 30–60 seconds until the glue sets.
This creates a fibrous reinforcement that distributes stress and stops the crack from widening.
Step 3 – Smooth the Edge
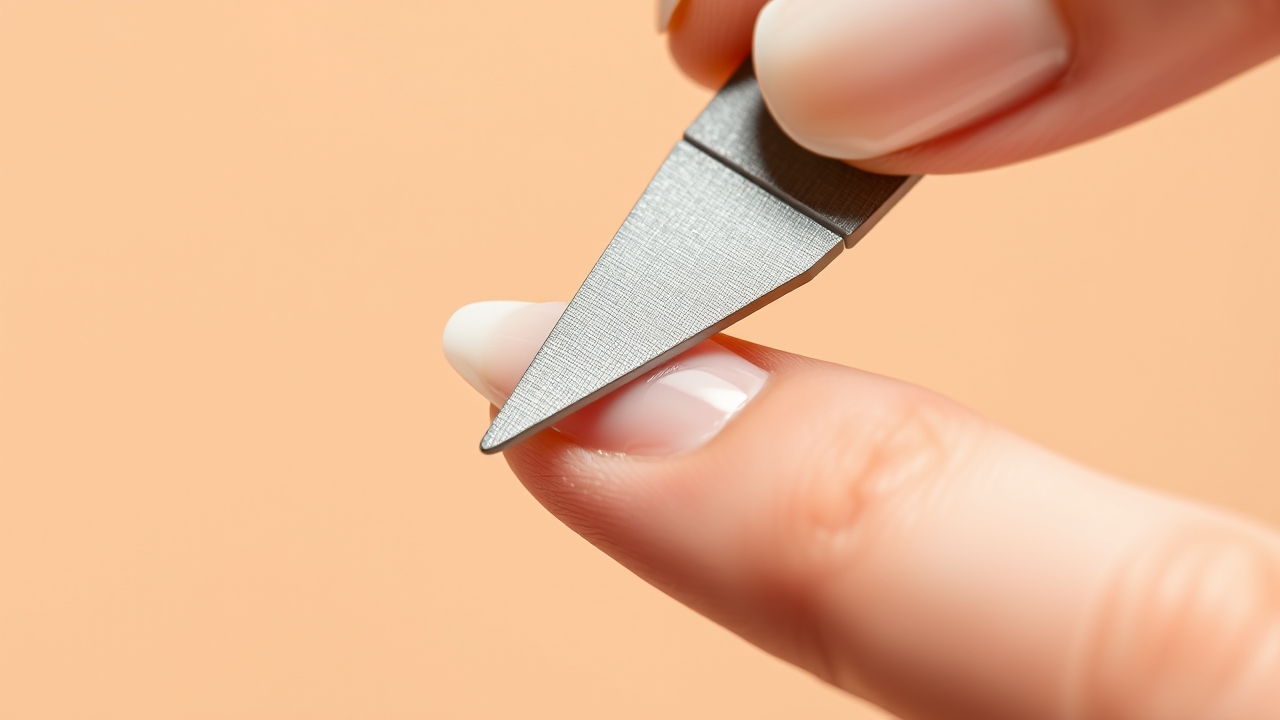
Once the glue has dried, file the reinforced area with the 180‑grit file until it’s flush with the surrounding acrylic. Avoid over‑filing the natural nail; you want the repair to sit just above the nail plate.
Step 4 – Seal the Repair
Apply a thin layer of clear top coat or a fresh acrylic fill. If you’re using acrylic, mix the powder with monomer to a creamy consistency, then apply with a brush or a small applicator tip. Let it cure under a UV/LED lamp if your kit includes one.
Step 5 – Finish the Shape
Use the buffing block to give the nail a glossy finish. Shape the free edge with the file so it matches the adjacent nails. A smooth, even edge reduces the chance of future snags.
4. Dealing with Lifted Acrylics
When the acrylic has peeled away from the nail plate, it creates a pocket for moisture and bacteria. Small lifts can be sealed by gently filing down the edge and applying a fresh layer of acrylic. Large lifts, however, should be removed entirely and the nail refilled. Trying to glue a lifted nail back on traps bacteria and can lead to infection.
5. Prevention Tips from the Pros
- Hydrate the nail bed – apply cuticle oil daily. Acrylics become brittle if the underlying nail dries out.
- Don’t use nails as tools – opening cans or peeling stickers with your nails adds unnecessary pressure on the apex.
- Schedule regular fills – as the nail grows, the center of gravity shifts forward. A timely refill keeps the nail balanced.
- Wear gloves – water weakens the acrylic bond. Even a brief soak can compromise your extensions.
For a deeper dive into maintenance schedules, visit our nail care guides.
6. When a Salon Visit is Necessary
If you encounter:
- Heavy bleeding or a deep cut into the quick.
- Signs of infection: pus, intense redness, throbbing pain.
- Multiple nails lifting or breaking simultaneously.
- Large, stubborn lifts that won’t seal.
These situations call for professional attention. A technician can safely remove damaged acrylic, treat the nail bed, and rebuild the extension with proper technique.
7. Common DIY Mistakes to Avoid
Over‑filing – removing too much natural nail makes it thinner and more fragile.
Excess glue – a thick layer creates a lump that’s hard to smooth and can trap air.
Ignoring the cuticle – glue that seeps into the skin irritates and can cause lifting.
8. Repair Method Comparison
| Method | Pros | Cons | Best For |
|---|---|---|---|
| Nail Glue + Tea Bag | Quick, inexpensive, minimal tools | Temporary, less durable | Hairline cracks, minor snaps |
| Acrylic Powder/Monomer | Strong, long‑lasting | Requires skill, curing time | Major breaks, full refills |
| Hard Gel Overlay | Clear, flexible finish | Needs UV/LED lamp | Reinforcing weak spots |
9. Long‑Term Nail Recovery
After the repair, focus on the natural nail’s health. Avoid heavy gels or acrylics for at least a week to let the nail bed heal. Once healed, apply a keratin‑based strengthener sparingly – too much can make the nail brittle. Massage the matrix with jojoba oil and vitamin E to boost circulation and promote stronger growth.
10. Quick‑Fix Checklist
- Clean with acetone.
- File jagged edges.
- Apply glue and reinforcement strip.
- Buff to a smooth surface.
- Seal with top coat or acrylic fill.
- Shape to match surrounding nails.
Frequently Asked Questions
What if the acrylic has completely detached?
In that case, the bond is broken. Remove the remaining acrylic gently, then either apply a temporary press‑on or schedule a salon refill. Re‑attaching a detached shell can trap bacteria and lead to infection.
Is super glue safe for nail repair?
Super glue is too harsh for the nail plate and skin; it can cause burns or allergic reactions. Stick to nail‑specific cyanoacrylate glue, which is designed to be flexible and skin‑friendly.
How long does a home repair last?
A tea‑bag and glue fix is usually temporary, lasting from a few days to two weeks, depending on finger use. For permanent durability, a professional acrylic refill is recommended.
Why does the same spot keep breaking?
Repeated breaks often stem from a stress point where the nail’s apex is too flat or too far forward. A professional can adjust the nail’s curvature to redistribute weight and reduce strain.
How do I stop a crack from spreading?
Seal the crack immediately with a drop of nail glue or a clear top coat. This blocks moisture and debris from entering the fracture and stops mechanical stress from widening the gap.
Leave a Reply