When you think of a runway show, you often picture gowns that glow under the lights, but the real star of the catwalk is sometimes the subtle shift of color on a nail. Ombre nail designs—where one shade fades into another—have moved from high‑fashion runway to everyday chic in a matter of years. As a beauty editor who’s spent countless hours in salons and at home experimenting, I’ve seen how a well‑executed gradient can instantly lift a look, elongate the fingers, and add a touch of personality that’s both understated and bold.
What Exactly Are Ombre Nail Designs?
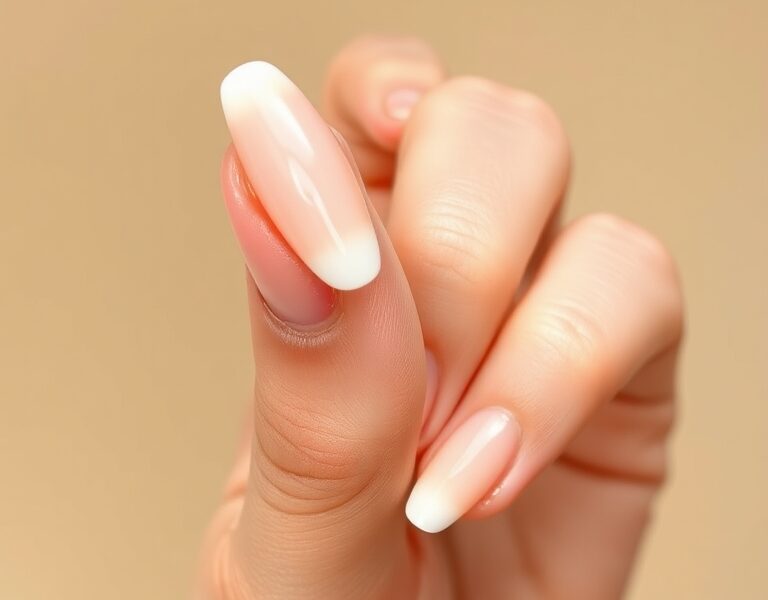
The word ombre comes from French, meaning “shadow.” In nail art, it’s the artful blending of two or more colors so that the transition feels seamless, almost like a sunrise painted on your fingertips. Unlike a traditional French manicure, where a crisp line separates the base from the tip, ombre nails dissolve that boundary, creating a visual flow that can make your nails look longer and more elegant.
People often use “gradient” and “ombre” interchangeably, but there’s a subtle distinction: a gradient can span several colors—think a rainbow—while an ombre typically involves two complementary or contrasting shades. The end goal is the same: a smooth, blurred transition without harsh lines.


Ombre Nails How To: Professional Techniques
Getting that perfect blur isn’t just about a steady hand; it’s about the right tools, the right sequence, and a little patience. Below are the methods I’ve tested, broken down by polish type.
The Sponge Method (Best for Regular Polish)
- Prep the Base: Apply a thin coat of a 2‑in‑1 base/top like Seche Vite Pro. Follow with a solid layer of your lightest color—think a pale blush or soft champagne. Let it dry for 30 seconds to a minute; a tacky surface will cause colors to bleed.
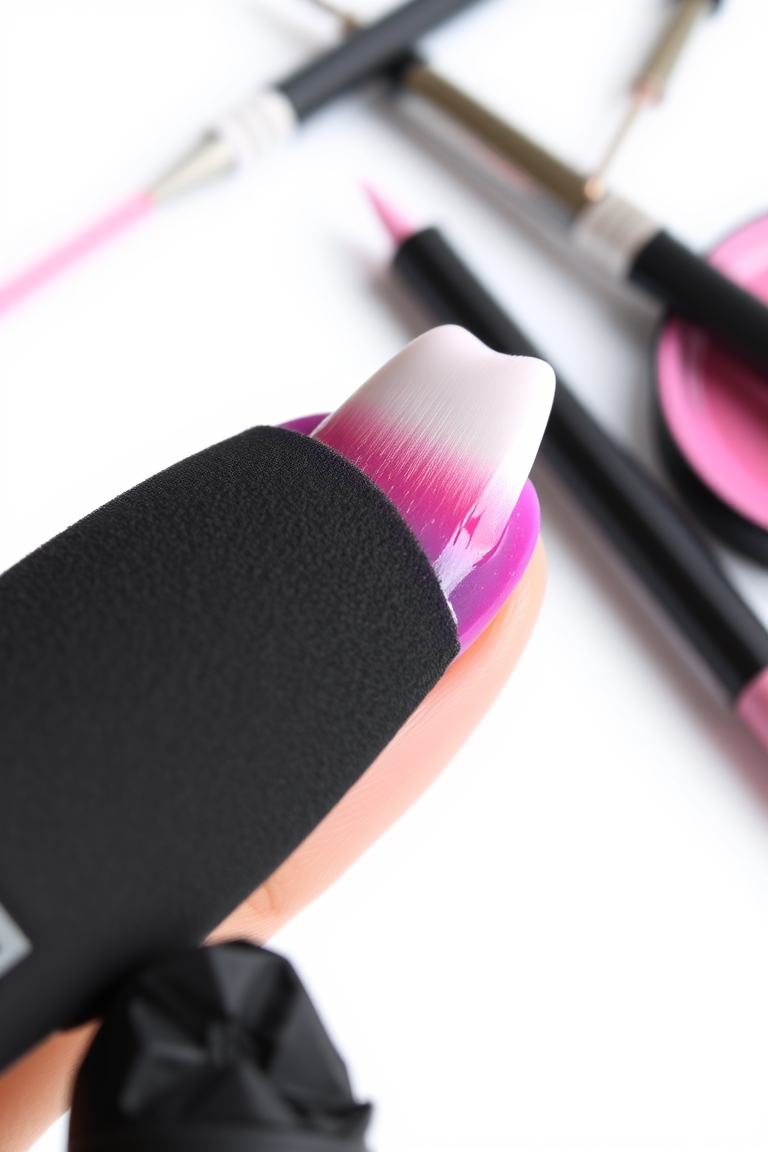
- Prep the Sponge: Cut a 1/4‑inch square of a makeup sponge. Paint a stripe of the darker shade on one side and a stripe of the lighter shade on the opposite side. The sponge should look almost like a miniature paint palette.
- The Dabbing Motion: Lightly dab the sponge onto the nail, starting at the tip and moving toward the cuticle. Keep the pressure gentle—think a feather. Build the color in layers; you’ll usually need 3–4 passes to reach the desired intensity.
- Clean Up: Use a small brush dipped in acetone to wipe away any excess polish around the nail edge.
- Seal the Deal: Finish with a high‑gloss top coat like OPI’s 10x. The top coat not only adds shine but also blends the layers, erasing any visible lines from the sponge.
The Brush Blending Method (Best for Gel)
Gel’s tacky nature gives you a window of opportunity to blend on the fly. Here’s how I do it:
- Apply two colors side by side, leaving a small gap where they meet. A 0.5‑mm liner brush works best for this.
- While the gel is still wet, use the brush to gently “wiggle” the boundary, letting the darker shade merge into the lighter. Keep the strokes short and controlled.
- Once the blend looks smooth, cure under a UV/LED lamp. Repeat the blend if necessary before the final cure.
The Airbrush Technique (The Pro Standard)
Airbrush kits—though pricey—offer the most flawless gradient. The machine sprays a fine mist of pigment, allowing you to create a gradient that’s almost impossible to replicate by hand. The process requires a clean, well‑ventilated space and a high‑quality airbrush kit, but the results are worth the investment for those who crave perfection.
Creative Ombre Manicure Ideas for Every Season
One of the joys of ombre is its adaptability. Pick a palette that matches the season, or let the colors tell a story.
Spring: Pastel Transitions
Think of a garden in bloom—soft lavender fading into mint, or a pale yellow melting into baby pink. A vertical ombre—blending from one side of the nail to the other—adds a modern twist that feels playful yet sophisticated.
Summer: Neon and Tropical Vibes
Summer demands boldness. Hot pink into bright orange, electric blue into deep turquoise—these combinations pop on longer shapes like coffin or almond. A neon base coat can amplify the saturation and keep the colors from fading quickly.
Autumn: Earthy Gradients
As leaves turn, so can your nails. Deep burgundy into burnt orange, forest green into golden mustard—these warm tones create a cozy, sophisticated look. The richer the color, the more forgiving the blend; small imperfections are hidden by the depth.
Winter: Icy and Metallic Blends
Silver, white, and navy dominate the winter palette. A “frosted” look—shimmering silver melting into crisp white—works beautifully on a coffin shape. For the holidays, a red‑to‑black gradient offers a moody, glamorous edge that pairs well with evening wear.
Choosing the Right Nail Shape for Gradient Art
The canvas matters. Some shapes accentuate the flow of color better than others.
- Almond: My top pick. The taper creates a natural focal point for the darkest shade, making the transition feel organic.
- Coffin/Ballerina: The flat tip allows a broader area for the secondary color—great for high‑contrast designs.
- Square: Classic, but can make the gradient look “blocked.” Use a soft, diffused blend to soften the edges.
- Stiletto: The sharp point lends drama, drawing the eye straight to the tip of the gradient.
Common Mistakes and How to Fix Them
Even seasoned pros stumble. Here are the most frequent pitfalls and how to correct them.
The “Harsh Line” Problem
A visible line means the polish dried too quickly or the top coat was insufficient. For regular polish, apply a second layer of glossy top coat; for gel, revisit the blend with a liner brush before curing.
Bubbling and Texture
Thick layers on the sponge can leave a pitted surface. Keep the sponge layers thin, and if you’re left with bumps, a leveling base coat or a thin builder gel can smooth the plate before the final top coat.
Color Bleeding
When colors bleed into each other, the gradient turns muddy. Ensure the base color is fully dry before adding the ombre layer, and avoid over‑mixing the boundary in the brush method.
Maintaining Your Ombre Manicure
Because ombre involves multiple layers, it’s slightly thicker than a standard manicure, which can increase lifting risk. Here’s how to keep it fresh:
- Apply cuticle oil daily to keep the skin hydrated and prevent peeling at the edges.
- Reapply a thin top coat every three to four days to maintain shine and protect the blend.
- For a long‑lasting finish, switch to gel. Gel ombre can stay vibrant for up to three weeks without chipping.
Want to learn more about nail health? Check out Wikipedia’s guide on manicures to ensure your natural nails stay strong under the polish.
The Psychology of Color in Ombre
Color isn’t just visual—it’s emotional. Analogous colors (blue and purple, for instance) create harmony and calm, while complementary pairs (blue and orange) inject energy. Unsure where to start? Browse professional nail lists to see which palettes are trending in top salons; seeing pros pair shades can inspire your own experiments.
Advanced Variations of the Ombre Look
Once you’ve mastered the two‑tone blend, it’s time to push the envelope.
The Triple Gradient
Introduce a third shade for depth. For example, start with deep navy at the tip, transition to royal blue in the middle, and finish with sky blue at the base. The result feels layered and dynamic.
Glitter Ombre
Swap one solid shade for glitter polish. Start with a nude or cream base, then apply glitter only to the tips, fading the density toward the cuticle. The subtle sparkle is perfect for weddings or formal events.
Matte vs. Glossy Ombre
The finish can change the vibe entirely. A glossy top coat gives the colors a juicy, vibrant look; a matte top coat offers a velvety, modern feel. I often recommend a “mixed finish”—matte on the nail with a glossy French tip—for a high‑fashion contrast.
FAQ: Everything You Need to Know About Ombre Nails
How do I make ombre nail designs look professional at home?
The secret lies in cleanup and top coat. Use a cleanup brush with acetone for crisp edges, and finish with a high‑quality, self‑leveling top coat to blur any lines. Patience is key—don’t rush the drying between layers.
What is the difference between ombre and gradient nails?
All ombre nails are gradients, but not all gradients are ombre. Ombre typically blends two colors, while a gradient can span multiple shades.
Can I do ombre nails on short nails?
Absolutely. Short nails look great with a subtle, vertical gradient or a light‑to‑dark transition that elongates the finger. Avoid heavy, wide‑band gradients that can make short nails look stumpy.
How long do ombre nails typically last?
Regular polish ombre lasts 5–7 days; gel or acrylic ombre can last 2–4 weeks. Longevity depends on top coat quality and proper prep.
Which nail shape is best for ombre?
Almond and coffin shapes are ideal because they provide a tapered or flat canvas that complements the color flow. However, any shape can work if you adapt your blending technique.
Leave a Reply