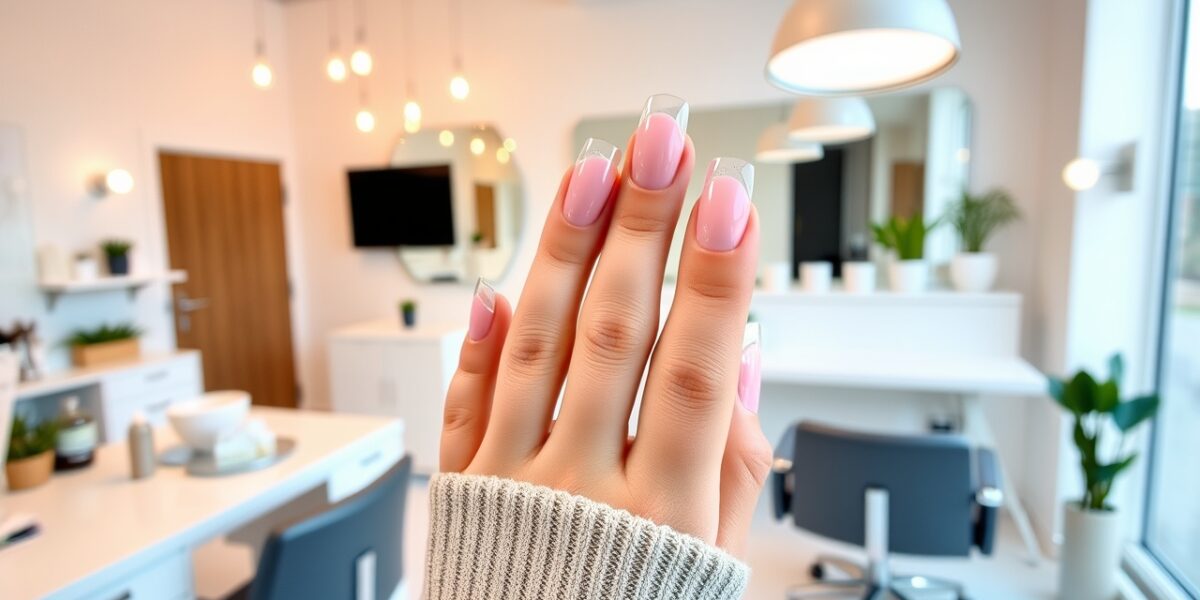
Fixing a broken acrylic nail at home can seem intimidating, but with the right tools and a clear method, you can restore your manicure in minutes. Acrylic nails are popular for their length and durability, yet they can crack, lift, or break when exposed to hard knocks or harsh chemicals. Rather than rushing to a salon, most people prefer a DIY fix. Below is a comprehensive guide that covers everything from the necessary supplies to the exact steps for a safe repair.
Why Broken Acrylic Nails Are Common
Acrylic nails are a composite of a polymer and a liquid monomer that hardens when exposed to air. The process creates a sturdy shell, but the bond between the acrylic and the natural nail can weaken if the nail is over‑polished, if the acrylic is too thick, or if the hand is exposed to excessive moisture. Common triggers include:
- Frequent hand washing with hot water or harsh soaps.
- Using nails as tools (e.g., opening cans, pulling screws).
- Applying strong nail polish removers that contain acetone.
- Inadequate curing time after the acrylic is applied.
- Excessive GAM (glue, acrylic, and moisture) on the nail surface.
When a crack appears, it can spread quickly, causing the acrylic to lift or break entirely. Spotting the problem early and treating it promptly is key to preventing a full nail loss.



How to Spot a Cracked Acrylic Nail Early
Before you dive into a repair, identify the type of damage:
- Surface crack: A thin line that runs across the nail. The acrylic is still attached to the natural nail.
- Lifted section: A chunk of acrylic that has started to separate from the nail bed.
- Broken tip: The nail edge has snapped off, leaving a jagged or uneven finish.
Early detection means you can address a minor crack before it turns into a lift or a full break. Use a magnifying glass if needed to examine the nail surface closely.
Tools You’ll Need
Essential Supplies
- Sharp nail clipper: Trim the broken edge without cutting into healthy nail.
- Fine‑grit nail file (80–120 grit): Smooth edges and shape the nail.
- Small buffer or sanding block: Remove shine and create a rough surface for better adhesion.
- Acetone‑free nail polish remover: Clean the area without damaging acrylic.
- Clear acrylic filler or gel polish: Fill the crack or rebuild the tip.
- Soft cotton pads and a small bowl of warm water: Soak the nail for gentle cleaning.
- Microfiber towel: Dry the finger thoroughly.
- Optional: a small dab of cuticle oil: Moisturize post‑repair.
Optional Extras for a Polished Finish
- UV or LED lamp: If you use gel polish as filler, a lamp will cure it quickly.
- Nail drill with a fine sanding bit: For precise shaping of the repair area.
- Polish remover wipes: For quick cleanup between steps.
Step‑by‑Step Repair Guide
Step 1: Assess and Prepare
Begin by inspecting the nail. If the crack is shallow and the acrylic is still firmly attached, you can proceed with a simple fill. If a section is lifting, you’ll need to remove the loose acrylic before rebuilding.
Place the hand on a clean, flat surface. Remove any loose debris with a cotton swab dipped in acetone‑free remover. Let the nail dry completely.
Step 2: Trim the Broken Edge
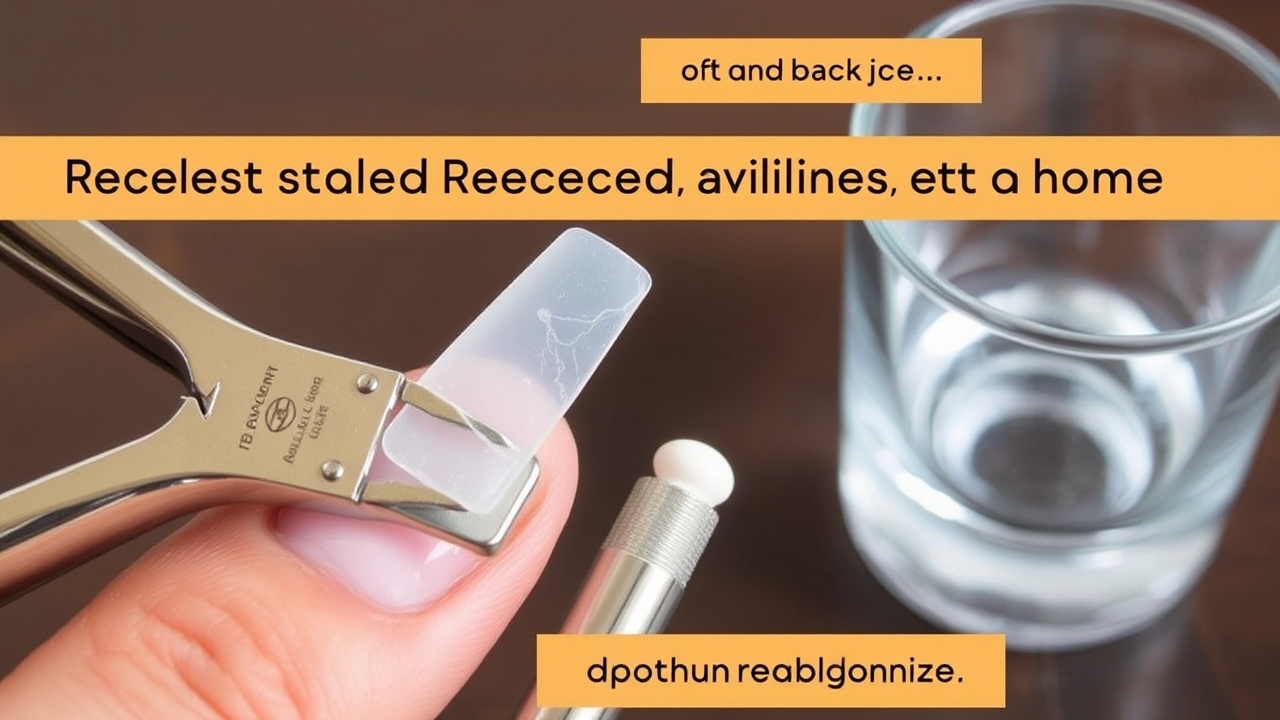
Using the sharp clipper, carefully trim the jagged or uneven edge. Aim to cut just enough to create a clean line—over‑trimming can weaken the nail. If you’re dealing with a lifted section, use the clipper to cut away the loose acrylic entirely.
Step 3: File and Buffer
With the fine‑grit file, shape the nail to your desired length. File along the natural curve of the nail, not against it, to avoid creating new cracks. Once the shape is set, use the buffer or sanding block to lightly sand the surface. This roughens the acrylic, allowing the filler to bond more effectively.
Step 4: Clean the Surface
Soak the finger in warm water for 2–3 minutes to soften any remaining polish or residue. Wipe the nail with an acetone‑free remover to ensure a clean, oil‑free surface. Dry with the microfiber towel.
Step 5: Apply Acrylic Filler or Gel Polish
For a small crack, apply a thin layer of clear acrylic filler over the damaged area. Use a small brush or a nail art tool to spread the filler evenly. Press gently to fill the crack, then allow it to dry for the time specified by the product (usually 5–10 minutes).
If the tip is broken off, you can rebuild it with a clear gel polish. Apply a thin coat of gel polish to the nail bed, then use a small brush to shape the new tip. Cure under a UV or LED lamp according to the gel’s instructions.
Step 6: Polish and Seal
Once the filler or gel has cured, file the surface again to smooth it out. Buff the nail lightly to restore shine. Finish with a clear topcoat to protect the repair and give the nail a glossy finish.
Step 7: Post‑Repair Care
Apply a small amount of cuticle oil or a nourishing hand cream to the entire nail area. This keeps the surrounding skin hydrated and reduces the risk of future cracks. Avoid exposing the repaired nail to harsh chemicals for at least 48 hours.
Aftercare and Strengthening Tips
Daily Care
- Wear gloves when washing dishes or using cleaning products.
- Use a hand cream with vitamin E and jojoba oil daily.
- Keep nails trimmed to prevent snagging.
Weekly Maintenance
- Soak nails in warm water with a drop of gentle oil to keep them supple.
- Use a nail buffer to maintain shine and prevent surface cracks.
- Apply a strengthening base coat once a week.
Lifestyle Adjustments
- Avoid using nails as tools; opt for proper hand tools instead.
- Limit exposure to hot water; lukewarm is safer for acrylic.
- Consider a weekly “no polish” day to let nails breathe.
When to Seek Professional Help
While most minor cracks and broken tips can be fixed at home, there are situations where a salon visit is advisable:
- Large lifts that compromise nail integrity.
- Multiple nails broken or lifting simultaneously.
- Persistent cracks that reappear after repeated home repairs.
- If you’re unsure about the correct application of fillers or gels.
Professional technicians have specialized tools and experience to handle complex repairs, ensuring a longer‑lasting result.
Frequently Asked Questions (FAQ)
1. Can I use regular nail polish to fill a crack?
No. Regular nail polish does not have the structural strength of acrylic filler or gel polish. It will likely chip or peel off quickly. Use a clear acrylic filler or a gel polish specifically designed for repairs.
2. How long does a repaired acrylic nail last?
With proper care, a repaired nail can last 2–3 weeks before it needs another touch‑up. Factors such as hand activity, exposure to water, and product quality affect longevity.
3. Is it safe to use acetone on repaired acrylic?
Acetone can soften acrylic and cause it to lift. Use acetone‑free remover for cleaning. If you must use acetone, apply it sparingly and only to the surrounding nail area, not directly on the repair.
4. Can I apply a topcoat over a repaired area?
Yes. A clear topcoat protects the repair and gives a glossy finish. Ensure the filler or gel is fully cured before applying.
5. What should I do if the crack keeps reappearing?
Repeated cracks often indicate underlying weakness. Consider reducing acrylic thickness, improving nail hygiene, or consulting a professional for a more durable solution. Strengthening base coats and proper curing times can also help.
For further reading, see related references on Wikipedia.
Leave a Reply