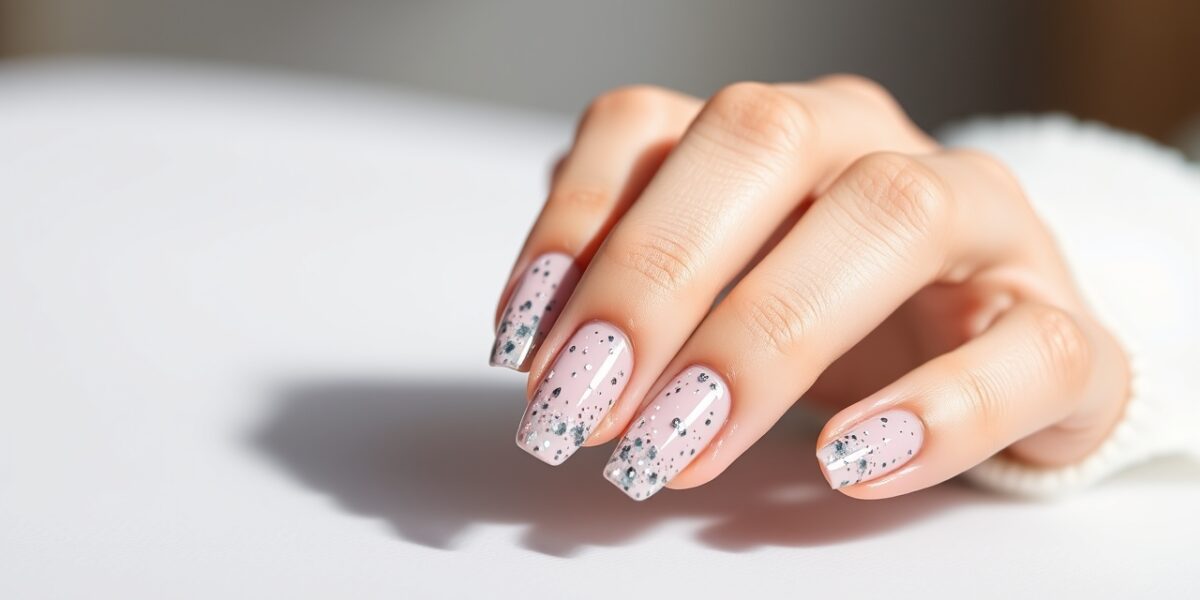
When you step into a nail salon and ask, “How long do acrylic nails last?”, you’re looking for a clear, honest answer that goes beyond the typical 2‑to‑3‑week promise. Acrylics are a blend of polymer powder and liquid monomer that harden into a durable shell. Their longevity depends on how they’re applied, how you treat them, and your daily habits. Below, we break down the science, give you a realistic timeline, and share insider tips to keep your acrylics looking showroom‑ready for as long as possible.
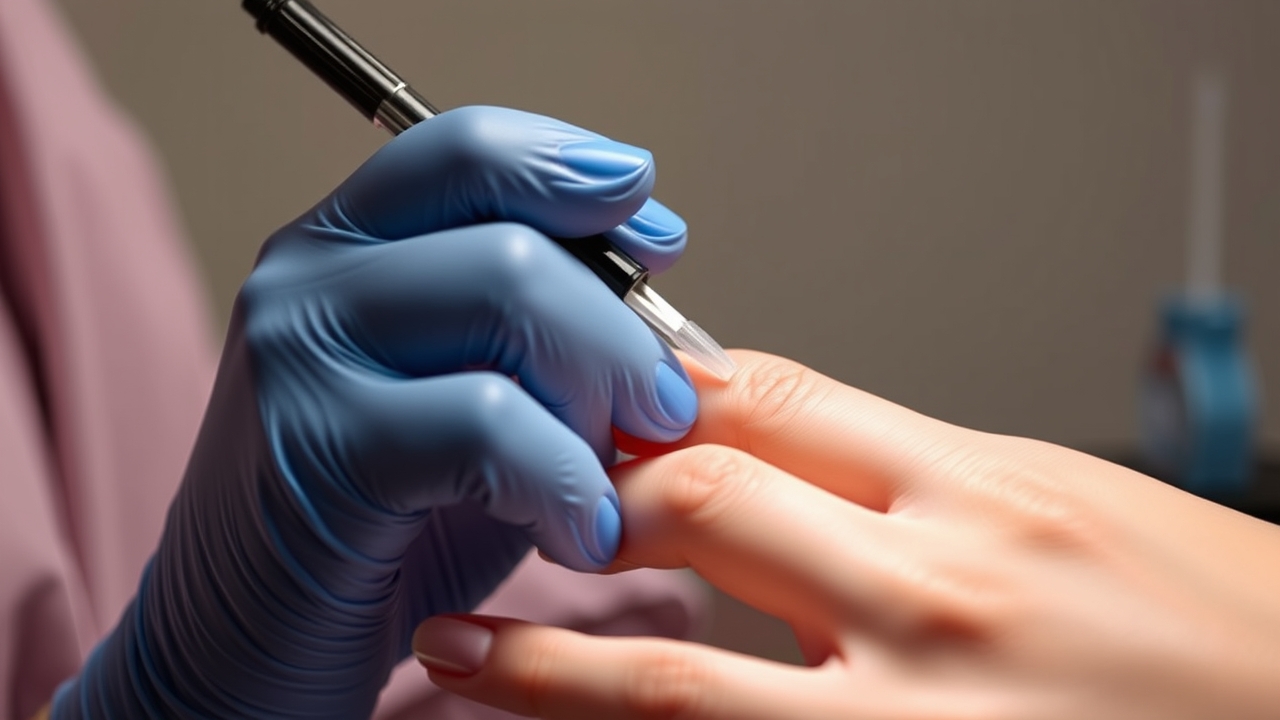
How Long Do Acrylic Nails Last?
In a perfectly executed set, acrylic nails stay intact for 14 to 21 days before a fill is necessary. That window aligns with the most common salon schedule: a two‑to‑three‑week cycle for fills. However, the actual lifespan can swing from as little as 10 days for highly active hands to 28 days for those who treat their nails with extreme care.
Factors That Influence Acrylic Lifespan
Several variables determine how long your acrylics will hold up. Understanding these can help you set realistic expectations and choose the right maintenance routine.



- Application Technique – A seasoned technician uses a precise powder‑to‑liquid ratio, a proper primer, and a smooth brushstroke to create a seamless bond. A rushed or uneven application can leave micro‑cracks that propagate quickly.
- Natural Nail Health – Soft, dry nails are more prone to lifting. Moisturized, healthy nails provide a stronger foundation for acrylics.
- Lifestyle Factors – Frequent hand washing, exposure to harsh chemicals (like cleaning agents or detergents), and repetitive hand movements (breadcrumbs, typing, gardening) accelerate wear.
- Top‑Coat Quality – A UV‑resistant, high‑gloss top‑coat seals the acrylic surface, protecting it from scratches, fading, and moisture loss.
Acrylic Fill Timing
Knowing when to schedule a fill is essential for maintaining a flawless look. While the industry standard is a 2‑to‑3‑week interval, your personal fill schedule may vary.
Signs It’s Time for a Fill
- Visible lifting or cracks along the nail or at the cuticle line.
- The acrylic edges start to feel uneven or dull.
- There’s a gap between the acrylic and your natural nail.
- Your nails feel heavier, indicating the acrylic has thinned.
- You notice a change in color or shine that suggests the top‑coat is wearing off.
Step‑by‑Step Acrylic Fill Process
Below is a detailed walk‑through of what happens during a typical fill, so you know exactly what to expect and how to prepare.
1. Nail Assessment
- The technician checks for lift, cracks, and overall nail health.
- They may ask about your recent hand activities to gauge potential wear.
2. Cleaning & Preparation
- Removing old top‑coat and any debris with a gentle cleanser.
- Buffing the surface lightly to create a micro‑roughness for better adhesion.
- Applying a thin layer of primer to seal the natural nail.
3. Acrylic Application
- Using a calibrated brush, the technician mixes the correct powder‑to‑liquid ratio.
- They sculpt the acrylic onto the natural nail, filling any gaps and smoothing the edges.
- Each nail is cured under a UV or LED lamp for 30–60 seconds.
4. Finishing Touches
- Polishing the shape with a buffer to achieve a smooth surface.
- Applying a fresh top‑coat to seal the acrylic and add shine.
- Final inspection to ensure all nails are even and free of imperfections.
Daily Care Routine
To extend the life of your acrylics, treat them with the same care you’d give natural nails. Consistency is key.
Morning Routine
- Gently brush off any dust with a soft nail brush.
- Apply a cuticle oil or balm to keep the surrounding skin supple.
- Reapply a thin protective top‑coat if you notice the shine fading.
Evening Routine
- Wash hands with a mild, fragrance‑free soap to avoid drying the acrylic.
- Pat nails dry—avoid rubbing, which can scratch the surface.
- Consider using a light hand cream to keep the skin hydrated.
What to Avoid
Even small habits can undermine the integrity of acrylics. Here are the top things to steer clear of.
- Acrylic & Acetone – Prolonged soaking in acetone can dissolve the acrylic, causing it to lift or crack.
- High Heat – Hot tubs, steam rooms, or prolonged exposure to hot water can soften acrylic, leading to deformation.
- Heavy‑Duty Cleaning Products – Strong detergents and bleach can erode the acrylic surface and compromise the top‑coat.
- Sharp Objects – Avoid using nails as tools; this can chip or break the acrylic.
Professional vs. DIY Application
While some salons offer DIY kits, the skill required for a long‑lasting acrylic set is high. A professional technician will:
- Use a proper primer to enhance adhesion.
- Apply the correct ratio of powder to liquid for strength and flexibility.
- Shape the nail with precision to avoid weak spots.
- Perform a thorough post‑application cure to ensure durability.
Choosing the Right Salon
Your experience starts with the salon you choose. Look for these indicators of quality and professionalism.
- Licensed and certified technicians with a portfolio of finished work.
- Clean, well‑maintained equipment and a sterile environment.
- Transparent pricing and a clear explanation of the fill schedule.
- Positive reviews that mention both aesthetics and longevity.
Common Myths About Acrylic Nails
- Myth: Acrylics will damage your natural nails. Fact: When applied correctly, acrylics are a protective overlay that can actually shield your natural nails from daily wear.
- Myth: Acrylics are permanent. Fact: Acrylics are semi‑permanent; they need regular fills and eventually a removal process that is gentler than full marking.
- Myth: The more you polish, the longer they last. Fact: Frequent polishing can thin the acrylic and expose the natural nail to damage.
- Myth: All acrylics are the same. Fact: Acrylic formulations vary; high‑quality powders and monomers yield stronger, more flexible sets.
- Myth: DIY kits are just as effective. Fact: DIY kits often lack the precision and hygiene standards of a professional salon, leading to premature breakage.
When to Replace vs. Vital Fill
Sometimes a fill isn’t enough. Here’s how to decide whether you need a full replacement.
- If the acrylic has cracked all the way to the natural nail, a full removal and rebuild is safer.
- Persistent lift or peeling that doesn’t correct with a fill indicates a deeper issue.
- Visible damage to the natural nail (e.g., ridges or discoloration) may warrant a break‑down and a new set.
FAQ – Frequently Asked Questions
1. How long does it take to get a fill?
A typical fill lasts 30–45 minutes, depending on the number of nails and the complexity of the design. The technician will assess each nail individually to ensure a flawless finish.
2. Can I get a fill if my acrylics are already chipped?
Yes. ALifted or chipped acrylic can be repaired during a fill. The technician will first remove the damaged portion and rebuild it, ensuring the integrity of the set.
3. Do acrylics cause nail infections?
When applied in a sterile environment by a qualified technician, acrylics do not cause infections. However, neglecting hygiene or using unclean tools can increase the risk.
4. How do I keep acrylics from peeling when I wash dishes?
Wear nitrile gloves while doing dishes to protect the acrylic from prolonged exposure to soap and water. This simple step can prevent premature lift.
5. Is there a way to extend acrylic life beyond 3 weeks?
Yes. Consistent daily care, avoiding harsh chemicals, and scheduling fills slightly ahead of the 21‑day mark can extend the life of your acrylics by a few days without compromising their appearance.
By understanding the factors that influence acrylic longevity, following a disciplined maintenance routine, and choosing a reputable salon, you can enjoy flawless acrylic nails that shine for weeks. Remember: the key to a long‑lasting set is a combination of quality application, daily care, and timely fills.
For further reading, see related references on Wikipedia.
Leave a Reply