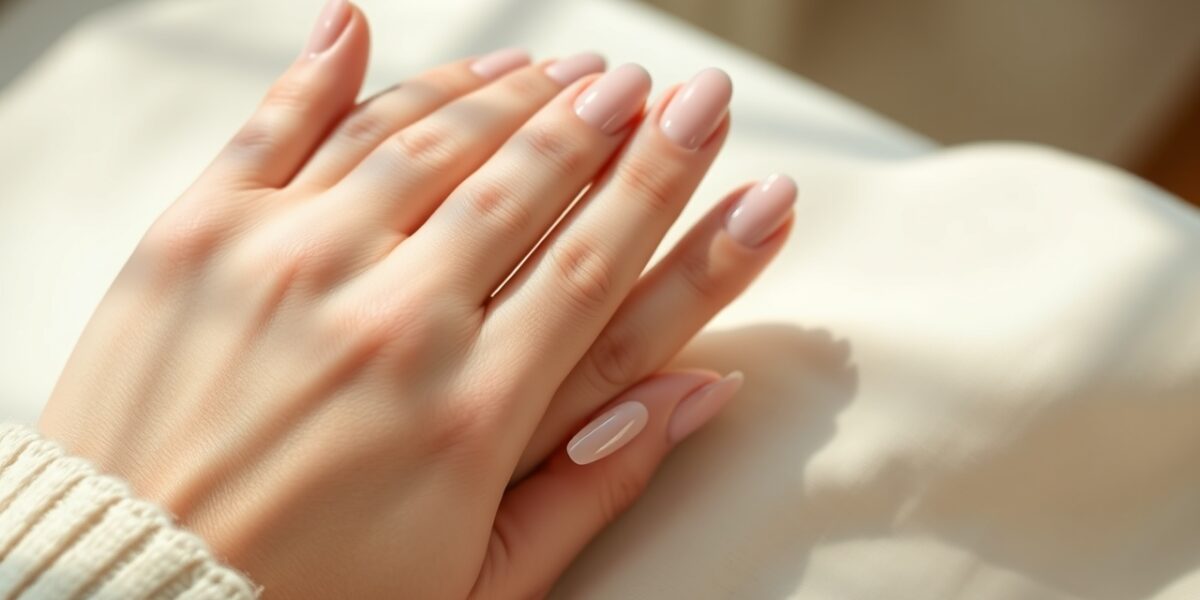
Almond nail designs have long been the go‑to for anyone who wants a polished look that feels both natural and sophisticated. The shape’s gentle taper mirrors the subtle curve of the cuticle, creating an optical illusion that extends the finger and gives the hand a graceful, elongated silhouette. Whether you’re aiming for a sleek office vibe or a daring evening statement, the almond shape adapts effortlessly to your personal style.
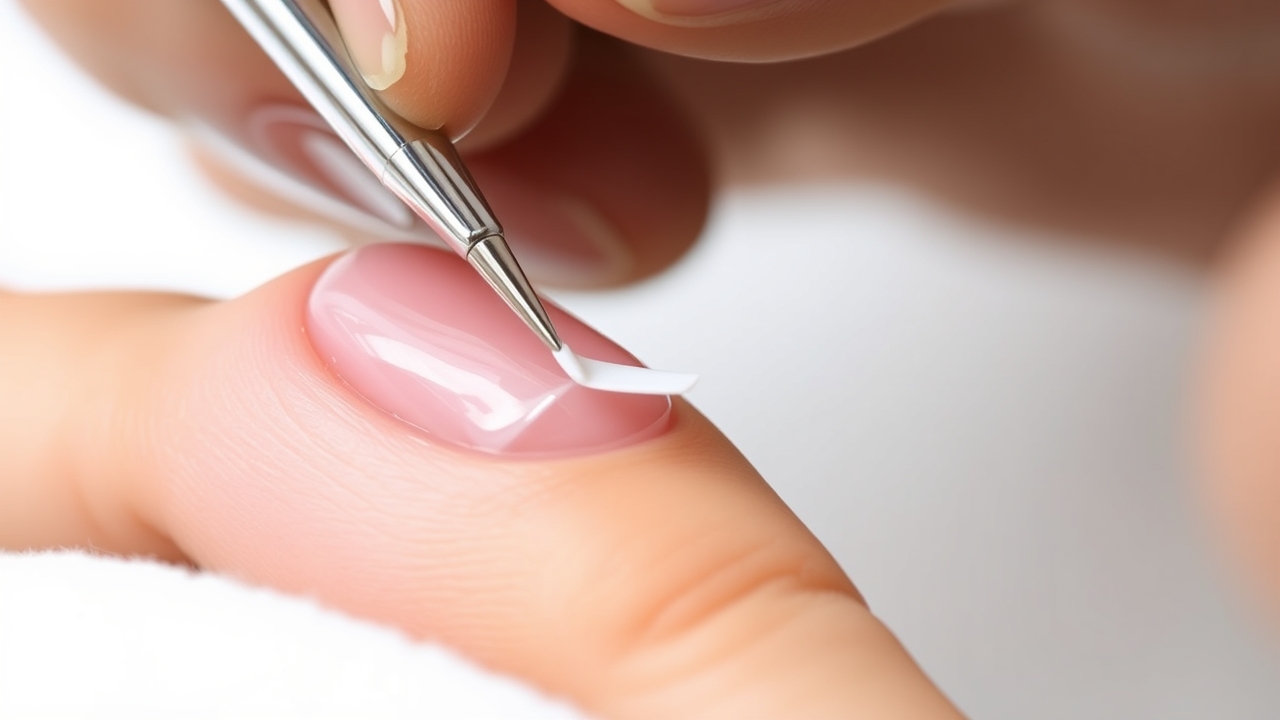
Why Choose Almond Shaped Nails?
Unlike the sharp, often impractical stiletto or the boxy square, the almond shape offers a balanced middle ground. Its tapered sides reduce the risk of snagging on clothing, while the rounded tip keeps the nail from feeling too abrupt. For clients with shorter nail beds, the slight lengthening effect can transform a “boxy” appearance into something more refined and feminine.
The Best Almond Nail Designs for Every Vibe
From understated elegance to bold experimentation, the almond canvas can accommodate a spectrum of aesthetics. Below are three distinct categories that showcase the shape’s versatility.



Elegant Almond Nails for a Polished Look
When you want the shape to speak for itself, keep the color palette minimal. Neutrals and muted tones let the almond’s natural beauty shine.
- Milky Whites and Creams: A semi‑translucent white polish, like OPI’s “White Silk,” offers a clean, almost porcelain finish that pairs effortlessly with gold accessories.
- The Modern French: Swap the classic thick band for a razor‑thin line at the very tip. A single, precise stroke of sheer white on a nude base creates a subtle, contemporary twist.
- Soft Nude Gradients: Use an ombre effect that starts with a deep beige at the cuticle and fades to a pale peach at the tip. The gradient blends the nail into the skin, amplifying the elongating illusion.
Bold and Creative Almond Nail Art
The almond’s organic curve is a natural playground for artistic expression. Curved lines and asymmetrical patterns flow more naturally than they would on a square shape.
- Abstract Swirls: Pair cobalt blue with creamy ivory to create swirling lines that echo the nail’s contour. A single, sweeping stroke can turn an ordinary almond into a statement piece.
- Negative Space Designs: Let the natural nail show through in strategic pockets while adding geometric blocks of color. This airy approach prevents the look from feeling too heavy.
- Botanical Illustrations: Tiny leaves, vines, and delicate flowers wrap around the tapered sides, giving the nail a fresh, organic feel.
The Versatility of Almond Acrylics
For those whose natural nails can’t sustain the length, almond acrylics provide the necessary structure without sacrificing style. Ask your technician for a “slim C‑curve” to keep the nail from looking bulky.
Acrylics also open the door to 3D embellishments—think raised gel droplets, chrome accents, or subtle pearl beads—each securelyled on the hardened surface.
How to Achieve the Perfect Almond Shape at Home
Achieving symmetry on your own hands can be challenging, but a few simple steps make the process manageable.
Step‑by‑Step Shaping Guide
- Find the Center: Visualize a vertical line from the cuticle to the tip. This is your axis of symmetry.
- Square the Top: Gently file the very tip straight across to create a baseline.
- Angle the Sides: From the outer edge, file toward the center with long, sweeping strokes. Avoid short, jagged motions that can create unevenness.
- Round the Tip: Once a triangle‑like shape emerges, soften the point with a gentle curve. The goal is to mimic the natural almond nut’s silhouette.
- Check for Symmetry: Hold the hand palm‑side up and compare both nails. Adjust as needed to ensure a balanced taper.
For professional tips on maintaining nail health between salon visits, check out our detailed nail care guides to keep your natural plates strong.
Matching Your Design to Your Skin Tone
Color choice can make almond nail designs either pop or blend. Understanding undertones helps you pick shades that enhance rather than clash.
Fair Skin Tones
Cool‑tinted fair skin looks stunning with soft pastels, sheer pinks, and deep berry shades. Avoid yellow‑tinted hues that can wash out the complexion. A classic cherry red on an almond shape is a power move for fair skin.
Medium and Olive Skin Tones
Olive skin’s natural warmth pairs beautifully with earthy tones—terracotta, moss green, and shimmering golds. Coral and bright orange also bring vibrancy without overpowering the hand.
Deep Skin Tones
Deep skin tones can pull off high‑contrast colors with confidence. Neon yellow, electric blue, and stark white create striking visuals. Rich jewel tones—emerald, sapphire, and royal purple—add a luxurious edge to the almond shape.
Maintenance and Long‑Term Care
The tapered point of almond nails makes them less prone to breaking than square nails, but they still need attentive care. The edges can peel if not sealed correctly.
Cuticle Oil: The skin around the nail is the foundation of the look. A high‑quality oil, applied daily, prevents hangnails and keeps the surrounding skin supple, making the almond shape appear intentional and polished.
Capping the Free Edge: Whether you’re using gel or regular polish, always “cap” the edge. Run the brush along the very tip of the nail to seal the polish and prevent the common chipping that occurs at the point of an almond nail.
Common Mistakes to Avoid
- Over‑filing the Stress Area: The “stress area” is where the nail leaves the nail bed. Filing too deep here compromises structural integrity, leading to cracks.
- Choosing Too Long a Length: While length helps the almond effect, going too long can make the nails look more like claws than almonds. Keep the length proportional to your finger length.
- Ignoring the Cuticle: Ragged cuticles ruin a great design. Push back your cuticles gently before applying polish to maximize the visible nail plate.
Comparing Almond to Other Popular Shapes
To truly appreciate almond nail designs, it helps to see how they stack up against other trends. If you’re undecided, consider these comparisons.
| Shape | Best For | Durability | Vibe |
|---|---|---|---|
| Almond | All hand types | High | Elegant/Feminine |
| Square | Long nail beds | Medium | Bold/Modern |
| Stiletto | Dramatic looks | Low | Edgy/Avant‑garde |
| Oval | Short fingers | High | Classic/Natural |
As noted in botanical descriptions of the almond tree, the seed is characterized by its distinct oval‑pointed shape, which is exactly what we aim to replicate in nail artistry.
Seasonal Inspiration for Almond Nails
Your nail art should evolve with the calendar. The almond shape’s versatility allows it to adapt to every season’s mood.
Spring and Summer
Embrace brightness and transparency. Think “glazed donut” nails—a sheer white base with a pearlescent chrome powder on top. Pastel yellows and mint greens feel fresh and airy during the warmer months.
Autumn and Winter
Shift toward depth and saturation. Deep burgundy, forest green, and chocolate brown are staples. For a winter twist, try a “sweater nail” effect using 3D gel to create cable‑knit patterns on a few accent nails. Gold foil accents over a matte black base also provide a sophisticated holiday look.
Frequently Asked Questions
How do I make almond nail designs look natural?
Choose colors close to your skin tone—soft pinks, nudes, or sheer whites. Avoid overly long extensions; stay within a short to medium length. A matte top coat can reduce the “plastic” feel of acrylics, making them appear more like natural nails.
Can almond shaped nails be achieved on short nails?
Yes, but you need a minimum amount of free edge to create the taper. If your nails are very short, start with an oval shape and gradually file them into an almond as they grow. For immediate results, almond acrylics or gel extensions are the best option.
Are almond acrylics more likely to break than square nails?
Actually, almond acrylics are often more durable. Square nails have corners that easily catch on things, leading to chips or cracks. The rounded nature of the almond shape distributes impact more evenly, reducing the likelihood of a break.
What is the difference between almond and oval nails?
Oval nails are rounded at the tip but maintain a wider shape throughout. Almond nails taper significantly toward the tip, creating a more pointed (though still rounded) end. Almond is generally more elongating for the fingers.
How often should I reshape my almond nails?
If you’re growing your own, a light filing once a week maintains the taper. If you have acrylics, your salon technician will usually reshape and rebalance them every 2 to 3 weeks during your fill appointment.
Leave a Reply