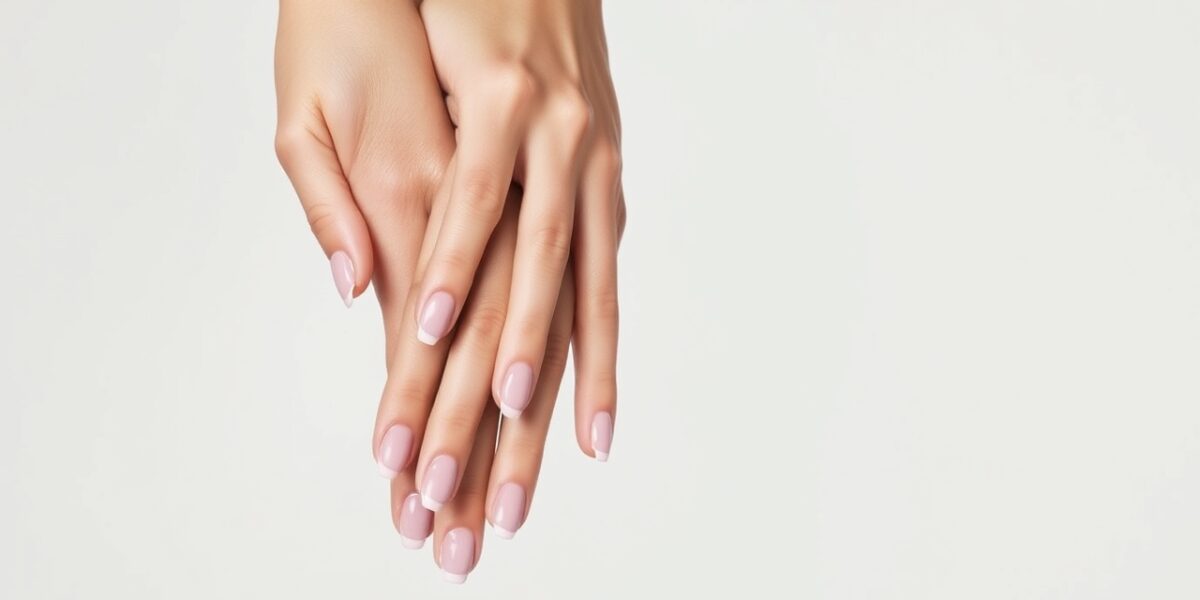
French manicure variations offer a fresh way to reimagine an iconic nail look. The classic white tip on a pale base has evolved into a playground for creativity, allowing nail artists and enthusiasts to express personality while maintaining a polished aesthetic.
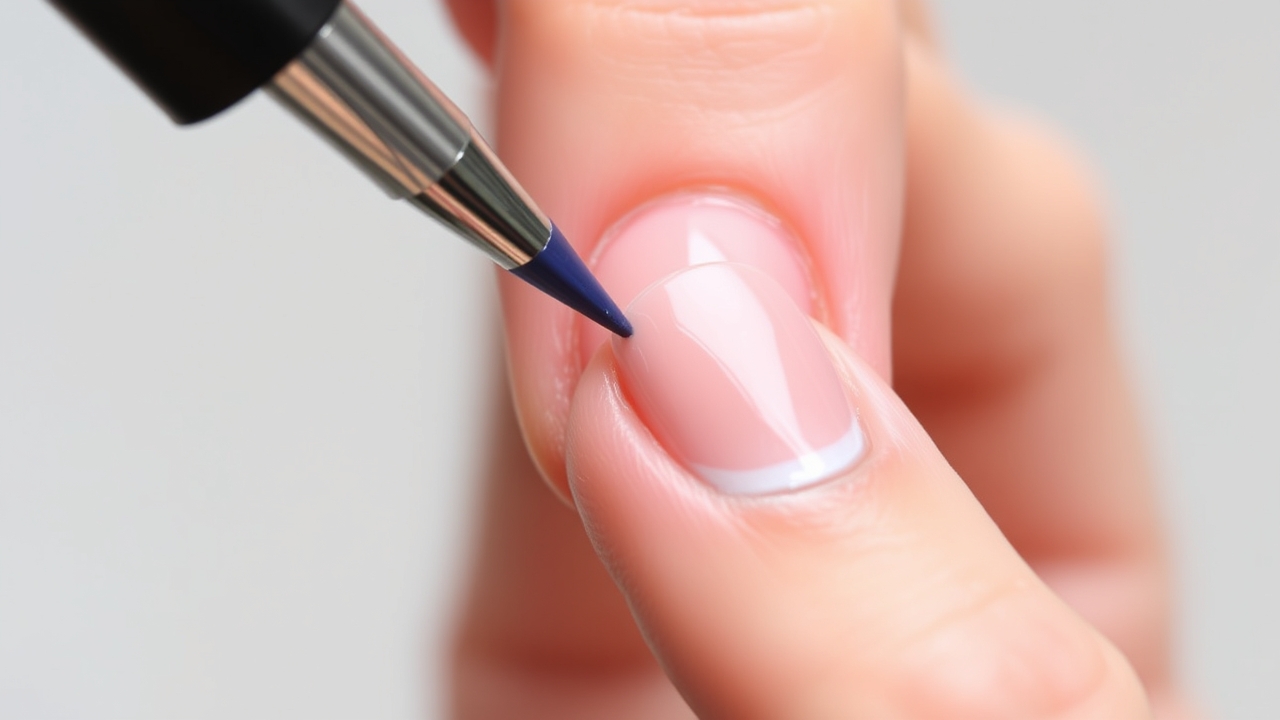
French Manicure Variations: A Quick Overview
While the traditional French manicure remains a staple, the demand for individuality has driven the rise of numerous styles. These variations keep the essence of a clean tip but introduce new shapes, colors, and embellishments.
1. Modern French Nails
Modern French nails lean into boldness—think geometric shapes, negative space, or a splash of neon birefringent polish on the tip. The base may stay neutral, but the tip becomes a canvas for contemporary design.



- Geometric French: Triangular or linking lines that cross the tip.
- Negative Space: A cut shape that leaves a clear area for a contrasting color.
- Bold Accent: A single bright stripe or dot along the tip.
2. Colored French Tips
Replacing the classic white with hues ranging from pastel pinks to deep berries adds a playful twist. The color can be applied as a solid tip or blended with a gradient effect.
- Pastel Palette: Soft mint or lavender tips for a subtle pop.
- Gradient Fade: A gentle transition from the nail base to the tip color.
- Two‑Tone Contrast: A bright tip against a muted base.
3. Micro French
Micro French takes the concept to a micro scale—tiny, delicate lines that require precision. This style is perfect for a refined, almost invisible look that still hints at the French silhouette.
- Fine Line: A single, thin line of polish at the tip.
- Dot Micro: Tiny dots along the nail edge.
- Micro Edge: A subtle shading that narrows toward the tip.
4. French Twist Designs
French twist designs experiment with the shape of the tip itself—curved, scalloped, or even inverted. These variations add depth and texture, turning the nail into a miniature piece of art.
- Scalloped Tip: A gently curved edge that adds softness.
- Inverted French: A darker tip with a lighter base.
- 3‑D Twist: Layered colors that create a three‑dimensional effect.
Choosing the Right Variation for Your Style
When deciding on a French manicure variation, consider the following factors:
- Occasion: Subtle micro French works for formal events, while bold modern French suits casual outings.
- Season: Light, pastel colors are ideal for spring, whereas deep jewel tones shine in fall and winter.
- Skill Level: Micro French demands steady hands; beginners might start with colored tips or simple geometric patterns.
- Professional Settings: For work, a restrained modern French or subtle colored tip offers sophistication.
Materials and Tools for French Manicure Variations
Having the right supplies makes a world of difference. Below is a curated list that covers every variation, from basic colored tips to elaborate 3‑D accents.
- Base Coat: A clear or tinted base protects the nail and improves polish adhesion.
- Top Coat: Choose between glossy, matte, or satin finishes; a UV/LED top coat is essential for gel styles.
- Color Polishes: Stock a range of shades for tips—white, pastels, neon, and deep hues.
- Nail Art Pens & Micro Brushes: Fine‑point tools are indispensable for micro French and geometric lines.
- Striping Tape: A quick way to create clean, straight lines for modern French designs.
- Dotting Tools: Small round tips for micro dots and tiny embellishments.
- Glitter & Foil Sheets: For adding sparkle or metallic accents.
- Rhinestones & 3‑D Accents: Tiny crystals or sculpted charms can elevate a French twist.
- Cuticle Pusher & Nipper: For a tidy base before painting.
- Buffer & File: Smooths the nail surface and shapes the tip.
- Acetone-Free Polish Remover: Gentle on the base coat while effective on old polish.
Common Mistakes and How to Avoid Them
Even seasoned nail artists stumble on a few pitfalls. Awareness and prevention keep your French variations looking sharp.
- Uneven Base Coat: A thick, uneven base can cause the tip polish to lift. Apply a thin, even coat and wipe off excess.
- Too Thick a Tip: Over‑applying tip polish leads to a bulky look. Use a light hand and let each layer dry fully.
- Improper Curing: Gel or acrylic polish must be cured under the correct light intensity and duration. Check the product’s guidelines.
- Using Old Polishes: Residual polish can interfere with adhesion. Clean the nail thoroughly before painting.
- Neglecting Cuticle Care: Dry cuticles can pull off the tip polish. Keep cuticles moisturized and trimmed.
Seasonal Color Guides
Choosing the right color palette for the season can elevate your French manicure. Here are quick suggestions:
- Spring: Mint green, blush pink, lavender, and pale peach. These hues pair well with a subtle gradient base.
- Summer: Bright coral, turquoise, determination, and neon yellow. Pair with a glossy top coat for a beach‑ready shine.
- Fall: Deep berry, plum, burnt orange, and olive green. A matte top coat complements the season’s muted tones.
- Winter: Sapphire blue, emerald green, ruby red, and classic black. A satin finish adds a winter‑wonderland feel.
Advanced Techniques: Glitter, Foil, and 3D Accents
Once you master the basic variations, you can layer on extra flair. Below is a step‑by‑step guide for adding glitter, foil, and 3‑D accents to a French tip.
Glitter French Tip
- Apply a base coat and cure if using gel.
- Paint the tip with a solid color of choice.
- While the tip polish is still tacky, sprinkle fine glitter over the area.
- Wipe off excess glitter with a lint‑free wipe.
- Seal with a clear top coat to lock in the sparkle.
Foil French Tip
- Apply a base coat and cure.
- Paint the tip with a base color.
- Place a small piece of foil over the tip and press lightly.
- Apply a thin layer of clear top coat to secure the foil.
- Use a small brush to remove any foil residue around the edges.
3‑D Accents on a French Twist
- Finish the tip with a contrasting color.
- Apply a small amount of nail glue to the area where the accent will sit.
- Place a tiny rhinestone or 3‑D charm onto the glue.
- Press gently and allow to set for 30 seconds.
- Seal with a top coat for durability.
Nail Health and Safety
Beautiful nails are only as good as the health of the nail bed. Follow these guidelines to keep your nails strong while experimenting with variations.
- Hydration: Apply cuticle oil daily to keep the nail bed moisturized.
- Avoid Over‑File: File in one direction to prevent splitting.
- Limit Acetone Use: Use acetone‑free remover for routine touch‑ups.
- Give Nails a Break: Every 3–4 weeks, let your nails grow without polish.
- Use a Strengthening Base: Products containing proteins or calcium can reinforce the nail.
Step‑by‑Step Guide to Creating a Modern French Nail
Below is a detailed process that covers the essentials—from prep to finish—ensuring a durable and eye‑catching result.
Materials Needed
- Base coat (clear or tinted)
- Color of choice for the tip (gel or acrylic for longevity)
- Finishing polish (clear, matte, or glossy)
- Micro brush or nail art pen
- Polish remover and cotton pads
- Top coat with UV/LED cure (if using gel)
Preparation
- Trim and file nails to desired shape.
- Push cuticles back gently with a cuticle pusher.
- Clean the nail surface with alcohol or a gentle cleanser.
- Apply a thin base coat and cure under UV/LED light if using gel.
Applying the Tip
- Using a micro brush, draw a thin line of color from the cuticle to the tip, ensuring the line stays within the nail edge.
- For geometric French, use a nail art pen to create clean lines or shapes over the tip area.
- Let the color dry completely before proceeding.
Finishing Touches
- Apply a top coat to seal the design and add shine.
- Cure under UV/LED light if using gel.
- Apply a small amount of cuticle oil to keep surrounding skin moisturized.
Maintenance Tips for Longevity
French manicure variations can be more fragile than other designs, especially if the tip is thin or intricate. Follow these pointers to keep your nails looking fresh:
- Wear gloves when washing dishes or using harsh chemicals.
- Apply a strengthening base coat monthly.
- Avoid using nails as tools to prevent accidental breakage.
- Schedule regular refills every 3–4 weeks, depending on nail growth.
Inspiration from the Industry
Top nail artists often blend multiple variations to create signature looks. For example, a micro French tip might be paired with a subtle gradient base, or a colored tip could be accented with a tiny geometric pattern. These combinations push the boundaries of traditional French manicure while maintaining an elegant vibe.
FAQ
- What are French manicure variations? They are creative adaptations of the classic French manicure that incorporate different colors, shapes, and techniques while preserving the signature tip style. Each variation offers a new way to express individuality while keeping a polished look.
- Can I do a French manicure variation at home? Yes, with the right tools and a bit of practice, many variations can be replicated at home. Start with simpler styles like colored tips before moving to micro French or geometric designs. Online tutorials and step‑by‑step guides can help you master the technique.
- How long does a French manicure variation last? With proper care, a gel‑based French manicure can last up to three weeks. Acrylic or traditional polish may need touch‑ups sooner, especially if the tip is thin or heavily embellished. Regular maintenance and protective wear can extend the life of any variation.
- Which variation is best for a formal event? A subtle micro French or a muted colored tip offers a sophisticated look suitable for formal occasions. Avoid overly bright or glittery accents that might appear too casual. Pair the nails with a clean, natural hand look for maximum elegance.
- Can I use a nail polish remover on French manicure variations? Yes, but avoid harsh acetone, as it can damage the tip polish and base coat. Use a gentle, acetone‑free remover and follow up with cuticle oil to keep the skin hydrated. This approach preserves the integrity of the design while effectively removing old polish.
For more nail inspiration and trends, visit Nailspalist and explore the latest designs that keep your nails ahead of the curve.
Learn about the history of the French manicure and its evolution on Wikipedia.
Leave a Reply