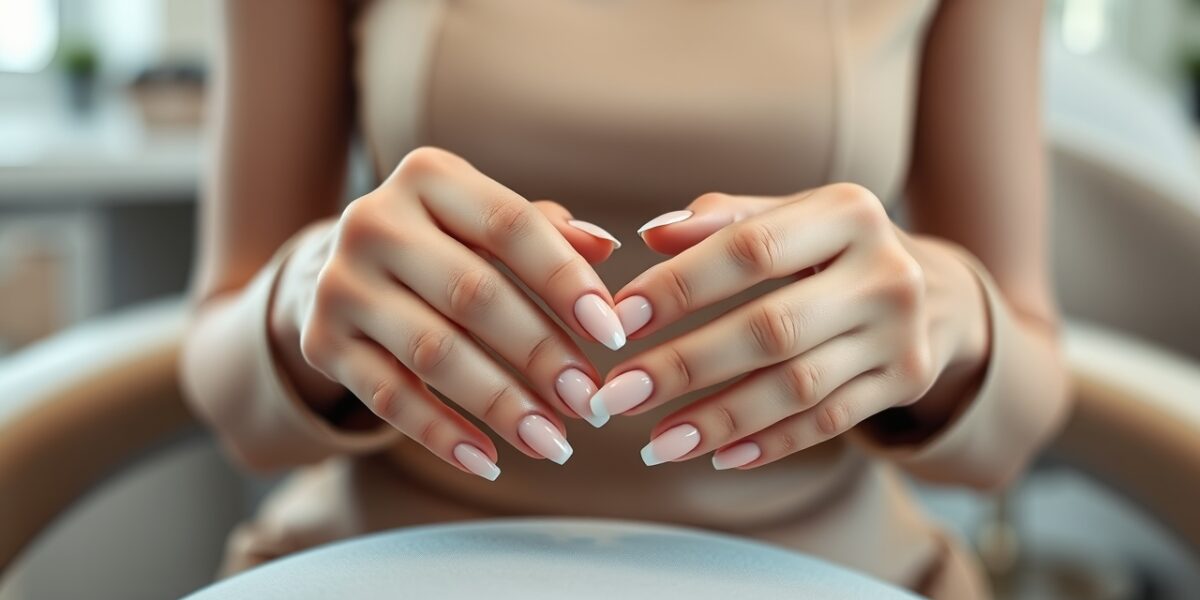
How to keep nails healthy under acrylics is essential for anyone who loves the look of acrylic extensions but also wants to protect their natural nails. Acrylics offer a durable and versatile base, yet they can strain the nail bed if not cared for properly. This guide breaks down the science, the routine, and the habits that keep your nails strong, resilient, and ready for whatever style you choose.
Why Acrylics Are a Popular Choice
When you ask yourself why so many people opt for acrylics, the answer often starts with durability and versatility. Acrylics can be sculpted into almost any shape, from the classic French tip to bold geometric designs. They also provide a sturdy foundation that allows for a wide range of nail art. However, the very strength that makes acrylics appealing can also be a double‑edged sword. The added weight and the need for regular maintenance mean that the underlying natural nail can suffer if the process isn’t handled with care.
The Natural Nail’s Anatomy
The natural nail is composed of a hard protein called keratin, protected by a thin layer of cuticle and the skin on the nail bed. Acrylics sit on top of this structure, and if the acrylic is applied too thickly or the removal process is harsh, the natural nail can become brittle or develop ridges.



Nail Health Acrylics: Key Principles for Sustainable Beauty
- Thickness Matters: Keep acrylic layers thin—no more than a single pad of thickness—to reduce pressure on the natural nail.
- Proper Adhesion: Ensure a clean, dry surface. Residual oils or water can weaken the bond and create gaps where bacteria can thrive.
- Regular Breaks: Allow the natural nail to grow and heal between acrylic applications. A 4‑week interval is often recommended for most people.
- Use Quality Materials: Even though we avoid brand names, high‑grade monomer and polymer are less likely to contain irritants that could damage the nail bed.
Protect Natural Nails During Application
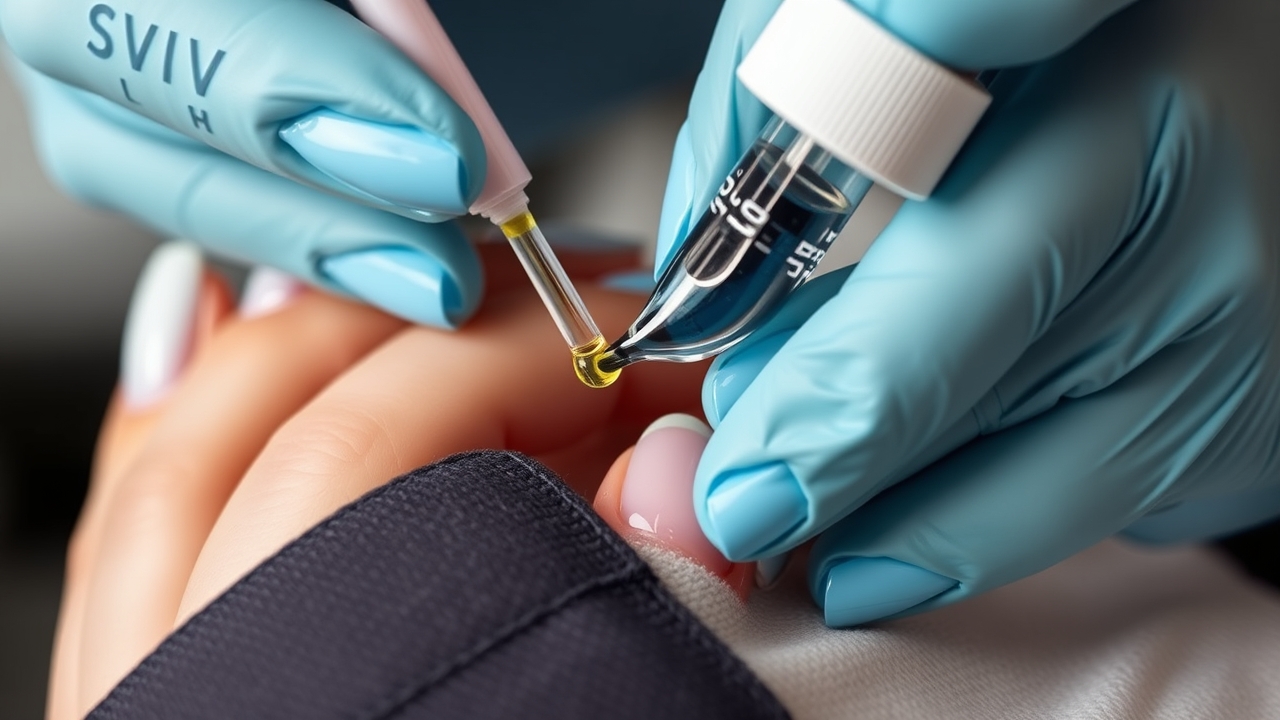
Before any acrylic is laid down, the cuticle should be gently pushed back with a cuticle pusher, not cut. This step preserves the protective barrier and reduces the risk of infection. A light coat of cuticle oil can also help keep the skin supple, which is a subtle but important part of acrylic damage prevention.
Steps to Keep Nails Healthy Under Acrylics
- Prep the Nail Bed: Clean the nail thoroughly with a gentle, alcohol‑based cleanser. Remove any old polish or debris.
- Apply a Base Coat: Use a thin layer of base coat specifically formulated for acrylics. This provides a smooth surface and improves adhesion.
- Build with Minimal Layers: Apply one or two thin layers of acrylic, allowing each to cure fully before adding the next.
- Finish with a Top Coat: A clear top coat seals the acrylic and adds shine, but avoid over‑coating, which can make the nails feel heavy.
- Aftercare: Moisturize the cuticles and nails daily with a nourishing oil or cream. Avoid harsh chemicals and keep hands dry when possible.
How to Keep Nails Healthy Under Acrylics When Removing
Removal should be gentle. Soak nails in a warm, soapy solution for 10‑15 minutes to loosen the acrylic. Then use a wooden or metal file to carefully lift the acrylic without scratching the natural nail. Avoid forceful pulling, which can cause splits or tears.
Acrylic Damage Prevention: Practical Tips for Long‑Term Care
- Limit Exposure to Water: Prolonged soaking can soften acrylic and the natural nail, leading to breakage.
- Use Gloves: When doing dishes or cleaning, wear nitrile gloves to protect both acrylic and natural nails.
- Schedule Regular Maintenance: Every 3–4 weeks, visit a professional for a trim or to replace worn acrylic tips.
- Keep Nails Short Between Applications: Shorter nails reduce the mechanical stress on the nail bed.
Healthy Nails Extensions: Balancing Style and Health
If you’re experimenting with extensions beyond acrylics—such as gel or dip powder—remember that the same principles apply. Over‑thick extensions, improper removal, or neglecting the cuticle can all compromise the natural nail. The goal is to create a harmonious relationship between the artificial and the natural, ensuring that each supports the other.
Maintenance Routine: A Weekly Checklist
Adopting a consistent routine can make a noticeable difference. Here’s a simple weekly plan:
- Day 1: Apply a moisturizing cuticle oil.
- Day 3: Lightly buff the acrylic surface to remove shine and reduce friction.
- Day 5: Apply a thin layer of nail strengthener (pyrithione zinc or a similar ingredient).
- Day 7: Inspect for any cracks or lifting. If any are present, schedule a professional touch‑up.
Do’s and Don’ts of Acrylic Care
- Do: Keep nails clean and dry.
- Do: Use a gentle file rather than a harsh scraper.
- Do: Allow the natural nail to grow between acrylic sessions.
- Don’t: Cut the cuticle; push it back instead.
- Don’t: Use harsh acetone for removal; opt for a safer, nail‑friendly solvent.
- Don’t: Wear acrylics for extended periods without breaks.
Professional vs DIY: When to Seek Expert Help
While many people enjoy the convenience of DIY acrylics, certain steps—especially removal—are best handled by a trained technician. Professionals can assess the health of your natural nails and adjust the acrylic thickness accordingly. If you have a history of nail issues, or if you notice persistent irritation, it’s wise to schedule a visit to a reputable nail salon. You can find reliable resources and reviews on our site, which offers a comprehensive directory of certified nail technicians.
Choosing the Right Acrylic Kit
Not all acrylic kits are created equal. When selecting a kit, look for:
- Low‑odor monomer: Reduces the risk of respiratory irritation.
- Clear, non‑yellowing polymer: Maintains a pristine look over time.
- Included safety gear: Gloves, goggles, and a well‑ventilated workspace are essential.
- Clear instructions: A step‑by‑step guide helps avoid mistakes that can damage the nail bed.
Common Mistakes to Avoid
Even seasoned nail artists can fall into habits that compromise nail health:
- Over‑building: Adding too many layers increases weight and pressure.
- Skipping the cuticle: Cutting crises can lead to infection.
- Using expired monomer: Dried or contaminated liquid can cause weak bonds.
- Neglecting daily moisturization: Dry nails are more prone to cracking.
Signs Your Nails Need a Break
Pay attention to subtle cues that your nails are under stress:
- Visible ridges or yellowing: Indicates thinning and exposure of the nail bed.
- Frequent lifting or peeling: The acrylic is no longer securely attached.
- Pain or tenderness: May signal an underlying infection or inflammation.
- Unusual itching or burning: Could be an allergic reaction to the acrylic components.
Nutrition and Nail Health
What you eat directly affects nail strength. Key nutrients include:
- Biotin (Vitamin B7): Promotes keratin production.
- Protein: Nails are made of keratin, a protein; adequate intake supports growth.
- Omega‑3 fatty acids: Keep nails moisturized from within.
- Zinc: Essential for cell division and repair.
Consider supplements or a balanced diet rich in leafy greens, nuts, and lean meats to keep nails resilient.
Tools Every DIY Enthusiast Should Have
- High‑quality acrylic kit (monomer, polymer, brushes)
- Soft cuticle pushers and buffers
- Acetone‑free remover or a gentle solvent for removal
- Moisturizing cuticle oil and hand cream
- Gloves and a well‑ventilated workspace
- Timer to track curing times accurately
How to Safely Remove Acrylics at Home
- Soak: Fill a bowl with warm water and a few drops of dish soap. Soak for 10–15 minutes.
- Gentle File: Use a wooden file to lift the acrylic edges. Avoid metal files that can scratch the natural nail.
- Acetone Soak (Optional): If acrylic is stubborn, apply acetone‑free remover to a cotton pad and press against the acrylic for 5 minutes.
- Clean Up: Once removed, wash hands with mild soap and apply a nourishing cuticle oil.
- Rest: Give the natural nail a break of at least 2–3 weeks before reapplying acrylics.
FAQ
How to keep nails healthy under acrylics?
Start with proper prep: clean the nail, apply a thin base coat, and use minimal layers of acrylic. During removal, soak and file gently. Regular moisturization and short intervals between applications help maintain the nail bed. Additionally, incorporate a balanced diet rich in biotin, protein, and omega‑3s to support keratin production.
What are the signs of acrylic damage?
Look for cracks, lifting edges, or a rough texture under the acrylic. If the natural nail appears brittle or develops ridges, it may be time to reduce thickness or give the nail a break. A persistent yellow tint or a change in nail texture can also indicate underlying issues such as fungal infection or over‑exposure to harsh chemicals.
Can I keep acrylics on for more than a month?
It’s generally recommended to replace acrylics every 3–4 weeks. Longer wear can increase the risk of fungal infection and nail bed trauma. If you choose to extend wear, monitor your nails closely for any signs of distress and schedule a professional trim every two weeks to keep the acrylics light and well‑maintained.
Is it safe to use cuticle oil under acrylics?
Yes, but apply sparingly. A thin coat of oil before the acrylic can moisturize the cuticle without compromising adhesion. Avoid heavy oils that can create a barrier; instead, choose a lightweight, fast‑absorbing formula.
Do acrylics affect nail growth?
Acrylics do not inhibit growth directly, but prolonged use can cause the natural nail to become thinner. Giving your nails a break every few months helps preserve their natural thickness. If you notice a slowdown in growth, consider reducing the acrylic thickness and increasing the interval between applications.
What should I do if I develop a rash or itching around my acrylic nails?
First, remove the acrylics gently and wash the area with mild soap. Apply a soothing aloe gel or a fragrance‑free moisturizer. If itching persists, consult a dermatologist to rule out an allergic reaction to the acrylic components. Switching to a hypoallergenic kit or a different nail extension type may be necessary.
How often should I moisturize my nails and cuticles?
Ideally, apply a nourishing cuticle oil or hand cream at least twice daily—morning and night. After washing your hands, pat them dry and apply a thin layer of oil to keep the nail bed hydrated. Consistent moisturization helps prevent brittleness and supports healthy nail growth.
Remember, the goal is to know how to keep nails healthy under acrylics while enjoying the look. By following these steps and maintaining a mindful routine, you can enjoy stunning acrylics without sacrificing the integrity of your natural nails. So, how to keep nails healthy under acrylics is not just a question—it’s a commitment to long‑term nail wellness.
For more in‑depth guidance on nail care, including a detailed overview of Acrylic nails and their impact on nail health, consult trusted sources or discuss with a licensed nail professional.
Leave a Reply