French Manicure Variations: A Quick Overview
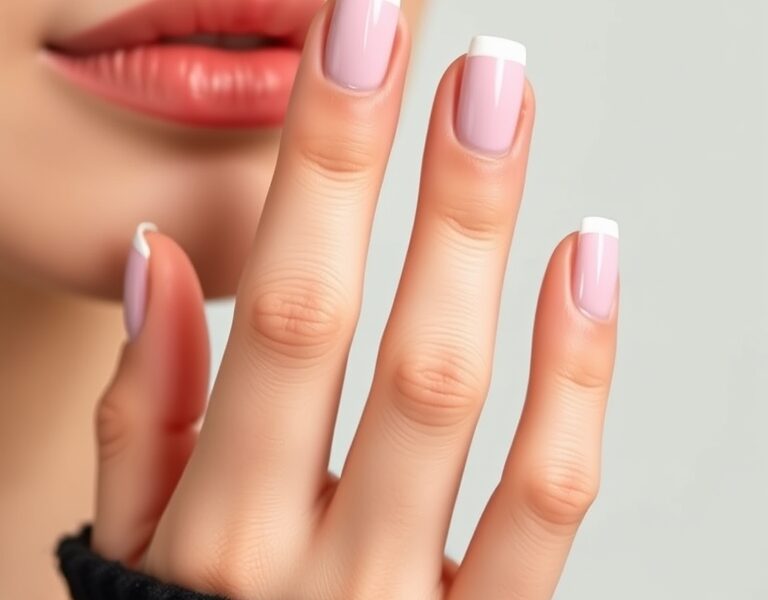
French manicure variations offer a fresh take on the timeless elegance of the classic French look. The original French manicure emerged in the 1940s and has since become a staple for its clean silhouette and understated sophistication.
These variations let you play with color, line, and texture while keeping the elegant silhouette. When experimenting, the first rule is to choose a base that complements your skin tone. A light, neutral base provides a canvas for subtle variations, while a darker base can create a striking contrast.
French manicure variations can be tailored to suit any occasion, from a corporate meeting to a weekend brunch. The charm lies in the delicate balance between tradition and innovation. By exploring these variations, you unlock a world of creative possibilities.


Each variation invites you to rethink the classic look. The line of the tip remains the most critical element—whether you prefer a soft pastel or a bold neon, the variations can adapt to your style. With a few simple techniques, you can master the art of french manicure variations.
Choosing the Right Base Color
While the classic French relies on a clear or nude base, modern variations often incorporate tinted bases. Selecting the right base enhances the overall effect of the tip color and ensures longevity.
- Neutral Nudes: Ideal for a subtle, everyday look. They provide a clean canvas that lets the tip color pop without overwhelming the nail.
- Soft Pastels: Light lavender, mint, or baby blue bases add a playful touch while maintaining a sophisticated feel.
- Bold Tints: Deep berry or navy bases create a dramatic contrast, perfect for evening events or winter palettes.
- Clear Base: A classic choice that works well with any tip color and extends the life of the manicure.
When choosing a base, consider your skin undertone. Warm undertones look best with peachy or golden nudes, while cool undertones pair beautifully with cool pinks or blues.
Essential Tools and Materials
Before you start, gather the following items to ensure a flawless finish:
- Base Coat: Protects the nail and improves polish adhesion.
- Top Coat: Adds shine and durability; matte or glossy finishes depend on your preference.
- Fine‑Point Brush: For precise tip lines and detailed designs.
- Dotting Tool or Small Brush: Ideal for creating crisp, thin lines.
- Nail File & Buffer: Smooths the surface and shapes the nail.
- Cuticle Oil: Keeps cuticles hydrated and prevents cracking.
- Clear Polish (Optional): For a subtle shine on the base before adding the tip.
Investing in high‑quality products reduces flaking and ensures a longer‑lasting manicure.
Step‑by‑Step Guide for Each Variation
Modern French Nails
- Prep: Trim, file, and buff each nail to a smooth surface.
- Base Coat: Apply a thin layer and let it dry.
- Base Color: Paint the entire nail with your chosen shade, leaving a small strip near the cuticle untouched.
- Tip Color: Using a fine‑point brush, paint a thin line across the tip. For a soft blush, use a light pink; for mint, choose a cool green; for metallic, a subtle shimmer works best.
- Top Coat: Seal the design with a glossy top coat for shine or a matte top coat for a contemporary look.
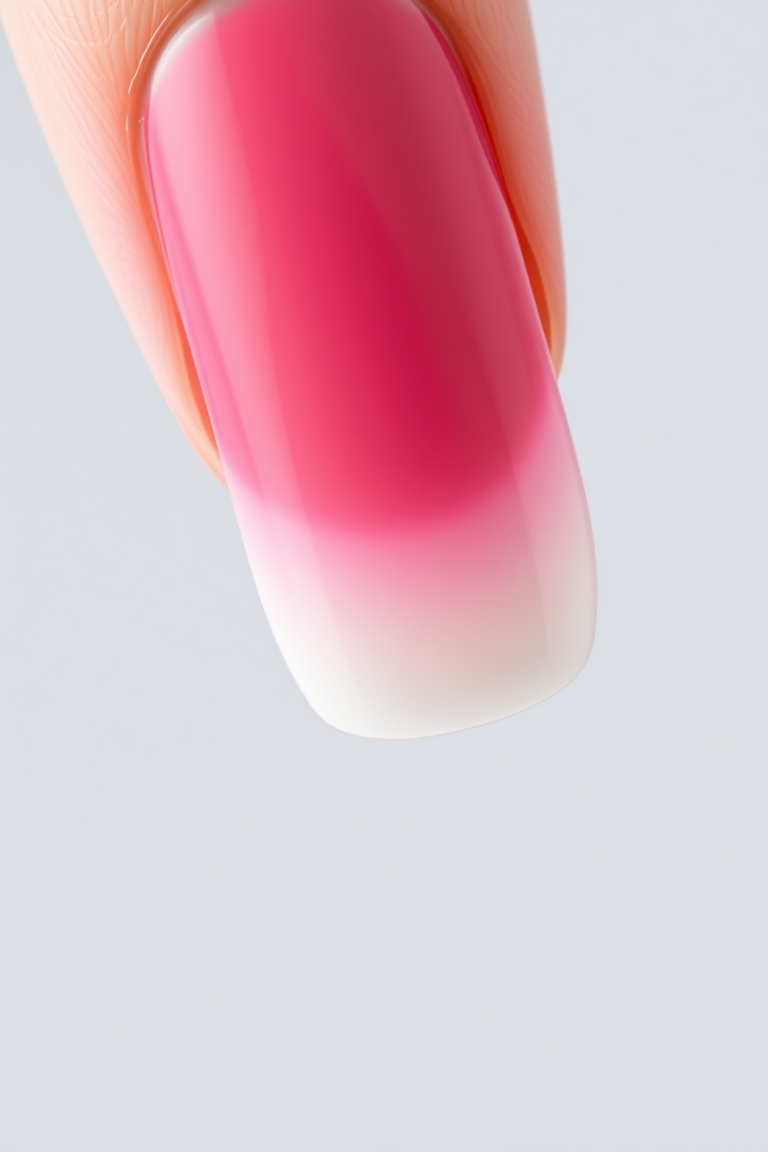
Colored French Tips
- Prep and Base Coat: Same as above.
- Base Color: Apply a neutral or lightly tinted base.
- Tip Application: Use a dotting tool to paint a clean line in your chosen color (neon green, royal blue, deep burgundy). Keep the line centered to avoid a jagged edge.
- Finish: Top coat to lock in color and add durability.
Micro French
- Prep: File to a smooth oval shape.
- Base Coat & Color: Apply a clear or nude base.
- Thin Line: Using a precision tip marker or fine‑point brush, paint a line no wider than 1 mm. Center the line to maintain symmetry.
- Top Coat: Matte top coat gives a sophisticated finish.
French Twist Designs
- Prep: Shape and file the nail.
- Base Coat & Color: Apply a base color.
- Twist or Curl: With a thin brush, paint a small swirl or curl at the tip. For a spiral, start at the cuticle and gently curve toward the tip.
- Seal: Top coat to preserve the design.
Common Mistakes and How to Fix Them
- Uneven Base Coat: A thick or uneven base can cause the tip color to bleed. Apply two thin coats and let each dry fully.
- Misshapen Tips: Use a nail tip guide or a small piece of tape to keep the line straight.
- Cracking After Drying: Avoid applying the top coat while the base is still tacky; wait until it is completely dry.
- Color Fading: Use a high‑SPF top coat and avoid harsh chemicals like household cleaners.
When a mistake occurs, gently buff the area and reapply the correct color. Patience and a steady hand are key.
Seasonal Variations and Occasion Ideas
- Spring: Soft pastels, mint green, and pale blushes pair well with floral outfits.
- Summer: Neon green or bright turquoise tips add a beach‑ready vibe.
- Fall: Deep burgundy, burnt orange, or olive green bases complement autumnal wardrobes.
- Winter: Metallic silver or gold tips, or even a subtle glitter overlay, create a festive look.
- Special Events: For weddings or parties, consider a subtle swirl or a tiny diamond accent on the tip.
Maintenance and Reapplication Tips
- Daily Care: Apply cuticle oil twice a day to keep nails hydrated.
- Touch‑Ups: Use a small brush to touch up the tip line after a week of wear.
- Avoid Harsh Chemicals: Wear gloves when washing dishes or cleaning to prevent polish damage.
- Reapplication: When the base starts to lift, apply a fresh base coat before reapplying the tip color.
- Professional Polish Removal: Use acetone sparingly to avoid drying out the nail bed.
Professional vs DIY: When to Call a Nail Artist
DIY French variations are accessible for most home users, but certain designs—such as intricate spirals or large metallic swirls—may benefit from professional precision. If you have a busy schedule or want a flawless finish for a high‑profile event, booking a salon appointment ensures expert application and longevity.
FAQ
1. What are french manicure variations and how do they differ from the classic French manicure?
French manicure variations are modern interpretations of the traditional white‑tip style. They introduce new colors, line widths, textures, and creative designs while preserving the clean nail shape that defines the classic look. These variations allow personalization and can be tailored to seasonal trends or personal style.
2. Can I use colored polish on the base for a French manicure variation?
Yes, a tinted base can add depth and personality. Choose a shade that contrasts nicely with your tip color. Ensure the base dries completely before applying the tip to avoid smudging.
3. How long does a micro French manicure last compared to a regular French manicure?
With proper base and top coats, a micro French manicure can last as long as a classic French—typically 7 to 10 days. The ultra‑thin line reduces the risk of chipping, but avoid exposing the nails to harsh chemicals to maintain longevity.
4. Are French twist designs suitable for formal events?
French twist designs can be subtle or bold. For formal occasions, opt for a gentle curl or minimal swirl to keep the look elegant. Pair with a neutral base to avoid overwhelming the outfit.
5. What tools do I need to create a French manicure variation at home?
Essential tools include a fine‑point brush, a small dotting tool, a clear base coat, a top coat, and your chosen tip color. A nail file, buffer, and cuticle oil help prepare the surface and maintain nail health.
6. How can I keep my French manicure from chipping?
Apply a strong top coat and avoid using your nails as tools. Wear gloves when handling detergents or cleaning agents, and reapply a fresh top coat every 5–7 days to reinforce the seal.
7. Can I combine two variations, like a micro French with a twist design?
Absolutely. Start with a micro French line, then add a small swirl or curl at the tip. Layering variations allows you to create a unique look that showcases both precision and flair.
Leave a Reply