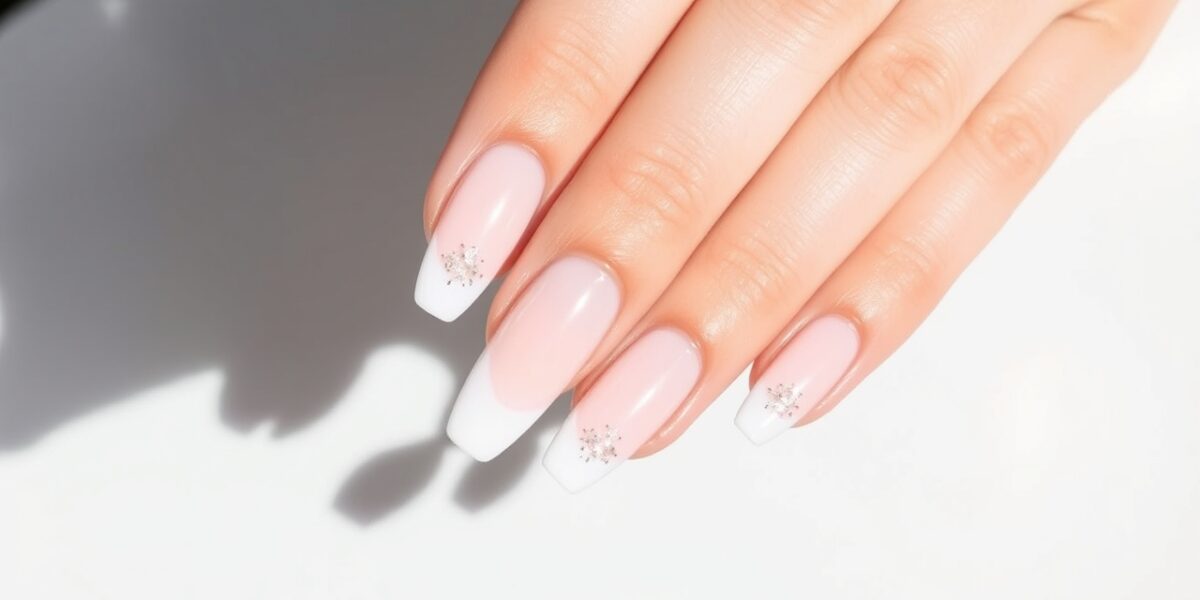
Short acrylic nail designs offer a chic, low‑maintenance look that keeps your hands polished without the bulk of traditional long nails. They’re perfect for busy days, stylish evenings, or anyone who wants a quick, clean finish.
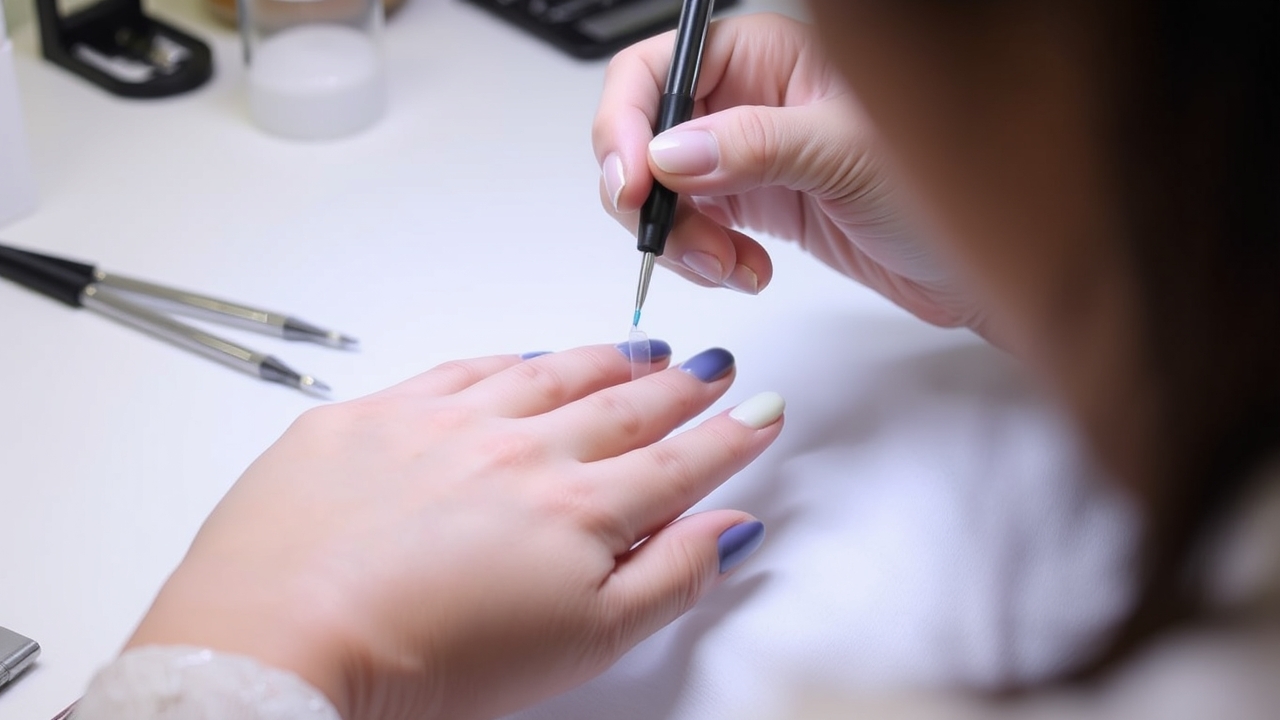
Because the nails stay short, the acrylic layers are thinner, resulting in a lighter feel that’s easier to grip and less prone to breakage. This makes them an ideal choice for people who do a lot of typing, cooking, or manual tasks.
With short acrylic nail designs, you can still experiment with color, texture, and subtle embellishments without committing to a full‑length manicure. The versatility of these designs means you can switch from a minimalist matte to a sparkling expression in weeks, not months.



Why Short Acrylic Nail Designs Are a Smart Choice
Short acrylic nail designs not only look modern, they also reduce the risk of breakage compared to longer acrylics. Choosing short acrylic nail designs can save you time and money. Because the materials needed are less, the cost per nail is lower, and you’re less likely to need frequent touch‑ups. Plus, the shorter length reduces the chance of accidental nicking or catching on clothing.
Health‑wise, shorter nails mean less exposure to chemicals and fewer opportunities for fungal growth. The thinner acrylic layers also allow for better airflow, which can help keep your nails healthy over time.
Choosing the Right Shape: Short Coffin Nails vs. Short Stiletto
When you’re planning short acrylic nail designs, the shape you pick sets the foundation for the entire look. Two popular styles are the short coffin nails and the short stiletto.
- Short Coffin Nails: This shape has a squared tip with a slight taper, giving a subtle, elongated effect that still feels short. It’s great for a polished, professional vibe.
- Short Stiletto: A sharper, more dramatic angle, the short stiletto adds a touch of edge while keeping the overall length minimal. It’s a favorite for those who like a bold statement without going too long.
Both shapes pair well with a range of colors and textures, but the coffin tends to look more traditional, while the stiletto leans into modern trends.
Essential Materials and Tools for DIY Acrylics
Before you start, gather the following items to ensure a smooth application:
- High‑quality acrylic kit (powder and monomer)
- Nail file and buffer (fine grit for smoothing)
- Cuticle pusher and remover
- Brushes of varying sizes (for detail work)
- Top‑coat and base‑coat
- Acetone and cotton pads for cleanup
- Protective gloves and a well‑ventilated workspace
Tip: Use a lightweight acrylic kit with a low viscosity. It spreads evenly on short nails and reduces the risk of a heavy, uneven finish.
Choosing the Right Color Palette
Color selection is more than just picking a shade; it influences the overall vibe and can even affect how your nails look in different lighting.
- Monochrome Elegance: Stick to one shade across all nails for a sleek, cohesive look. Classic neutrals like ivory, taupe, or soft pink work beautifully for office settings.
- Bold Contrast: Pair a dark base (e.g., deep navy or charcoal) with a bright accent (e.g., neon green or hot pink) on the cuticle edge for a pop of personality.
- Pastel Gradient: Blend two complementary pastel shades (lavender to mint) for a subtle, romantic feel.
- Metallic Touch: A thin line of gold or silver foil on the tip adds instant glamour without overwhelming the short length.
Step‑by‑Step Guide to Creating Manageable Acrylics
Preparing Your Nails
Start with clean, dry nails. Remove any old polish and gently buff the surface to create a smooth base. Use a light hand—over‑buffing can thin the nail plate and cause the acrylic to lift.
Choosing the Color
Short acrylic nail designs allow you to experiment with shades. For a classic look, opt for neutral tones like soft pink or subtle taupe. If you want a pop of color, try jewel tones—emerald, sapphire, or ruby—because the short length keeps the design from looking overwhelming.
Applying the Acrylic
Mix a small amount of acrylic powder with the liquid monomer, following the manufacturer’s instructions. When you apply the mixture to the nail, use a thin layer and spread it evenly from the cuticle to the tip. Because the nails are short, a single coat often suffices. Let each layer cure for 30–45 seconds before adding the next.
Finishing Touches
Once the acrylic has set, shape the tips with a file. Apply a top coat to seal the color and add shine. For a fun twist, sprinkle a tiny amount of glitter or apply a subtle ombré effect. Finish with a quick buff to remove any ridges.
Creative Short Acrylic Ideas That Look Effortless
Short acrylic nail designs can be as bold or as understated as you wish. Here are some ideas that keep the look manageable:
- Matte Minimalism: A single matte color with a subtle stripe or dot pattern creates a sophisticated, low‑maintenance look.
- Micro‑Studs: Add small studs or tiny rhinestones along the cuticle for a touch of glam without the bulk.
- Gradient Ombre: Blend two complementary shades from base to tip for a gentle transition that feels fresh.
- Geometric Lines: Use thin, clean lines across the nail to give a modern, almost architectural feel.
- Nature‑Inspired Motifs: Tiny leaf or leaf‑shaped polish accents can add a subtle pop of color while staying low‑key.
These designs keep the nail short but still make a statement, and they’re easy to change seasonally.
Safety First: Protecting Your Nails and Skin
While acrylics are generally safe, certain practices can reduce risks:
- Always work in a well‑ventilated area to avoid inhaling fumes from the monomer.
- Use disposable gloves when handling chemicals to protect your skin.
- Keep the acrylic kit sealed and store it in a cool, dry place to prevent clumping.
- Never apply acrylic over a nail that’s visibly damaged or has fungal growth.
Common Mistakes to Avoid
- Over‑filing: Excessive filing can thin the natural nail, making acrylics more likely to lift.
- Using too much monomer: A thick mixture can lead to a heavy, uneven finish that cracks easily.
- Neglecting cuticle care: Ignoring cuticle health can cause the acrylic to detach from the nail bed.
- Skipping a base coat: A base coat provides a better bond and prevents staining.
Professional vs DIY: When to Call in the Experts
Decide whether to DIY or get a pro based on your skill level:
- DIY: Ideal for simple designs (matte, single color) and for those who enjoy a hands‑on approach.
- Professional: Recommended for intricate detailing (micro‑studs, foil) or if you’re new to acrylics and want a flawless finish.
Seasonal Inspiration: From Spring to Winter
- Spring: Soft pastels with floral accents or subtle glitter.
- Summer: Bright jewel tones, neon highlights, or tropical patterns.
- Fall: Warm earth tones, metallic gold, or leaf motifs.
- Winter: Deep jewel hues, silver or platinum accents, and subtle frosted effects.
Maintenance Tips for Long‑Lasting Results
Short acrylic nail designs are durable, but proper care extends their life. Here are some simple habits:
- Moisturize: Apply cuticle oil daily to keep the skin around the nails hydrated.
- Avoid Harsh Chemicals: When washing dishes, wear gloves to protect the acrylic from soaps that can cause yellowing.
- Touch‑Up: If a chip appears, add a thin layer of acrylic over the damaged area and let it cure.
- Regular Check‑Ins: Every six weeks, visit a professional to file and shape the nails, ensuring they stay even.
For more nail inspiration and detailed tutorials, you can check out our nail inspiration page. The resources there dive deeper into color theory and advanced techniques. Proper care ensures that short acrylic nail designs stay flawless for weeks.
FAQs About Short Acrylic Nail Designs
1. How do I prevent my acrylics from lifting?
Start with a clean, dry nail and apply a thin, even layer. Avoid over‑filing and always use a base coat. If you notice lifting, touch‑up with a fresh layer of acrylic and let it cure properly.
2. Can I wear short acrylics while pregnant?
Yes, short acrylics are generally safe. Just ensure you use a reputable kit, keep the workspace well‑ventilated, and avoid using excessive monomer.
3. What’s the best way
Leave a Reply