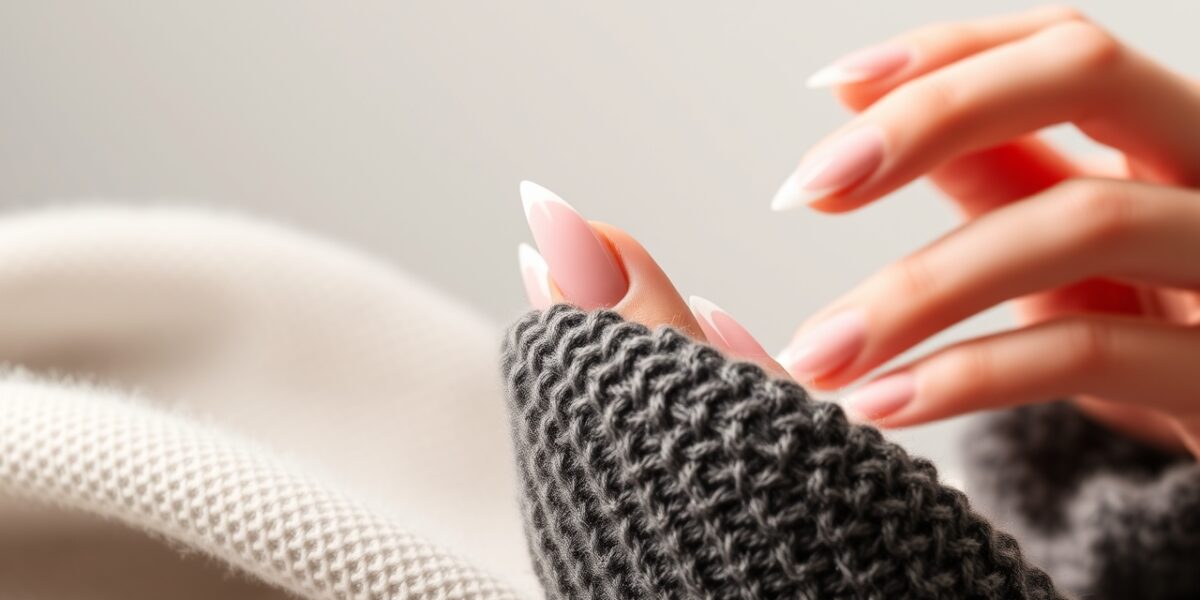
How to remove acrylic nails safely is a common question for anyone who loves polished, durable nails but also values the health of their natural nails. Acrylics are a popular choice because they give you a long‑lasting, chip‑resistant base that can be shaped into any design. However, when the time comes to say goodbye, many people worry about damaging the nail bed or causing infection. The good news is that with the right technique, you can safely remove acrylics at home while keeping your nails strong and healthy.
Understanding Acrylic Nail Composition
Acrylic nails are made from a mixture of a liquid monomer (usually ethyl methacrylate) and a powder polymer (typically polymethyl methacrylate). When the two components combine, they harden into a rigid shell that bonds to the natural nail. Because of this chemical bond, simply pulling the acrylic off can tear the nail plate or pull on the cuticle.
Knowing how acrylics work helps you choose the safest removal method. The key is to dissolve the acrylic rather than force it off. Acetone is the solvent its creators used for this exact purpose, and it remains the most effective way to soften the polymer for removal.



Tools & Materials You’ll Need
- 100% pure acetone (the higher the purity, the faster the dissolve)
- Warm water (not hot, as it can damage the nail bed)
- Shallow dish or bowl that fits your fingertips comfortably
- Soft nail brush or cotton swabs
- Aluminum foil or small plastic cups (for wrapping the cotton)
- Fine‑grit nail file (280–320 grit)
- Cuticle oil or a gentle hand moisturizer
- Clean towel or paper towels
- Optional: nail eater or nail removal kit for stubborn layers
Preparation & Safety Tips
Before you start, it’s essential to create a calm, well‑lit workspace. Make sureing your nails is a relaxing activity rather than a stressful chore. Here are a few safety tips to keep in mind:
- Ventilation: Acetone produces strong fumes. Work in a well‑ventilated area or open a window.
- Protect your skin: Acetone can dry out the skin around your nails. Keep a moisturizer nearby.
- Keep it clean: Use clean tools and avoid reusing cotton swabs that have already dissolved acrylic.
- Test a small area: If you have sensitive skin, apply a small amount of acetone to the back of your hand to ensure you don’t have an adverse reaction.
Step‑by‑Step Acrylic Removal Process
Step 1: Clean the Nail Surface
Use a soft nail brush to gently remove any loose polish, dirt, or debris from the nail plate. A clean surface allows the acetone to penetrate the acrylic more efficiently.
Step 2: Soak Your Fingers
Fill your shallow dish with warm water and add 2–3 drops of acetone per finger. Submerge your fingertips and let them soak for 10–15 minutes. The warm water helps the acetone work faster, while the acetone softens the acrylic shell.
Step 3: File the Top Layer
After soaking, use your fine‑grit file to lightly smooth the top of the acrylic. File in one direction, avoiding back‑and‑forth motions that can create ridges. This step reduces the thickness of the acrylic, making the next phase easier.
Step 4: Apply Acetone‑Soaked Cotton Swabs
Take a cotton swab, dip it in pure acetone, and press it firmly onto the nail. Wrap the swab with a small piece of aluminum foil or place it in a plastic cup to keep the acetone from evaporating. Let it sit for 5–7 minutes.
Step 5: Gently Remove the Acrylic
After the soak, lift the cotton swab and slide it along the nail bed. The softened acrylic should peel away in thin layers. If you feel resistance, reapply a fresh acetone‑soaked swab and repeat the wrap. Avoid pulling or using excessive force.
Step 6: Buff and Shape Your Natural Nail
Once the acrylic is removed, use your fine file to shape the nail bed. Buff lightly in one direction to avoid creating ridges or scratches. If you notice any unevenness, a gentle buff will level the surface.
Step 7: Hydrate and Nourish
Apply cuticle oil or a nourishing hand cream to the nail bed and surrounding skin. Massage it in to promote circulation and restore moisture. This step is crucial because acetone can dry out the skin.
Step 8: Give Your Nails a Break
After removal, avoid applying new polish or another acrylic set for at least 48 hours. This break allows the nail plate to recover and reduces the risk of damage.
Common Mistakes to Avoid
- Using harsh tools: Metal files or rough brushes can scratch the nail surface.
- Forcing acrylic off: Pulling or using excessive force can tear the nail plate.
- Skipping the soak: Without proper soaking, acetone may not soften the acrylic adequately.
- Neglecting cuticle care: Dry cuticles are more prone to cracking.
- Using diluted acetone: A lower concentration will take longer and may not fully dissolve the acrylic.
When to Seek Professional Help
If you experience persistent pain, redness, or signs of infection—such as pus, swelling, or a foul odor—stop the removal process immediately and seek professional help. A licensed nail technician or dermatologist can safely remove stubborn or heavily layered acrylics using specialized tools and techniques that minimize damage.
Additional Tips for Nail Health
- Use a base coat before your next acrylic set: This creates a protective barrier and reduces the need for harsh solvents.
- Consider a “soft‑acrylic” formula: These are less rigid and easier to remove.
- Keep a nail care kit handy: Having all the tools in one place speeds up the process.
- Schedule regular nail breaks: Every 3–4 weeks, give your nails a break from polish or acrylic to let them breathe.
- Stay hydrated: Drinking plenty of water supports nail strength from the inside out.
FAQs About Acrylic Removal
- Q: How long does it take to remove acrylic nails at home? A: Typically 20–30 minutes per hand, depending on the thickness of the acrylic and how well you follow the steps.
- Q: Can I use nail polish remover instead of acetone? A: Nail polish remover usually contains a lower concentration of acetone, so it will take longer and may not fully dissolve thicker acrylic layers.
- Q: What if my acrylics are thick or have multiple layers? A: You can file down the top layers first, then soak and use cotton swabs. If it’s still stubborn, consider a professional removal.
- Q: Will acrylic removal damage my natural nails? A: If you follow a gentle method—soak, file lightly, and avoid pulling—you’ll preserve the integrity of the nail plate.
- Q: How can I prevent my next acrylic set from being harder to remove? A: Use a thinner layer of acrylic, keep the base coat thin, and avoid over‑filing the natural nail before application.
For more detailed nail care routines, visit NailPro or read our guide on How to Apply Nail Polish to keep your nails looking flawless after removal.
Leave a Reply