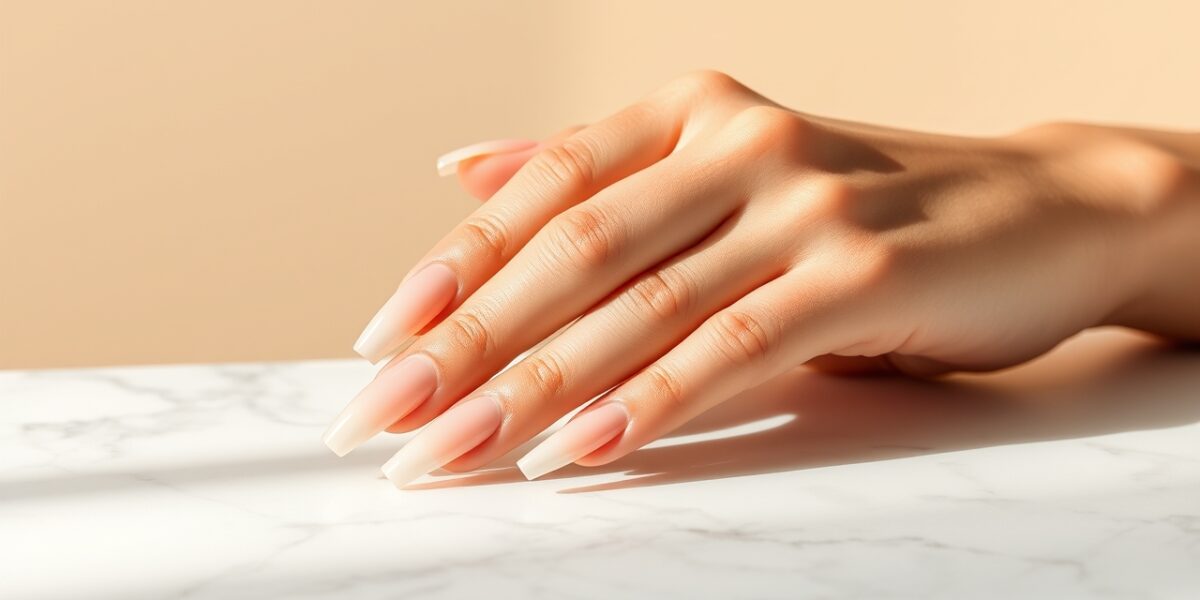
When you step into a salon for acrylics, the first question that echoes in your mind is often, “How do I keep my nails healthy under acrylics?” The answer isn’t a single trick; it’s a rhythm of care, precision, and respect for the nail’s biology. Below is a step‑by‑step playbook that blends industry best practices with everyday habits, ensuring that your natural nails stay strong while you flaunt those glossy extensions.
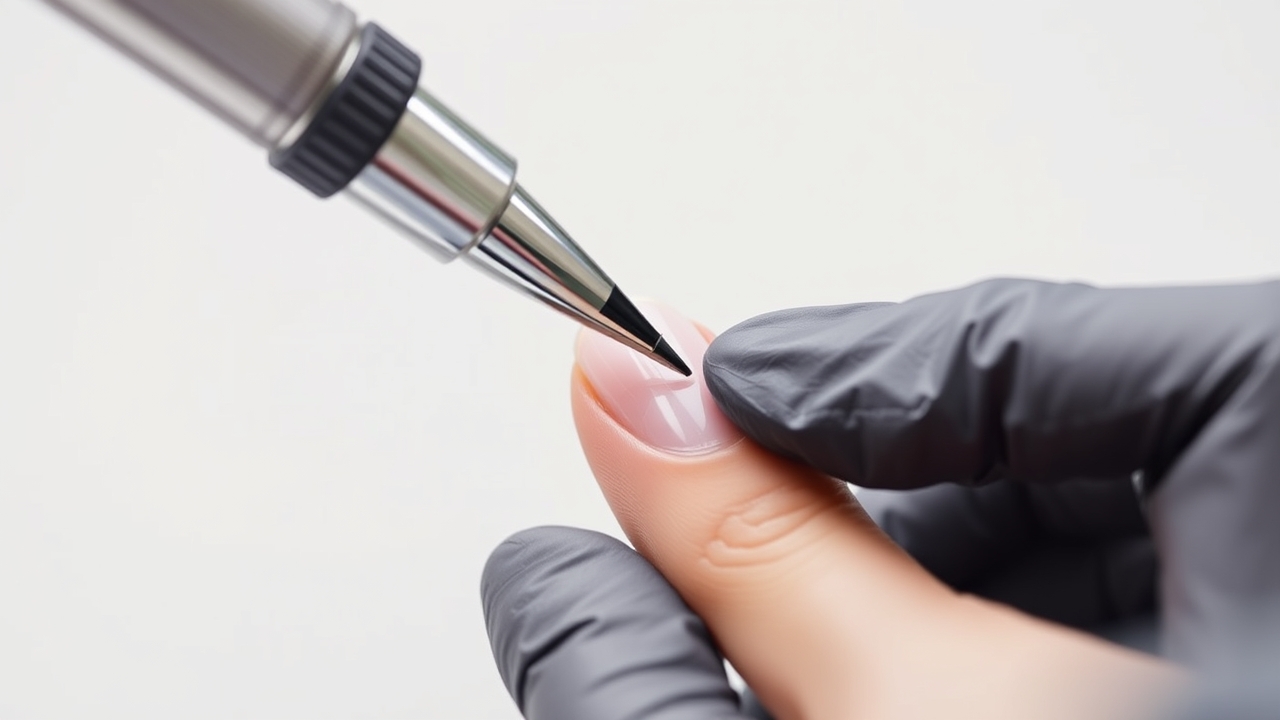
The Anatomy of Acrylic and Its Impact on Nail Health
Acrylic is essentially a polymer that hardens into a rigid shell over your natural nail. The monomer (a liquid) and the polymer (a powder) react to form a plastic layer that doesn’t flex with the nail plate. Because of this stiffness, any tension—whether from daily tasks or improper removal—can pull on the keratin layers beneath, causing micro‑fractures or even onycholysis (separation of the nail from the bed).
Why Many Nail Enthusiasts Suffer
Most damage originates before the acrylic even meets the nail. Over‑buffing, aggressive filing, or a rushed soak‑off can strip the natural plate of its protective lipids. Likewise, using the nails as tools—opening cans, peeling stickers, or prying open packages—introduces leverage points that the acrylic can’t absorb. The result is a brittle, peeling nail that looks like paper when you finally remove the extensions.



Step 1: Master the Prep
Preparation is the silent hero of nail health. Here’s how to do it right:
- Use a 600‑grit buffer. A fine buffer removes the shine without thinning the plate. Coarse files (80‑100 grit) can cut 1–2 mm of nail in a single pass.
- Push back cuticles with a gentle cuticle pusher. A 10‑mm stainless steel tool or a wooden stick will lift the skin without tearing. If you prefer a softer approach, a cuticle stick soaked in warm water for 5 minutes loosens the dead skin.
- Apply a dehydrator. A 100 % acetone‑free dehydrator like Acetone‑Free Nail Dehydrator by Nail Essentials dries the surface, allowing the acrylic to bond with minimal filing.
- Seal the edges. A thin line of Gelish Base Coat around the free edge prevents water from seeping in and causing lifting.
Step 2: Choose the Right Acrylic Formula
Not all acrylics are created equal. Some brands add a touch of flexibility, which can reduce the risk of lifting:
- Standard Acrylic. The classic formula—great for beginners but rigid.
- Hybrid Acrylic. Blends a small amount of gel polymer to give a slight give.
- Structured Gel. A hard gel that offers the durability of acrylic with a softer edge.
Ask your technician which product they use and whether it’s suited to your nail type—oily, dry, or normal.
Step 3: Hydration—The Silent Guardian
Because acrylics seal the nail, the natural plate can’t absorb moisture from the air or lotions. This dryness turns a healthy nail into a brittle, cracked canvas. Here’s a hydration routine that works:
- Morning and Evening. Apply a cuticle oil rich in jojoba or almond oil. Brands like Biosilica Cuticle Oil have molecules small enough to slip under the acrylic edge.
- Use a nail brush. A soft brush, such as a St. Ives Nail Brush, spreads the oil evenly and stimulates circulation.
- Wrap your hands in a warm towel. After oil application, cover with a damp towel for 10 minutes to lock in moisture.
Notice a change in texture? If the nail feels more supple, you’re on the right track.
Step 4: Spotting and Fixing Lifts Early
Lifts form when the acrylic pulls away from the natural nail, creating a pocket that traps moisture and bacteria. The first sign is a faint gap at the cuticle line. Don’t attempt to glue it shut with household superglue—this only seals the infection in.
Instead:
- Return to the salon for a professional fill.
- If you’re at home, use a gelish lift repair kit to gently coax the acrylic back into place. Follow the kit’s instructions meticulously.
Step 5: The Break Cycle—Giving Your Nails a Breather
Even the most meticulous routine can’t counteract the cumulative stress of continuous acrylic wear. A proven strategy is the 3‑months on, 1‑month off cycle:
- Months 1–3. Maintain a 2‑week fill schedule. Use a strengthener like O.P.I. Nail Strengthener during the final week of each cycle.
- Month 4. Remove all acrylics. Soak in 100 % acetone for 15 minutes, then gently file the natural plate with a 320‑grit file.
- Post‑break care. Apply a keratin‑based cream (e.g., Keratin Nail Repair Cream) twice daily for 2 weeks to rebuild the lipid barrier.
Step 6: Nutrition—Fueling the Nail Matrix
Your nail matrix is a living tissue that requires protein, vitamins, and minerals to grow strong. Incorporate these foods into your diet:
- Biotin‑rich foods. Egg yolks, almonds, and sweet potatoes.
- Zinc sources. Oysters, pumpkin seeds, and lentils.
- Iron‑laden greens. Spinach, kale, and quinoa.
- Omega‑3 fatty acids. Salmon, chia seeds, and walnuts.
Consider a daily supplement if your diet is lacking. A 10‑mg biotin supplement can double the thickness of your nails over 12 weeks.
Step 7: Professional Soak‑Off vs. DIY Removal
Removing acrylic at home is tempting, but the risks outweigh the convenience. A professional soak‑off uses pure acetone, a neutral pH buffer, and a gentle scraping technique that preserves the nail plate.
If you must do it yourself, follow this protocol:
- File the top coat. Use a 600‑grit file to remove the glossy finish; this opens the acrylic’s surface.
- Protect the skin. Apply a thin layer of petroleum jelly around the cuticle.
- Soak. Place cotton pads soaked in 100 % acetone on each nail, wrap with foil, and leave for 15–20 minutes.
- Gently pry. Use an orange stick or a nail file to lift the softened acrylic. If resistance remains, re‑soak for 5 minutes.
- Finish with a buffer. Lightly buff the natural nail to smooth any roughness.
Step 8: Protecting Between Fills
The interval between fills is a high‑risk period. As the acrylic grows, the apex shifts forward, creating a lever that can snap the nail or lift the cuticle. To mitigate this:
- Schedule fills every 2–3 weeks. This keeps the weight distribution even.
- Apply a thin layer of Acetone‑Free Nail Polish Remover around the cuticle every 10 days. This keeps the area moist and prevents the acrylic from bonding too tightly.
- Use a protective rim. A thin strip of Gelish Base Coat around the free edge acts as a barrier against water ingress.
Step 9: Advanced Strategies for Long‑Term Health
For those who love acrylics but fear the long‑term toll, consider these pro tips:
- Structured Gel. Brands like Hard Gel by Kure Bazaar offer the durability of acrylic with a slightly flexible finish, reducing the risk of lifting.
- Dual‑layer base. Use a 100 % acetone‑free base coat followed by a thin gel primer. This double barrier protects the nail from harsh chemicals.
- Monitor for red flags. Yellowing, extreme sensitivity, or deep horizontal ridges after removal are warning signs. Stop the acrylics immediately and give your nails a healing period.
Summary Checklist for Healthy Acrylics
- Use a 600‑grit buffer and avoid over‑filing.
- Apply cuticle oil twice daily.
- Schedule fills every 2–3 weeks.
- Avoid using nails as tools.
- Remove acrylics only via professional soak‑off.
- Take a one‑month break every quarter.
- Incorporate biotin, zinc, iron, and omega‑3 into your diet.
Final Thoughts on Nail Longevity
Wearing acrylics is a style statement, not a sacrifice. By treating your nails with the same respect you give to skin—hydration, protection, and periodic rest—you can enjoy glossy extensions without compromising the health of the plate beneath. Remember: the goal is not just to look fabulous while wearing acrylics, but to return to a natural, strong nail that can withstand everyday life.
Frequently Asked Questions
How do I keep nails healthy under acrylics?
Prioritize hydration with cuticle oil, schedule regular fills, and avoid aggressive removal. A 600‑grit buffer, a 3‑month on/1‑month off cycle, and a professional soak‑off are the cornerstones of a healthy routine.
Can acrylics permanently damage my natural nails?
When applied correctly and removed properly, acrylics do not cause permanent damage. Over‑filing or forced removal can thin the nail plate, but a healthy nail will grow back in time.
How often should I take a break from acrylics?
Most experts recommend a 4‑week hiatus every 3–4 months. This gives the nail plate time to recover its natural moisture balance.
Why do my nails feel thin after removing acrylics?
Thinness usually stems from over‑filing during application or peeling off the acrylic. A professional soak‑off preserves the natural layers.
Does cuticle oil actually penetrate acrylics?
While thick acrylics block full penetration, oils seep around the edges and hydrate the cuticle and matrix, strengthening the nail from within.
What should I do if I notice a lift?
Immediately schedule a fill or use a repair kit designed for lifts. Avoid applying glue or other adhesives at home.
Can I use a gel polish while wearing acrylics?
Yes, but apply the gel polish only to the acrylic surface. Avoid applying it to the natural nail to prevent trapping moisture.
Which brand of acrylic offers the best balance of strength and flexibility?
Hybrid acrylics from Artistry Acrylic or structured gels from Kure Bazaar provide a slight give, reducing the risk of lifting.
For further reading, see related references on Wikipedia.
Leave a Reply