Acrylic nail designs are a versatile way to express style and confidence, whether you’re prepping for a night out or just want to switch up your everyday look. In this guide, I’ll walk you through 12 fresh ideas that span from understated to eye‑catching, covering acrylic nails ideas, long acrylic designs, and acrylic set ideas that you can recreate at home or discuss with your pro.
Choosing the Right Acrylic System
Before you touch a brush, you need to pick a system that matches your skill level and nail goals. Most salons use a two‑component system: a powder polymer and a liquid monomer. The polymer gives structure, while the monomer activates the hardening process. A few key points to consider:
- Low‑VOC vs. Standard: Low‑VOC formulas emit fewer fumes, making them safer for both the technician and the client. If you’re sensitive to chemicals, opt for low‑VOC or even natural acrylics.
- Hardness: Acrylic hardness is measured on a scale of 1–10. A hardness of 3–4 is ideal for everyday wear, while 5–6 is better for long‑lasting sets or high‑impact jobs.
- Color Options: Some brands offer pre‑colored powders that reduce the number of coats needed. If you want a bright, opaque finish, choose a powder with a high pigment concentration.
Essential Tools & Materials
Having the right kit saves time and prevents mishaps. Below is a quick checklist:


- Polish bottle (base coat, top coat)
- Clear nail polish for filling and sealing
- Fine‑tip brush (size 0 or 1)
- Sponges or foam pads for ombre and marble
- Cuticle nippers and push‑back tool
- Nail file (coarse and fine grits)
- Acetone for cleaning or removal
- Polish remover wipes
- Gloves and a well‑ventilated workspace
Step‑by‑Step Build Process (Detailed)
- Prep the natural nail: Trim to shape, file to smooth edges, and gently push back cuticles. A clean surface ensures better adhesion.
- Apply a base coat: A thin layer protects the nail and improves acrylic bonding.
- Prime the nail: A primer(IS) creates a micro‑texture that the acrylic adheres to. Wait 30‑60 seconds for optimum tackiness.
- Build the acrylic: Dip the brush into the polymer powder, then into the monomer. Apply a thin layer, let it set for 10–15 seconds, and repeat until you reach the desired length. Use a nail shape guide if you’re new.
- Dry and file: Allow the acrylic to dry fully (about 30 minutes). File to the final shape, smoothing any ridges.
- Polish and finish: Paint your chosen design, seal with a top coat, and let cure. If you’re adding glitter or gems, apply a clear coat over each embellishment.
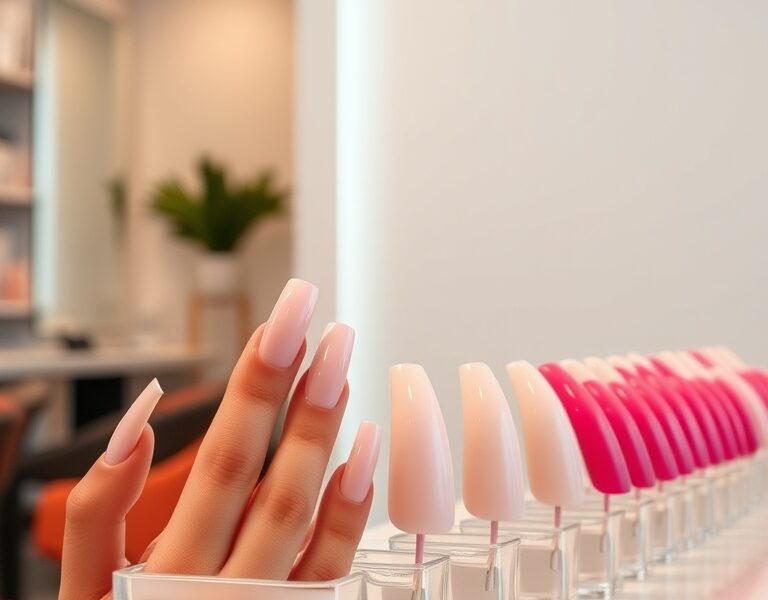
12 Acrylic Nail Design Ideas
1. Classic Nude Gradient
Start with a light beige base. Using a sponge, blend a slightly darker taupe toward the tip. Finish with a matte top coat to reduce shine. Variations: swap taupe for a soft rose or add a subtle pearl dust at the tip for a touch of luxury.
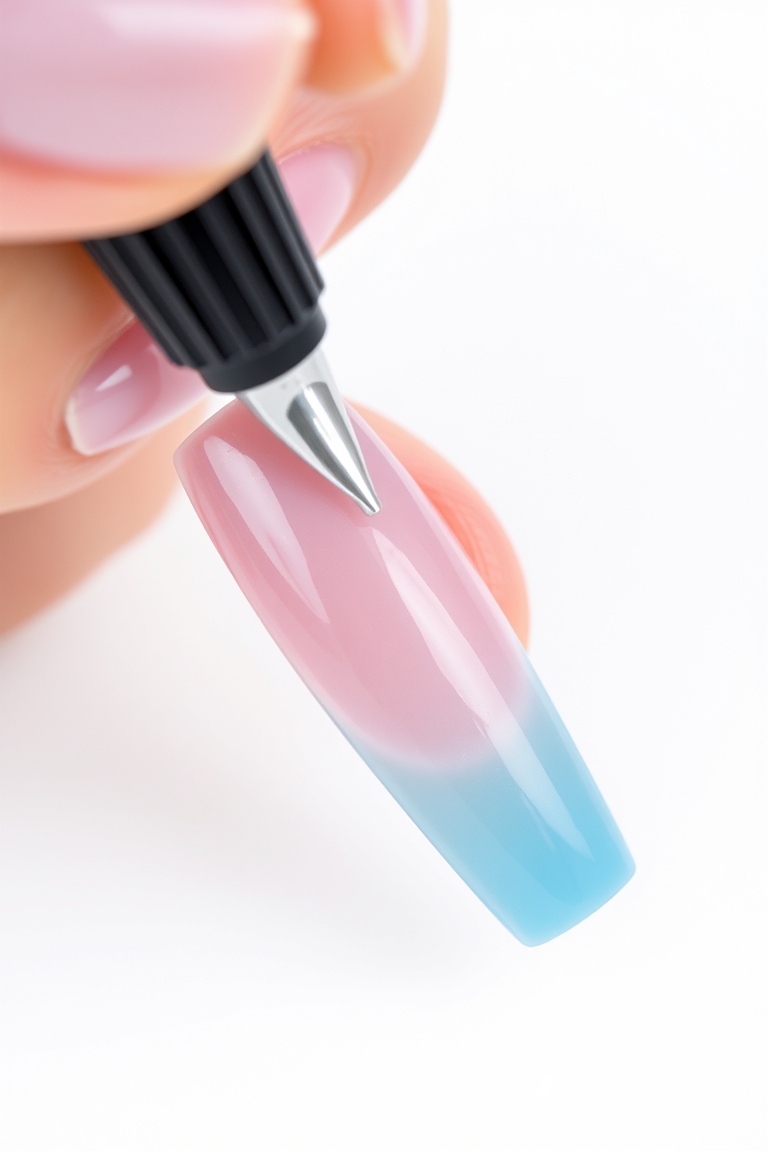
2. Soft Pastel Ombre
Choose lavender and mint. Dip a sponge into each color, then press gently from the cuticle to the tip, overlapping slightly. Use a clear top coat to lock the colors. For a richer look, layer a second pastel shade over the first.
3. Matte Black with Gold Accents
Paint the entire nail matte black. Use a fine gold brush to outline the cuticle or add a single gold stripe. Seal with a matte top coat to maintain the texture. If you prefer a subtle shimmer, replace the gold line with a thin gold glitter dot.
4. Classic French with a Twist
Apply a peach or blush base. Use a small brush to paint a crisp white tip, extending slightly beyond the nail edge. Finish with a satin top coat. For a playful twist, add a thin pink line beneath the white tip.
5. Geometric Patterns
Use tape or a stenciled template to create triangles or zig‑zags. Paint a neutral base, then fill the shapes with cobalt or emerald. Finish with a clear coat. For a 3‑D effect, add a small rhinestone on each shape.
6. Floral Motif with Glitter
Sketch small flowers with a fine brush on a light background. Dust a single glitter dot on each flower. Use a matte top coat to keep the glitter from flaking. For a seasonal twist, choose pastel colors for spring or deep burgundy for fall.
7. Long Acrylics with a Neon Accent
Build to a 3‑inch length. Wrap a neon strip—pink, green, or orange—around the nail edge. Seal with a glossy top coat. Keep the neon strip thin to avoid bulk.
8. Marble Effect
Apply a base coat in a neutral shade. Use a sponge to swirl two or three colors—navy with silver or blush with champagne. Blend until you achieve a marble pattern. Finish with a matte top coat to reduce shine.
9. Metallic Polish with Negative Space
Paint the entire nail metallic—silver, rose gold, or bronze. Use a clear coat to create a thin border around the cuticle, leaving a small area of bare nail. This negative space adds a modern, airy feel.
10. Ombre with a Glitter Gradient
Apply an ombre base from light to dark. Dust glitter from the tip toward the cuticle, letting it gradually fade. Seal with a top coat. For a subtle sparkle, use a fine glitter powder.
11. Art Deco Inspired
Combine black, gold, and white. Paint a black base, then use a fine brush to add symmetrical gold lines and geometric shapes. Finish with a satin top coat. For extra depth, add a small gold foil accent.
12. Seasonal Holiday Design
For winter, choose cool blues and silvers; for summer, bright reds and greens. Add themed accents—stars, snowflakes, or tropical leaves. Keep the base neutral to let the accents pop.
Maintenance & Care
Proper care extends the life of your acrylics and protects your natural nails.
- Use a gentle nail brush to clean between nails daily.
- Avoid prolonged exposure to harsh chemicals (dish soap, bleach).
- Apply a cuticle oil twice a week to keep skin hydrated.
- Schedule a THEME: “Break” every 4–6 weeks—let your natural nails rest.
- When removing acrylics, always go to a professional to prevent damage.
l
Common Mistakes & How to Avoid Them
- Over‑building: Layering too many acrylics can cause lifting. Keep each layer thin and allow proper drying time.
- Using old monomer: Monomer has a limited shelf life. Replace it every 6–12 months to avoid weak museums.
- Skipping the primer: A primer ensures adhesion. Skipping it leads to cracks.
- Applying too much top coat: Excess top coat can create a sticky surface. Use a thin layer and buff if necessary.
DIY vs. Professional
While many nail enthusiasts enjoy the DIY route, there are scenarios where a pro is worth the investment:
- Complex designs that require precision.
- Long acrylic builds that need structural integrity.
- Removal of stubborn acrylics that could damage natural nails.
Safety & Health Tips
Always work in a well‑ventilated area. Wear disposable gloves to protect your skin. If you notice irritation, discontinue use and consult a dermatologist. Keep acrylics out of reach of children.
FAQ
- How long do acrylic nail designs last? A well‑applied set typically lasts 2–3 weeks before a top‑coat touch‑up is needed. With proper care, you can extend this to 4 weeks.
- Can I use acrylic nails if I have weak nails? Yes, acrylics add strength, but it’s crucial to maintain nail health with a balanced diet, biotin supplements, and regular cuticle care.
- What’s the best way to remove acrylic nail designs? Professional removal is safest. If you must do it at home, soak in acetone for 10–15 minutes, then gently lift with a wooden stick. Avoid forceful removal.
- Are there eco‑friendly acrylic nail options? Low‑VOC acrylics reduce fumes, but always check the safety data sheet. Some brands offer biodegradable packaging and natural pigments.
- How can I customize acrylic nail designs at home? Start with a neutral base. Use a fine brush or tape to add simple patterns. For more complex art, invest in a nail art kit with stencils, foils, and glitter.
For more nail inspiration and detailed tutorials, visit our nail tips page.
Learn more about the science behind acrylic nails on Wikipedia.
Leave a Reply