How to keep nails healthy under acrylics requires a blend of proper prep, maintenance, and mindful removal.

Understanding Acrylics and Nail Health
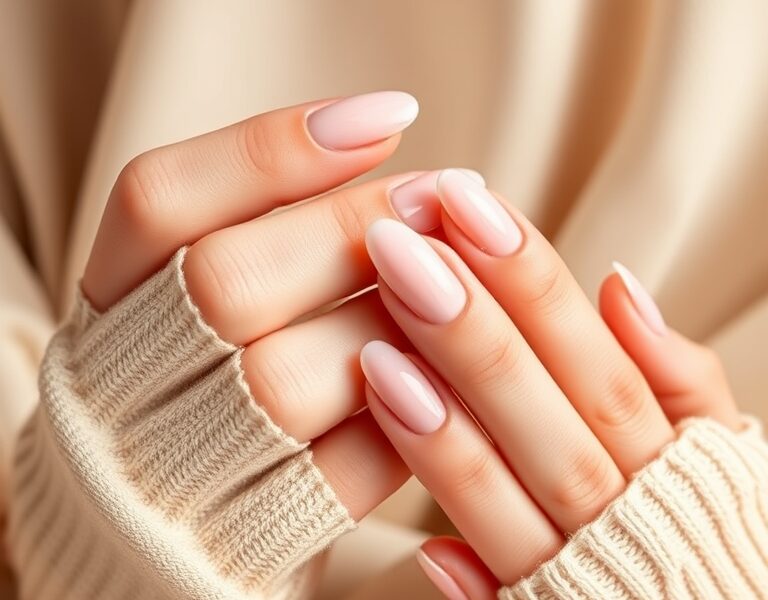
Acrylic nails are a popular choice for many because they add length, strength, and a polished look. However, they also bring challenges for the underlying natural nail. The acrylic layer can trap moisture, bacteria, and chemicals that, if not managed, may compromise nail integrity.
When you choose acrylics, you commit to a routine. Think of it as a partnership: the acrylic offers support, but the natural nail must stay strong enough to support it and recover once you decide to remove it.


Choosing the Right Acrylic Formula
Not all acrylics are created equal. Selecting a high‑quality, low‑VOC (volatile organic compound) system reduces the risk of irritation and long‑term damage.
- Low‑VOC Powders: Look for powders labeled “low‑VOC” or “clinical‑grade.” They emit fewer fumes during polymerization.
- Isopropyl Acetone vs. Acetone: While both solvents remove acrylic, isopropyl acetone is gentler on the nail bed and reduces drying.
- Additives: Some formulas include calcium or magnesium to reinforce the nail plate. Choose products with these additives if you have brittle nails.
Prep: Before You Apply Acrylics
Before the first brush of acrylic, follow these steps:
- Clean and Dry: Remove all polish, oils, and residues. A clean surface ensures better adhesion and reduces the risk of fungal growth.
- Trim and Shape: Keep nails at a moderate length. Overly long nails increase the risk of breakage under acrylic pressure.
- Buffer Lightly: Use a fine‑grit buffer to create a slightly rough surface. This promotes a stronger bond between the acrylic and the natural nail.
- Apply a Nail Primer: Primers help the acrylic bond evenly and reduce moisture retention. They also act as a barrier against allergens.
Step‑by‑Step Primer Application
- Apply a thin layer of primer to the entire nail plate.
- Let it dry for 30–60 seconds until it turns matte.
- Wipe off any excess with a lint‑free pad.
- Repeat if the nail feels especially slick.
Application Best Practices
Even with perfect prep, application technique matters. Here are key points:
- Use Quality Materials: High‑grade acrylic powders and liquids reduce the risk of irritation and chemical damage.
- Limit the Number of Layers: Each layer adds weight. Too many layers can cause the natural nail to weaken.
- Leave a Small Gap: Keep a small space between the acrylic and the nail edge. This prevents the acrylic from pulling on the natural nail during removal.
- Avoid Over‑Polishing: Excessive buffing can thin the natural nail, making it vulnerable.
How to Apply a Single Acrylic Layer
- Mix the powder and liquid to a creamy consistency.
- Dip the brush into the mixture and tap off excess.
- Apply a thin base layer from the cuticle to the tip.
- Let it set for 30–45 seconds, then apply a second layer if needed.
- Finish with a top coat for shine.
Daily Maintenance Routine
Once your acrylics are in place, daily care keeps them and the natural nail healthy:
- Moisturize the Cuticles: Use a cuticle oil or natural oil (like almond or jojoba) to keep the skin supple.
- Hydrate the Nails: Apply a light hand of nail serum to maintain flexibility.
- Protect from Harsh Chemicals: Wear gloves when washing dishes or using cleaning agents.
- Monitor for Signs of Damage: Look for discoloration, pitting, or a feeling of “give‑away” under the acrylic. Early detection prevents deeper problems.
Daily Checklist (Morning & Evening)
- Morning: Apply cuticle oil, swipe on light serum, check for cracks.
- Evening: Reapply serum, inspect edges, and moisturize any dry spots.
Protecting Natural Nails: Moisturizers, Oils, and Diet
Healthy nails grow from healthy bodies. Combine topical care with nutritional support:
- Protein Intake: Nails are made of keratin, a protein. Include eggs, fish, and legumes in your diet.
- Biotin Supplements: Biotin can strengthen nails, though results vary.
- Hydration: Drink plenty of water to prevent dryness.
- Avoid Over‑Wet Exposure: Prolonged exposure to water can soften acrylics and weaken the natural nail.
Top 5 Foods for Strong Nails
- Salmon – rich in omega‑3 fatty acids.
- Spinach – high in iron and vitamin A.
- Almonds – contain vitamin E and magnesium.
- Greek Yogurt – a good source of protein.
- Sweet Potatoes – packed with beta‑carotene.
Avoiding Common Mistakes That Damage Nails
Even small errors can lead to long‑term issues. Watch out for:
- Inadequate Nail Bed Care: Neglecting the nail bed can lead to fungal infections.
- Using the Same Brush for Multiple Nails: This spreads bacteria.
- Over‑Polishing the Acrylic Edge: This can create a sharp edge that pulls on the natural nail.
- Skipping Removal Time: Leaving acrylics on for months increases the risk of damage.
Advanced Tips for Long‑Term Health
- Use a Nail Strengthener: Apply a thin coat of a strengthening gel once a week.
- Rotate Nail Shapes: Alternate between square, almond, and stiletto shapes to give each nail a different stress pattern.
- Schedule Breaks: Every 6–8 weeks, give your nails a week off from acrylics.
- Inspect for Fungal Growth: If you notice a white or yellow spot, treat with antifungal cream.
Removing Acrylics Safely
The removal process is a critical step that can either preserve or ruin your natural nails. Follow these guidelines:
- Professional Removal: If you’re unsure, let a trained nail technician handle it. They use acetone baths and gentle buffing that protect the nail bed.
- Gentle Buffing: Before soaking, lightly buff the acrylic surface to reduce thickness.
- Acetone Soak: Use a small, clean container with acetone. Soak for 10–15 minutes, then gently pry off the acrylic with a wooden tool. Avoid forceful pulling.
- Post‑Removal Care: Apply a moisturizing balm and give the nails a rest. Avoid new acrylics for at least a week.
DIY Removal Checklist
- Step 1: Buff the acrylic lightly.
- Step 2: Soak in acetone for 12 minutes.
- Step 3: Gently lift the acrylic with a wooden stick.
- Step 4: Clean the nail bed with a gentle brush.
- Step 5: Apply cuticle oil and nail serum.
Post‑Removal Care
After removal, the natural nail needs time to recover:
- Light Buffing: Remove any remaining acrylic residue with a gentle buffer.
- Hydration Therapy: Use a rich nail oil or cream to rehydrate the nail plate.
- Cuticle Feeding: Feed cuticles with vitamin E oil or a nourishing cuticle cream.
- Limit Exposure to Harsh Chemicals: For the next 2–3 weeks, protect nails from prolonged water or chemical exposure.
When to Seek Professional Help
If you notice:
- Persistent discoloration or spotting
- Severe brittleness or breakage
- Redness or swelling around the nail bed
- Unusual pain or a feeling of pressure
Consult a dermatologist or a qualified nail professional. Early intervention can prevent chronic damage.
FAQs
1. How can I keep my natural nails strong while wearing acrylics?
Start with a thorough prep, use a low‑VOC acrylic system, limit the number of layers, and moisturize daily. Also schedule a week‑long break every 6–8 weeks.
2. Can acrylics cause permanent nail damage?
When applied correctly and removed responsibly, the risk is minimal. Overuse, improper application, or neglect can lead to long‑term weakening.
3. What should I do if my acrylic nails feel loose or start to lift?
Check for thinning natural nails or inadequate bonding. Lightly buff the area, apply a fresh primer, and consider a professional touch‑up or a short break.
4. How often should I get new acrylics to protect my nails?
For optimal health, wait at least 4–6 weeks between applications. This gives the natural nails time to recover and reduces the risk of fungal growth.
5. Are there safer alternatives to acrylics for extending nails?
Gel extensions, dip powder, or natural lengthening methods can be gentler, but they still require proper care to protect the underlying nail. Choose the option that best fits your lifestyle and nail health goals.
For more insights and personalized tips, visit Nailspalist and explore our community of nail enthusiasts.
Learn more about acrylic nails and their impact on nail health from the Wikipedia article on Acrylic nail.
Leave a Reply